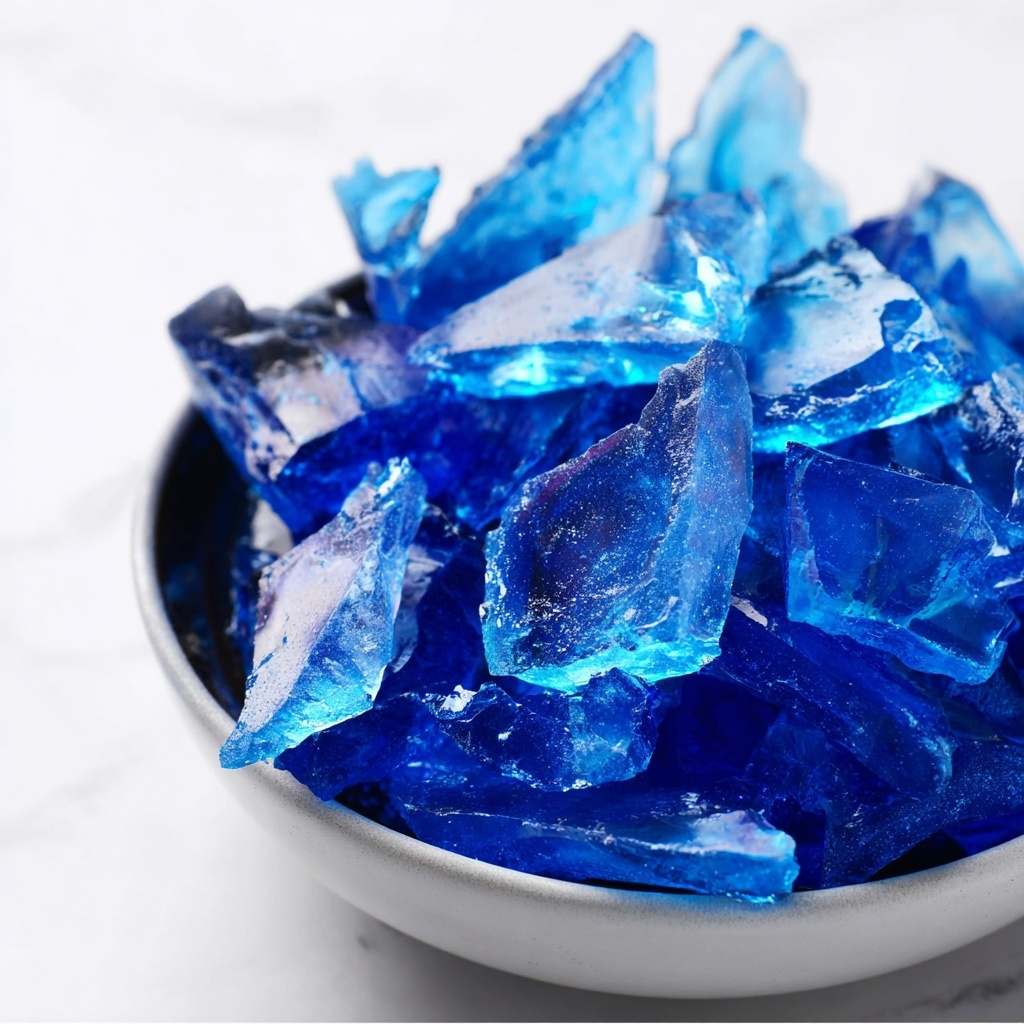
If you’ve ever wondered about the magic behind crystalized sweetness, then you’re in for a treat. Learning how to make rock candy recipe is like unlocking a bit of edible science and turning simple pantry staples into shimmering, crunchy jewels. This classic confection not only dazzles with its sparkling appearance but delivers a satisfying snap that’s as much fun to watch grow as it is delicious to nibble on. Whether you’re crafting a nostalgic gift or just craving a homemade candy adventure, mastering this recipe brings both joy and impressive results to your kitchen.
Ingredients You’ll Need
Gathering the ingredients for this rock candy recipe is delightfully straightforward, bringing together simple items that each play a crucial role. From the base sweetness to the vibrant colors and flavors, every component is essential to transforming a basic syrup into dazzling crystal sticks.
- ½ cup water: This provides the perfect medium to dissolve sugar and create the syrup’s base consistency.
- ¾ cup light corn syrup: It helps prevent premature crystallization, ensuring the candy forms large sugar crystals instead of grainy bits.
- 2 cups granulated sugar: The star of the show responsible for forming those beautiful sugar crystals.
- 2 teaspoons flavoring extract: Raspberry is wonderful, but you can experiment with vanilla, peppermint, or lemon to suit your fancy.
- Food coloring (optional): A splash of color turns your rock candy into eye-catching edible art; choose your favorite hue or match a theme.
How to Make How to Make Rock Candy Recipe
Step 1: Combine Ingredients in a Saucepan
Start by mixing water, light corn syrup, granulated sugar, your chosen extract, and food coloring in a medium saucepan over medium heat. This combination sets the stage for creating a smooth, evenly textured syrup that will crystallize beautifully. Everything should be well combined before heating.
Step 2: Bring the Mixture to a Boil
Stir the mixture constantly until it reaches a gentle boil. Once the liquid comes to a boil, stop stirring—this is key. Stirring past this point can disrupt the crystallization process and lead to uneven candy texture. Patience here pays off with those gorgeous crystals.
Step 3: Prepare Your Baking Surface
While the syrup heats, line a baking sheet with aluminum foil and spray it lightly with nonstick spray. This preparation ensures the rock candy can cool evenly and comes off the foil easily once hardened.
Step 4: Monitor the Temperature Carefully
Insert a candy thermometer into the boiling syrup and keep a close eye. When the temperature hits 300°F (that’s the hard crack stage), immediately remove the saucepan from the heat. This precise temperature is crucial for achieving the perfect texture—hard, crunchy, and easy to break into beautiful shards.
Step 5: Cool the Mixture Slightly
Let the syrup sit until bubbles stop breaking at the surface. This signals it is starting to cool and thicken, setting the foundation for crystal formation. Pouring too soon or too late can interfere with the texture and shape of your rock candy.
Step 6: Pour and Set
Slowly pour the syrup onto the prepared baking sheet, spreading it evenly. Let it sit undisturbed as it cools and hardens completely—this is where the magic solidifies into those mesmerizing crystals.
Step 7: Break Into Pieces
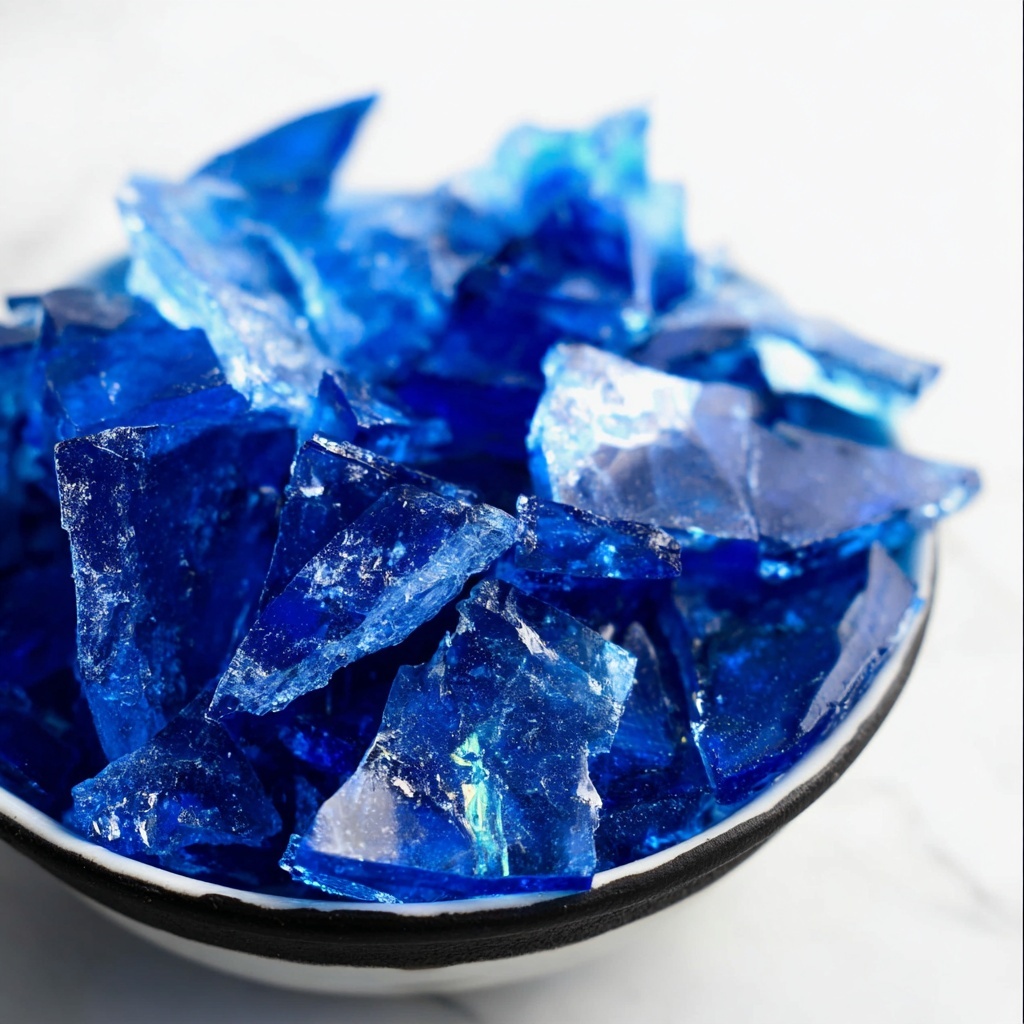
Once fully hardened and cool to the touch, break the rock candy into your desired sizes. Whether bite-sized chunks or larger shards, each piece will showcase the gorgeous texture and tempting crunch of your handiwork.
How to Serve How to Make Rock Candy Recipe

Garnishes
Rock candy shines on its own but can be dressed up with a sprinkle of edible glitter or placed atop cupcakes and frostings to add sparkle and sweet crunch. Pairing colors to themes makes it especially fun for parties and celebrations.
Side Dishes
While rock candy is typically enjoyed as a standalone treat, it pairs beautifully beside a delicate cup of tea or a refreshing lemonade. The sugar crystals dissolve slowly, offering a sweet counterpoint to warm or cool beverages.
Creative Ways to Present
Try placing rock candy sticks in clear jars tied with ribbon for charming gifts, or use them as decorative swizzle sticks in cocktails and mocktails. Their striking appearance turns any presentation into a conversation starter.
Make Ahead and Storage
Storing Leftovers
Keep your leftover rock candy in an airtight container to protect from moisture, which can cause the crystals to stick together or dissolve. Stored properly, they’ll stay fresh and crunchy for several weeks.
Freezing
Freezing isn’t necessary and may introduce moisture to the crystals. It’s best to enjoy your rock candy fresh or store it at room temperature away from humidity for optimal texture.
Reheating
Rock candy is best served as is and isn’t designed for reheating. Attempting to remelt or heat it can ruin the crystal structure and turn it sticky.
FAQs
Can I use flavors other than raspberry in this recipe?
Absolutely! Feel free to experiment with vanilla, peppermint, lemon, or any other extracts you love. The flavoring is very flexible and can easily be customized to your tastes.
Why do I have to stop stirring once the mixture boils?
Stopping the stirring prevents unwanted crystallization in the saucepan, which can cause grainy candy instead of clear, large crystals. It’s a crucial step to ensure your rock candy has that perfect texture and appearance.
How long does it take for the rock candy to harden?
Rock candy usually takes several hours to fully harden at room temperature. Patience is important, as rushing the cooling process can affect the crystal quality.
Is food coloring necessary for this recipe?
Food coloring is optional and mainly for visual appeal. It doesn’t affect the taste but can make your rock candy look extra festive and vibrant, especially for themed occasions.
Can I store rock candy for a long time?
Yes, when stored in an airtight container away from moisture, rock candy can last several weeks without losing its crunch or flavor, making it a great make-ahead treat.
Final Thoughts
There is something truly magical about watching sugar transform into sparkling crystals, and how to make rock candy recipe offers a delightful project packed with sweet rewards. Whether you want to share a nostalgic favorite, create a fun gift, or simply indulge in homemade candy crafting, this recipe brings both joy and sweet memories to life. Give it a try—you’ll be amazed at what a little patience and pantry ingredients can create!
Print
How to Make Rock Candy Recipe
- Prep Time: 10 minutes
- Cook Time: 10 minutes
- Total Time: 20 minutes
- Yield: 8 servings
- Category: Dessert
- Method: Stovetop
- Cuisine: American
Description
Learn how to make classic homemade rock candy with this simple and fun recipe. Using sugar, water, corn syrup, and your favorite flavoring, you can create beautiful, colorful crystalized candy pieces perfect for gifts or sweet treats.
Ingredients
Ingredients
- ½ cup water (114 grams)
- ¾ cup light corn syrup (234 grams)
- 2 cups granulated sugar (400 grams)
- 2 teaspoons flavoring extract (8 grams) – raspberry recommended
- Food coloring (optional) – blue or any preferred color
Instructions
- Combine Ingredients: Mix water, light corn syrup, granulated sugar, flavoring extract, and optional food coloring together in a medium saucepan over medium heat.
- Heat Until Boiling: Stir the mixture continuously until it reaches a boil. Once boiling begins, stop stirring to prevent crystallization.
- Prepare Baking Sheet: Line a baking sheet with aluminum foil and spray the foil with nonstick spray, set aside for later use.
- Boil to Hard Crack Stage: Insert a candy thermometer and continue boiling the mixture until it reaches 300°F (hard crack stage), then remove from heat carefully.
- Cool Slightly: Let the mixture cool until bubbles stop breaking on the surface, indicating initial set but still pourable.
- Pour Candy Mixture: Pour the cooled sugar mixture onto the prepared baking sheet evenly.
- Harden and Break: Allow the poured candy to cool and harden completely at room temperature. Once firm, break into pieces of your desired size and enjoy your homemade rock candy.
Notes
- Do not stir the mixture once it starts boiling to prevent premature crystallization.
- Use a candy thermometer for precise temperature control to achieve perfect rock candy texture.
- Food coloring is optional and can be customized to your preference.
- Handle the hot sugar mixture with care to avoid burns.
- Store rock candy in an airtight container to maintain freshness and prevent moisture absorption.


