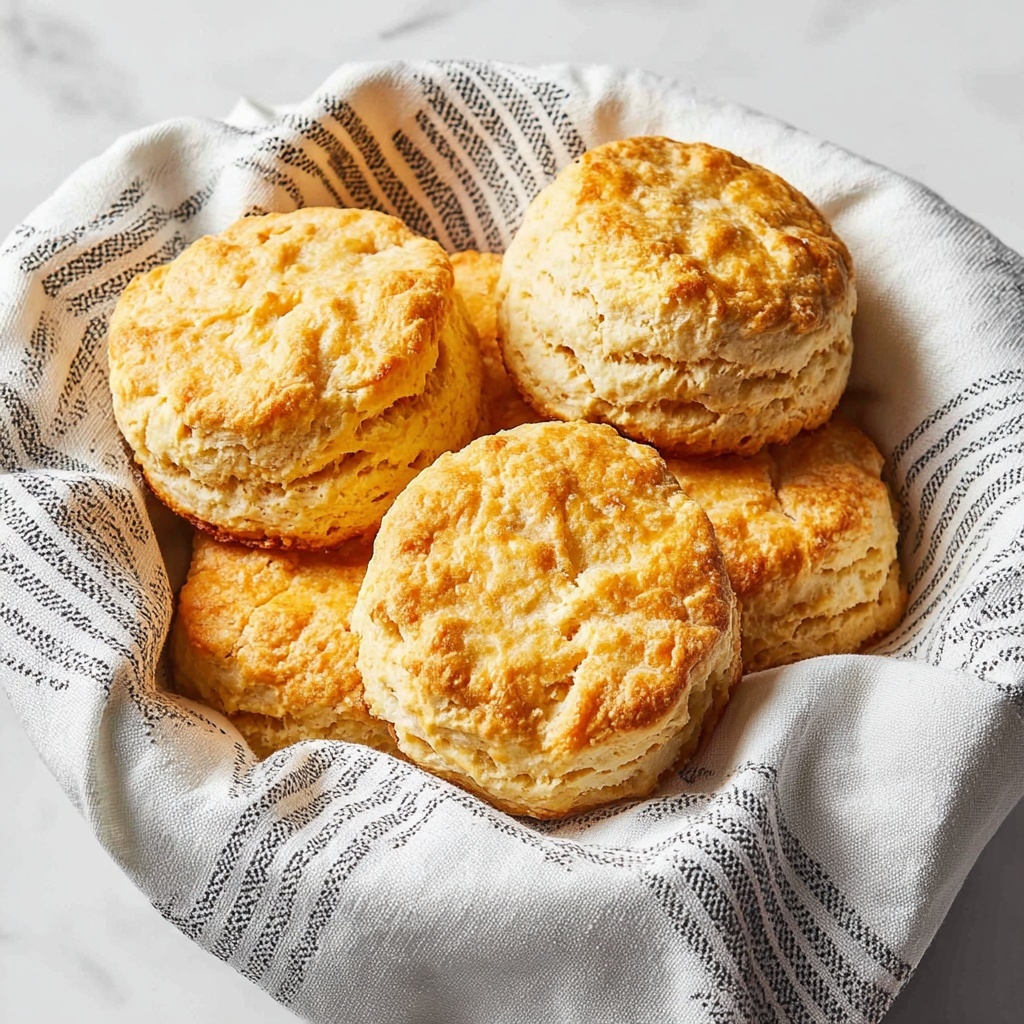
If you’ve been searching for that perfect tender, flaky biscuit without gluten, this Gluten Free Buttermilk Biscuits Recipe is about to become your new best friend. Combining the tangy richness of buttermilk with a carefully balanced gluten-free flour blend, these biscuits boast a golden crust and soft, layered crumb inside. Whether you’re gluten intolerant or simply want to enjoy a comforting classic with a twist, these biscuits bring that cozy, homemade vibe straight to your kitchen. Get ready for a simple yet transformative baking experience that’ll have you reaching for seconds before you know it.
Ingredients You’ll Need
This recipe uses straightforward, carefully chosen ingredients that each play a crucial role—from providing structure and flavor to achieving that irresistible flaky texture. With pantry staples combined with fresh butter and buttermilk, making these biscuits is easier than you think.
- 3 cups all-purpose 1:1 gluten-free flour: The foundation for your biscuits, ensuring a crumb that’s tender and light without gluten.
- 4 teaspoons baking powder: Adds the perfect lift to create fluffy biscuits that rise beautifully in the oven.
- 1½ teaspoons kosher salt: Enhances all the flavors, keeping the taste balanced and savory.
- ¼ teaspoon baking soda: Works with the buttermilk for extra rise and tenderness.
- ½ cup unsalted butter (cold and cubed): Key for flaky layers and rich, buttery flavor.
- 1¼ cups buttermilk (chilled): Gives the biscuits their signature tang and tender crumb—don’t skip this!
How to Make Gluten Free Buttermilk Biscuits Recipe
Step 1: Preheat and Prepare
Begin by setting your oven to 400°F to get that perfect baking temperature ready. Spray a baking sheet with nonstick spray—this helps your biscuits bake evenly and prevents sticking, making cleanup a breeze.
Step 2: Combine Dry Ingredients and Cut in Butter
In a medium bowl, whisk together the gluten free flour, baking powder, salt, and baking soda until well blended. Next, add the cold, cubed butter. Use a pastry cutter or your fingers to cut the butter into the flour mixture until it looks like coarse crumbs. This step is essential because those tiny butter pieces create the flaky layers you’re dreaming of.
Step 3: Mix in Buttermilk and Knead Gently
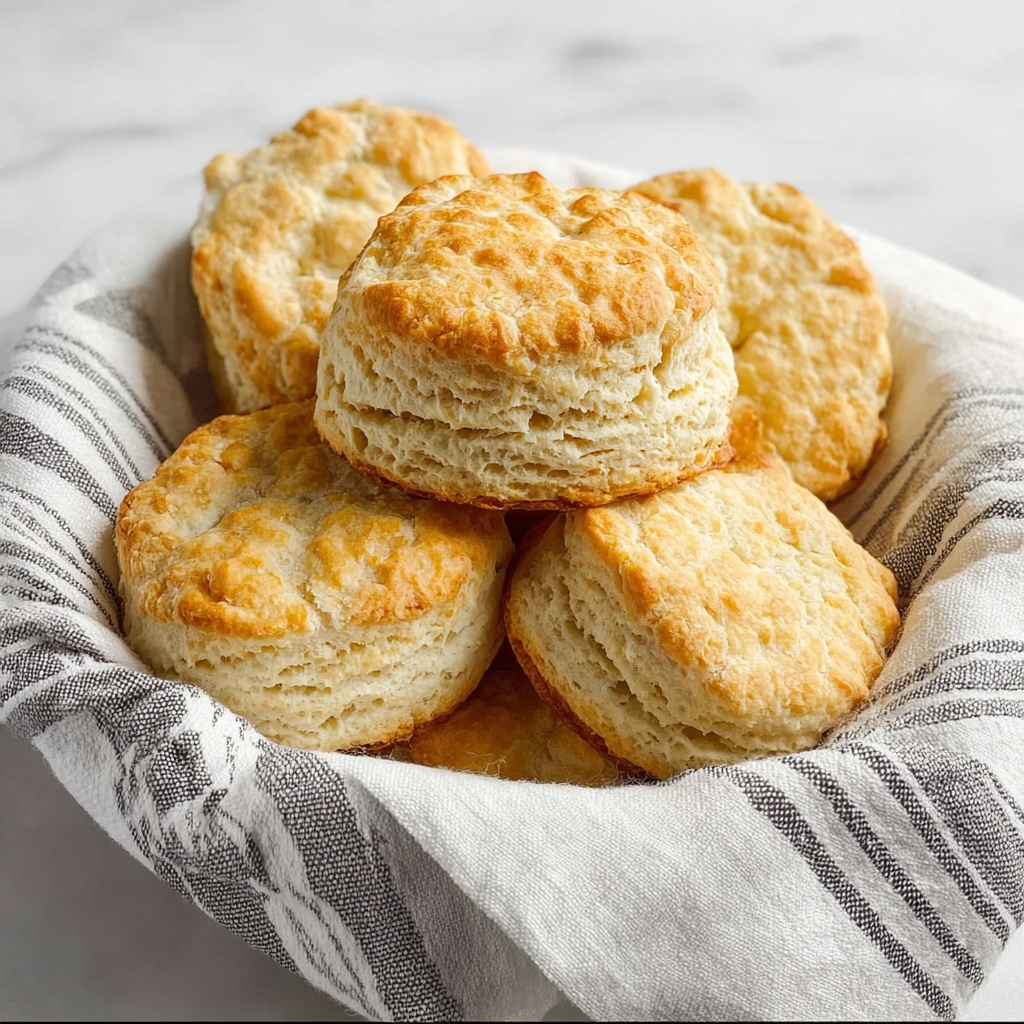
Pour in the chilled buttermilk and stir until a shaggy dough forms. Turn the dough out onto a floured surface (gluten free flour, of course) and knead just until everything comes together. Press the dough into a rectangle about half an inch thick. Sprinkle a little flour on top, fold the dough over itself, then press it out again. Repeat this fold-and-press technique a couple more times, finishing with a dough about two inches thick—this layering method gives you those delightful biscuit layers.
Step 4: Cut and Bake
Use a biscuit cutter or a drinking glass to cut straight down into the dough—don’t twist or rock it, as this seals the layers and prevents maximum rise. Place each biscuit on your prepared baking sheet with a bit of space between them. Slide the tray into the oven and bake for 18-20 minutes, until the biscuits are beautifully browned on top and cooked through.
Step 5: Serve Warm and Enjoy!
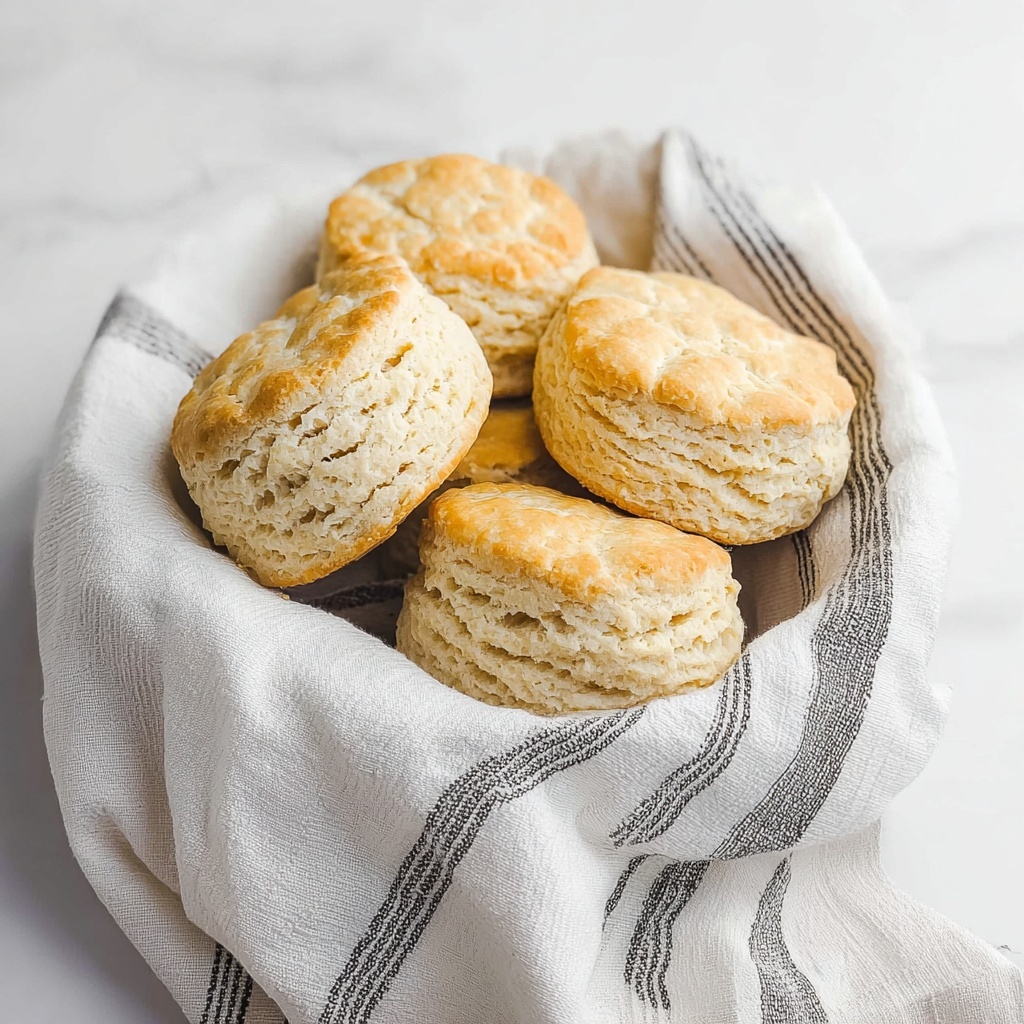
Pull those golden beauties out of the oven and serve immediately for the best texture. They’re divine with a pat of butter, drizzled honey, or your favorite gluten free gravy. Trust me, these biscuits taste like little bites of comfort heaven.
How to Serve Gluten Free Buttermilk Biscuits Recipe
Garnishes
To elevate your biscuits, consider topping them with whipped honey butter, fresh herb butter, or even a smear of homemade jam. These add layers of flavor while keeping the heart of the biscuit intact, making each bite a shelf-worthy delight.
Side Dishes
These biscuits pair beautifully with hearty soups, chicken and gravy, or a fresh garden salad. They also make breakfast feel special alongside scrambled eggs and crispy bacon, bringing that warm, homemade touch to any meal.
Creative Ways to Present
For a fun brunch idea, slice the biscuits in half and fill with smoked salmon and crème fraîche or turn them into mini biscuit sandwiches with spiced sausage patties. They can also be sliced and toasted for a crunchy treat topped with avocado and poached eggs.
Make Ahead and Storage
Storing Leftovers
If you have leftovers, store your biscuits in an airtight container at room temperature for up to two days. This keeps them soft and ready to enjoy with minimal fuss. Just remember to keep them covered to prevent drying out.
Freezing
To freeze, wrap individual biscuits in plastic wrap and then place them in a freezer-safe container or bag. Frozen biscuits maintain their delicious flavor and texture for up to three months, making them a perfect make-ahead option for busy mornings.
Reheating
Reheat biscuits by warming them in a 350°F oven for about 10 minutes or microwaving them for 20-30 seconds wrapped in a damp paper towel. This method restores the soft crumb and flaky layers like they just came out of the oven.
FAQs
Can I substitute regular flour for gluten-free flour?
For this recipe, it’s best to use a 1:1 gluten-free flour blend to achieve the right texture and tenderness. Regular flour contains gluten and would change the biscuit’s structure and is not suitable for gluten-free needs.
Why do we fold the biscuit dough multiple times?
Folding the dough creates layers by distributing the butter throughout the dough, which results in those signature flaky layers that make biscuits so irresistible.
Can I use non-dairy milk instead of buttermilk?
You can create a buttermilk substitute by combining 1¼ cups of non-dairy milk with 1 tablespoon of vinegar or lemon juice. Let it sit for 5-10 minutes to curdle before using. This works well but won’t have exactly the same tang and texture.
What causes biscuits to be dense instead of fluffy?
Over-mixing the dough or using too much flour during kneading can make biscuits dense. Be gentle when combining ingredients and don’t over-knead to keep your biscuits light and airy.
How long will these biscuits stay fresh?
Freshly baked, these gluten free buttermilk biscuits will stay tender at room temperature for up to two days when properly stored in an airtight container.
Final Thoughts
There’s something truly special about homemade biscuits, and this Gluten Free Buttermilk Biscuits Recipe proves that gluten-free baking can be just as delicious and comforting as the traditional kind. With simple ingredients, easy steps, and spectacular results, these biscuits will soon become a beloved staple in your kitchen. Don’t hesitate—grab your ingredients and start baking these golden, fluffy delights today! Your taste buds will thank you.
Print
Gluten Free Buttermilk Biscuits Recipe
- Prep Time: 10 minutes
- Cook Time: 20 minutes
- Total Time: 30 minutes
- Yield: 8 biscuits
- Category: Baking
- Method: Baking
- Cuisine: American Southern
- Diet: Gluten Free
Description
These Gluten Free Buttermilk Biscuits are fluffy, tender, and layered to perfection. Made with a 1:1 gluten-free flour blend and classic buttermilk, these biscuits are a delicious and allergy-friendly twist on a traditional southern favorite. Perfectly golden and slightly crisp on the outside with a soft interior, they are ideal for breakfast or as a side for any meal.
Ingredients
Dry Ingredients
- 3 cups all-purpose 1:1 gluten-free flour (444 grams, plus more for dusting such as Bob’s Red Mill, Cup4Cup, King Arthur)
- 4 teaspoons baking powder (16 grams)
- 1½ teaspoons kosher salt (5 grams)
- ¼ teaspoon baking soda
Wet Ingredients
- ½ cup unsalted butter (113 grams, cold and cubed, 1 stick)
- 1¼ cups buttermilk (284 grams, chilled)
Instructions
- Preheat and Prepare: Preheat the oven to 400°F (204°C). Spray a baking sheet with nonstick spray and set it aside to prepare for baking the biscuits.
- Mix Dry Ingredients and Cut in Butter: In a medium bowl, combine the gluten-free flour blend, baking powder, kosher salt, and baking soda. Using a pastry cutter or your hands, cut the cold, cubed butter into the flour mixture until the texture resembles coarse crumbs.
- Add Buttermilk and Form Dough: Pour the chilled buttermilk into the flour and butter mixture and stir until it forms a shaggy dough that holds together but is not over-mixed.
- Knead and Layer the Dough: Lightly dust a cutting board or flat surface with gluten-free flour. Turn the dough out onto it and knead gently just until fully combined. Using your hands or rolling pin, flatten the dough into a ½ inch thick rectangle. Lightly sprinkle with flour (just a little to avoid flattening layers), fold the dough over itself, press slightly, and roll out again to about 1 inch thickness. Repeat the light flour sprinkle and fold once more, then roll out to about 2 inches thickness to create distinct layers inside the biscuits.
- Cut Biscuits and Bake: Use a cup or biscuit cutter pressed straight down (without twisting or rocking) to cut out biscuits. Place biscuits on the prepared baking sheet. Bake in the preheated oven for 18-20 minutes until golden brown and cooked through.
- Serve: Remove from the oven and serve immediately. These biscuits are delicious with gluten-free gravy, jam, butter, or honey for an extra special touch.
Notes
- Chilling the buttermilk ensures the butter remains cold, which helps create flaky layers.
- Do not twist or rock the biscuit cutter when cutting to avoid sealing the biscuit layers.
- Use a 1:1 gluten-free flour blend for best texture; brands like Bob’s Red Mill, Cup4Cup, or King Arthur work well.
- Leftover biscuits can be reheated in a warm oven to restore crispness.
- For dairy-free variation, substitute cold coconut oil or a vegan butter alternative and use a plant-based buttermilk.
