
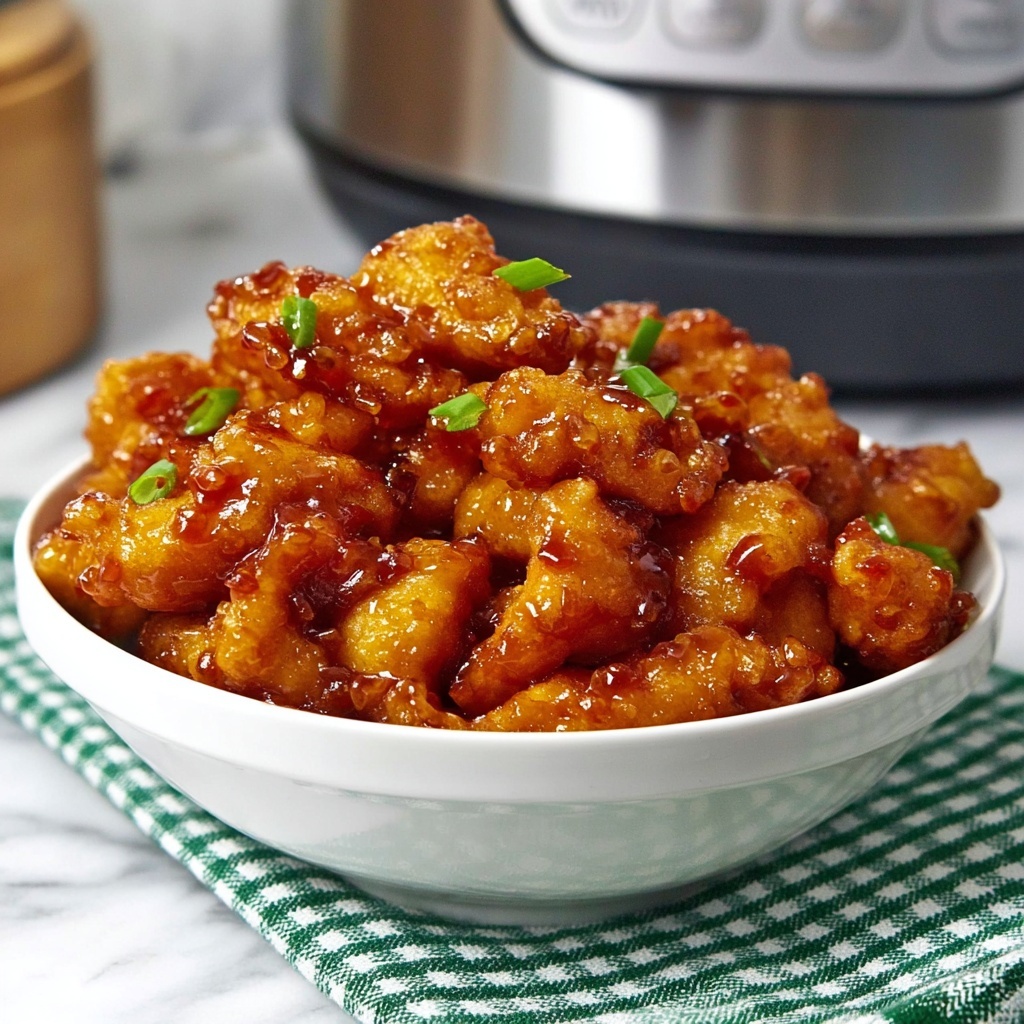
If you’re searching for a dish that’s irresistibly sweet, crispy, and utterly satisfying, this Honey Chicken Recipe has got you covered. Imagine tender chicken breast tenders enveloped in a light, crispy batter, then coated in a luscious homemade honey sauce that strikes the perfect balance between tangy and sweet. Whether you’re cooking for a cozy weeknight dinner or impressing friends at a casual get-together, this recipe offers simplicity and deliciousness in every bite. Trust me, once you try this Honey Chicken Recipe, it’ll quickly become a staple in your kitchen repertoire.
Ingredients You’ll Need
This Honey Chicken Recipe uses straightforward ingredients that come together to create a harmonious flavor and texture profile. Each component plays a vital role, whether it’s ensuring the crispiness of the chicken or the rich, glossy finish of the honey sauce.
- Chicken Breast Tenders: Using 6-7 tenders gives you bite-sized pieces perfect for even cooking and easy dipping.
- All Purpose Flour: Forms the base of the batter, keeping it light but sturdy enough for frying.
- Corn Starch: Adds extra crispness to the chicken coating, so it stays crunchy after frying.
- Baking Powder: Helps the batter puff up slightly, yielding a delightful texture.
- Salt: Just a pinch to enhance all the other flavors without overpowering.
- Water: Combines the dry batter ingredients into a semi-thick consistency for easy coating.
- Sesame Oil: Offers a deep, nutty flavor ideal for frying the chicken to golden perfection.
- Tomato Ketchup: Provides a tangy base for the honey sauce, balancing the sweetness.
- Sugar: Adds extra sweetness and helps caramelize the sauce beautifully.
- Honey: The star of the show, giving the sauce its characteristic sticky, fragrant sweetness.
- Soy Sauce: Adds savory umami depth, elevating the sauce’s complexity.
- Extra Water for Sauce: Thins the sauce slightly to ensure it coats the chicken perfectly.
How to Make Honey Chicken Recipe
Step 1: Get Your Chicken Ready
Start by taking your chicken breast tenders and patting them dry. This simple step removes excess moisture, which ensures that the batter adheres nicely and the chicken crisps up perfectly when fried.
Step 2: Mix the Honey Sauce
In a small bowl, combine the ketchup, sugar, honey, soy sauce, and a little water. Whisk everything together until smooth and set this vibrant sauce aside. This sweet and tangy blend will later coat your chicken and bring all the flavors together in harmony.
Step 3: Prepare the Batter
In a separate bowl, whisk the all-purpose flour, corn starch, baking powder, and salt. Slowly add 1/4 cup water, stirring as you go, until you get a semi-thick batter that’s just thick enough to cling to every piece of chicken.
Step 4: Batter and Fry the Chicken
Dip each chicken tender into the batter, allowing any excess to drip off, then place them on a parchment-lined baking sheet to wait their turn. Heat the sesame oil in an Instant Pot or a frying pan set to sauté mode until it’s bubbling hot. Carefully add the battered chicken in a single layer, making sure not to overcrowd the pan. Cook each side until golden brown and crispy, turning once for even color and texture. Transfer the fried chicken to a paper towel-lined plate to absorb any excess oil.
Step 5: Combine Chicken with Sauce
Clean out the Instant Pot insert to remove leftover crumbs and oil. Pour in the prepared honey sauce, then add the crispy chicken pieces. Toss the chicken gently in the sauce to coat every tender morsel uniformly.
Step 6: Pressure Cook to Finish
Close the Instant Pot lid and seal the valve. Set the device to manual pressure cooking for 4 minutes. This step infuses the chicken with the sauce’s flavor and thickens the glaze beautifully. When the timer beeps, carefully open the valve and the lid. Your Honey Chicken Recipe is ready to serve while lovely and hot.
How to Serve Honey Chicken Recipe
Garnishes
For a fresh burst of color and flavor, I love sprinkling chopped green onions or toasted sesame seeds over the top. These simple garnishes not only brighten the dish visually but add a slight crunch and aromatic note that complements the honey glaze perfectly.
Side Dishes
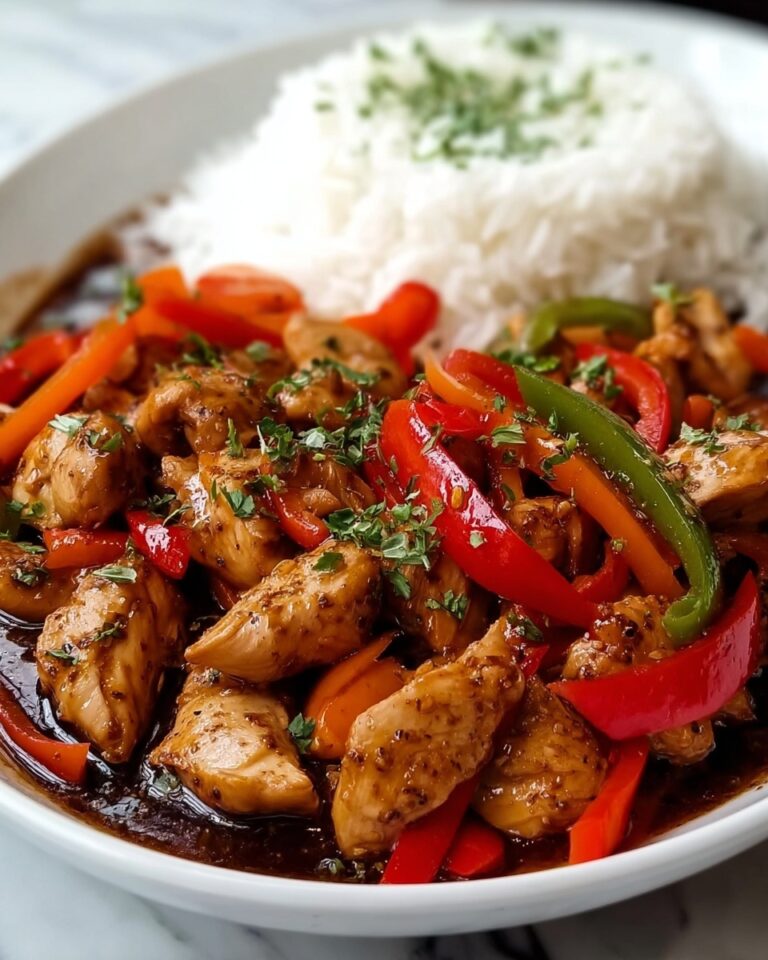
This Honey Chicken pairs wonderfully with steamed jasmine rice or cauliflowers rice to soak up that luscious sauce. To balance the sweetness, serve it alongside lightly sautéed or steamed vegetables like broccoli, snap peas, or bell peppers.
Creative Ways to Present
If you want to take your presentation up a notch, try serving the Honey Chicken on a bed of crunchy Asian slaw or stuff it into bao buns with some pickled cucumbers for a fusion twist. These playful options add texture and make the dish a conversation starter at any meal.
Make Ahead and Storage
Storing Leftovers
After cooking, allow the Honey Chicken to cool completely, then store leftovers in an airtight container in the refrigerator. It’s best enjoyed within 2-3 days to keep the chicken tender and the sauce fresh.
Freezing
You can freeze cooked Honey Chicken by placing portions in freezer-safe containers or bags. Just make sure to cool it before freezing. When you’re ready to enjoy, thaw it in the refrigerator overnight for the best texture.
Reheating
To reheat, gently warm the chicken in a skillet over medium heat or use the microwave. If reheating on the stove, add a splash of water to help loosen the sauce and prevent it from drying out, keeping that delightful honey-glazed sheen intact.
FAQs
Can I use chicken thighs instead of breast tenders?
Absolutely! Chicken thighs are juicier and offer a slightly different flavor profile. Just slice them into tender-sized pieces so they cook evenly with the batter and sauce.
What can I substitute for sesame oil?
If you don’t have sesame oil, vegetable oil or peanut oil works great for frying. They won’t impart the nutty flavor, but your chicken will still come out crispy and delicious.
Is it possible to make this recipe gluten-free?
Yes! Swap the all-purpose flour for a gluten-free flour blend and ensure the soy sauce is gluten-free. Corn starch is naturally gluten-free and adds the crispiness you want.
Can I prepare the sauce in advance?
Definitely. The sauce can be made a day ahead and stored in the fridge. This actually helps the flavors deepen and meld wonderfully when it’s time to cook the chicken.
What’s the secret to keeping the chicken crispy after coating it with sauce?
Using the Instant Pot to finish the chicken with the sauce under pressure cooks the coating gently and prevents it from getting soggy. Tossing just before serving also keeps that perfect balance of crispiness and glaze.
Final Thoughts
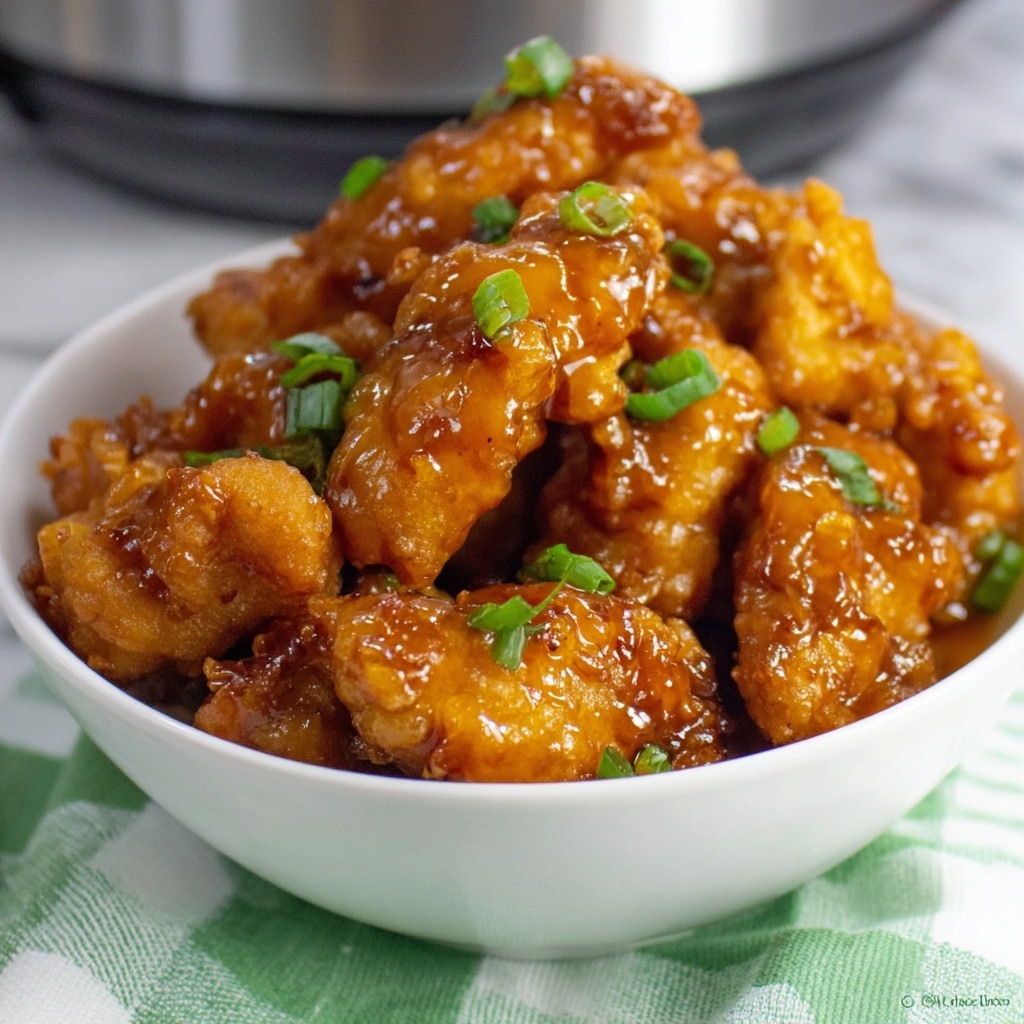
There’s something truly comforting about this Honey Chicken Recipe, from its crispy golden exterior to the sticky, sweet sauce that clings to every bite. It’s easy to make, delicious to eat, and versatile enough for any occasion. I really hope you give this recipe a try and discover just how quickly it can become your go-to for a flavorful meal that feels like a warm hug at dinner time.
Print
Honey Chicken Recipe
- Prep Time: 15 minutes
- Cook Time: 15 minutes
- Total Time: 30 minutes
- Yield: 4 servings
- Category: Main Course
- Method: Instant Pot
- Cuisine: Asian
Description
This Honey Chicken recipe features tender chicken breast tenders coated in a crispy batter, fried to golden perfection, and then cooked in a sweet and tangy honey-based sauce using an Instant Pot. The combination of honey, soy sauce, and ketchup creates a flavorful glaze that makes this dish a delightful main course perfect for a quick weeknight dinner.
Ingredients
Chicken and Batter
- 6–7 Chicken Breast tenders (sliced)
- 1/2 cup All Purpose Flour
- 1/2 cup Corn Starch
- 1 tsp Baking Powder
- 1/4 tsp Salt
- 1/4 cup Water
- 1/4 cup Sesame oil (for frying)
Sauce
- 1/2 cup Tomato Ketchup
- 2 Tbsp Sugar
- 3 Tbsp Honey
- 1 Tbsp Soy sauce
- 2 Tbsp Water
Instructions
- Prepare the Chicken: Pat the sliced chicken breast tenders dry thoroughly to remove excess moisture, ensuring a crispier batter when fried.
- Set Chicken Aside: Keep the prepared chicken aside on a plate or tray while you prepare the batter and sauce.
- Make the Sauce: In a small bowl, combine tomato ketchup, sugar, honey, soy sauce, and water. Mix well until the sugar is dissolved and the sauce is smooth. Set this aside for later use.
- Prepare the Batter: In a bowl, whisk together all-purpose flour, corn starch, baking powder, and salt. Slowly add water while whisking to form a semi-thick batter, ensuring there are no lumps.
- Batter the Chicken: Dip each chicken tender into the prepared batter, coating it fully, then place them on a parchment-lined baking sheet ready for frying.
- Heat the Oil: Pour the sesame oil into the Instant Pot and set it to the sauté function. Heat the oil until it is bubbling hot but not smoking.
- Fry the Chicken: Carefully place the battered chicken tenders in the hot oil in a single layer. Avoid overcrowding to ensure even cooking and crispiness.
- Cook Evenly: Flip the chicken pieces to cook both sides until they turn golden brown and crispy, about 3-5 minutes per side depending on thickness.
- Drain Fried Chicken: Remove the cooked chicken with a slotted spoon and place them onto a plate lined with paper towels to absorb excess oil. Set aside.
- Clean the Pot: Wipe the Instant Pot insert clean to prepare for the sauce cooking step.
- Cook with Sauce: Add the prepared sauce into the Instant Pot insert and return all the fried chicken tenders to the pot. Toss to coat chicken evenly with the sauce.
- Pressure Cook: Close the Instant Pot lid and seal the valve. Set to manual pressure cooking for 4 minutes to allow the sauce to thicken and the chicken to soak up the flavors.
- Release Pressure: When the timer sounds, carefully open the valve to release pressure before opening the lid.
- Serve: Serve the honey chicken hot, garnished with optional sesame seeds or green onions if desired. Enjoy with steamed rice or vegetables.
Notes
- Patting the chicken dry is crucial for a crispy batter.
- Use a single layer when frying to avoid soggy chicken.
- Keep an eye on oil temperature to prevent burning the batter.
- The pressure cooking step infuses the sauce flavors well and keeps the chicken moist.
- You can substitute sesame oil with vegetable or canola oil if needed.
- Adjust honey and sugar amounts to taste for sweetness level.


