
“`html
If you’re on the hunt for a low-carb, flavorful way to enjoy your taco night without giving up the crunch and delight of a traditional shell, the Baked Cheese Keto Taco Shells Recipe is here to be your new best friend. This genius recipe combines the rich, gooey goodness of melted cheese with a hint of coconut flour and garlic salt to form crispy, golden taco shells that hold up perfectly to any filling you love. They’re easy to make, wonderfully cheesy, and absolutely keto-friendly, making this a fun and satisfying twist that will quickly become a staple in your kitchen arsenal.
Ingredients You’ll Need
These ingredients are super simple but crucial to bringing out the perfect balance of flavor, texture, and structure in your Baked Cheese Keto Taco Shells Recipe. Each one plays an essential role, whether it’s adding moisture, crispiness, or that irresistible cheesy taste.
- 1/2 cup coconut flour: Adds subtle nuttiness and helps give the shells a sturdy yet tender texture.
- 1/2 cup cheddar cheese (shredded): Brings sharp, rich flavor and melts into that perfect golden crust.
- 1/2 cup Jack cheese (shredded): Offers a smooth, creamy meltiness that balances the sharper cheddar.
- 1/2 cup Parmesan cheese (shredded): Provides a savory, slightly salty punch that enhances the overall cheesy goodness.
- 1 teaspoon garlic salt with parsley: Elevates the flavor with a mild garlicky kick and a touch of fresh herb brightness.
How to Make Baked Cheese Keto Taco Shells Recipe
Step 1: Combine the Ingredients
Start by mixing all your ingredients in a large bowl. Toss the shredded cheeses with the coconut flour and garlic salt until everything is well coated and evenly blended. This ensures every bite gets that perfect cheesy and flavorful kick.
Step 2: Form the Shell Circles
Line a cookie sheet with parchment paper for an easy cleanup and place about 1/3 cup of the cheese mixture onto it. Use the back of a spoon or spatula to spread the mixture into a neat circle roughly 5 inches by 5 inches. This size will give you a taco shell that’s just right for filling without becoming fragile.
Step 3: Space Them Out
You’ll be able to fit three cheese circles on each cookie sheet, so space them evenly to prevent sticking. This way, they can bake evenly and crisp up just right, turning those cheese rounds into shells that hold their shape.
Step 4: Bake to Perfect Crispiness
Pop the cookie sheet into a 350-degree oven and bake for about 15 minutes. The cheese will melt and bubble, then turn a beautiful golden brown. Keep an eye on them—once the edges start looking crisp, it’s time to remove them and work quickly on shaping.
Step 5: Shape Your Taco Shells
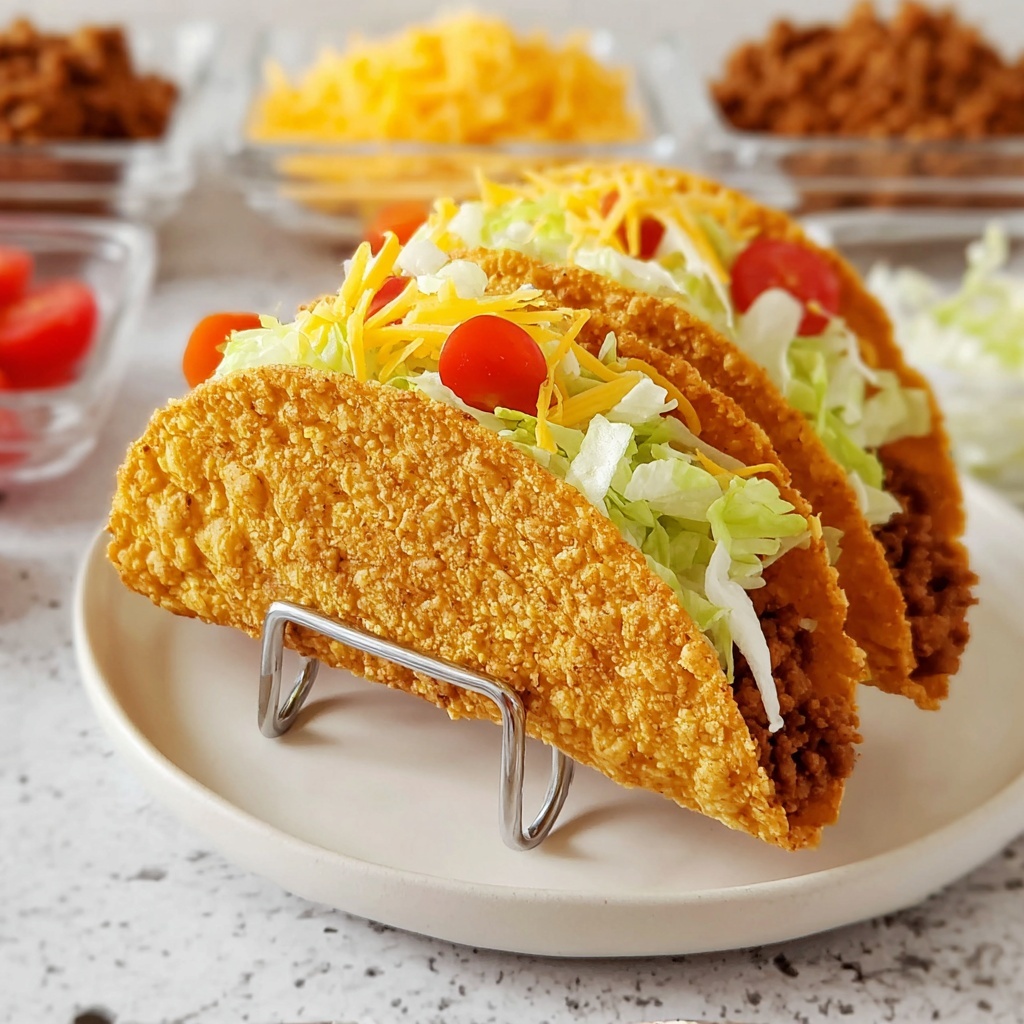
While the cheese rounds are still hot and flexible, carefully lift one off the baking sheet using a large spatula. Immediately place it into the middle of your taco holder and gently press the center down to form that classic taco shell shape. Be gentle but firm to avoid cracks. Having a second spatula handy can help with smooth handling.
Step 6: Repeat Until All Shells Are Done
Continue this process for all your cheese rounds, turning every one into a perfectly molded taco shell. It’s a quick assembly line of cheesy perfection that’s as fun as it is delicious.
Step 7: Cool and Prepare to Fill
Let your newly formed shells cool completely on a tray. This final touch helps them crisp up fully and become firm enough to hold your favorite taco fillings without bending or breaking. Then, you’re ready to load them up and enjoy!
How to Serve Baked Cheese Keto Taco Shells Recipe
Garnishes
When it comes to garnishes, fresh is best. Think chopped cilantro, diced tomatoes, sliced avocado, or a sprinkle of chopped green onions. These fresh elements brighten the rich cheese flavors and add a lovely contrast in texture and color. A dollop of sour cream or a drizzle of keto-friendly salsa also pairs beautifully with these shells.
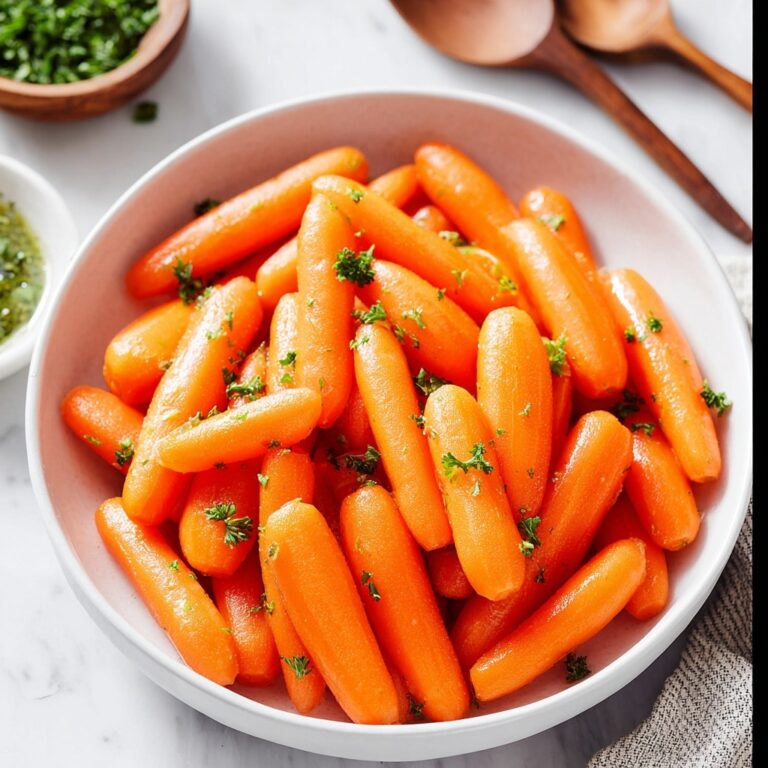
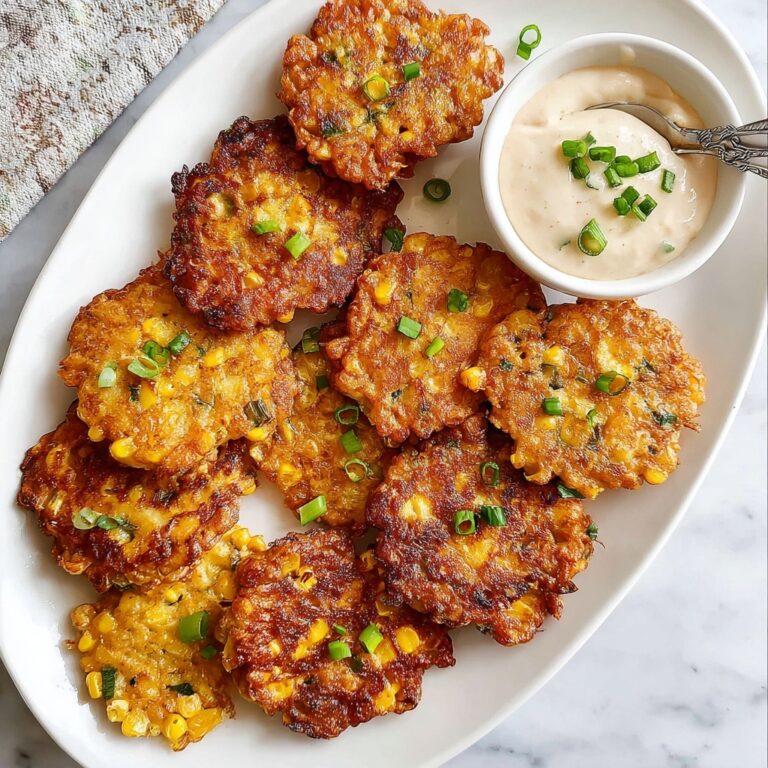
Side Dishes
Pair your Baked Cheese Keto Taco Shells Recipe with crunchy low-carb slaws, zesty guacamole, or a simple mixed greens salad tossed in a tangy lime vinaigrette. These sides keep the meal light and vibrant, perfect for those sticking to a keto lifestyle but still craving big flavors.
Creative Ways to Present
You can have fun presenting these shells in a taco bar style, where everyone fills their own shells with an array of proteins, veggies, and sauces. Or dress up a plate by adding colorful layers of toppings inside the shells and garnishing around the plate with fresh herbs or a squeeze of lime. These cheesy shells aren’t just tasty—they look fantastic on the table too!
Make Ahead and Storage
Storing Leftovers
If you find yourself with extra cheese taco shells, store them in an airtight container at room temperature for up to 2 days. Keeping them dry is key to retaining their crispy texture and ensuring they don’t become soggy or lose their shape.
Freezing
You can freeze the baked cheese shells by placing them between parchment sheets inside a freezer-safe bag or container. They freeze well for up to one month. Just be sure to let them thaw at room temperature to maintain their crispness before reheating or filling.
Reheating
To bring your saved taco shells back to life, pop them in a toaster oven or conventional oven at 325 degrees for 5-7 minutes. This quick method crisps them up nicely without melting the cheese too much again, keeping that satisfying crunch intact for your next taco night.
FAQs
Can I use other cheeses in the Baked Cheese Keto Taco Shells Recipe?
Absolutely! While cheddar, Jack, and Parmesan offer a great balance, you can experiment with mozzarella, Monterey Jack, or even a smoked cheese for a different flavor profile. Just make sure the cheese melts well to help the shell hold together.
Is coconut flour necessary in this recipe?
Coconut flour plays a vital role in adding structure and a touch of nutty flavor. Substituting it with almond flour might work but could change the texture. It’s best to stick with coconut flour for the ideal crispy yet pliable taco shell.
Can I make these shells gluten-free?
Definitely! This recipe is naturally gluten-free because it uses coconut flour instead of wheat-based flours, making it perfect for those avoiding gluten and carbs without sacrificing flavor.
How long do the taco shells stay fresh?
When stored properly in an airtight container, these baked cheese keto taco shells stay fresh and crispy for about 2 days at room temperature. Beyond that, they might soften, but reheating can help restore some crispiness.
Can I use these shells for other keto fillings?
Yes! These shells aren’t just for tacos—they’re a fantastic vessel for keto-friendly fillings like chicken salad, lettuce wraps, or even breakfast eggs and bacon. Their versatility is one of the many reasons this Baked Cheese Keto Taco Shells Recipe is a winner.
Final Thoughts
If you love tacos but want to keep things keto-friendly, the Baked Cheese Keto Taco Shells Recipe is a game changer. It’s easy, flavorful, and creates shells that bring incredible texture and cheesy goodness to the table. Don’t wait—give this recipe a try and watch it become your new favorite way to enjoy taco night!
“`
Print
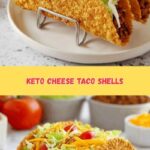
Baked Cheese Keto Taco Shells Recipe
- Prep Time: 10 minutes
- Cook Time: 15 minutes
- Total Time: 25 minutes
- Yield: 10 taco shells
- Category: Snack
- Method: Baking
- Cuisine: American
- Diet: Keto, Gluten Free
Description
This Baked Cheese Keto Taco Shells recipe offers a low-carb, gluten-free alternative to traditional taco shells. Made from a blend of cheddar, Jack, and Parmesan cheeses combined with coconut flour and garlic salt, these crispy and flavorful shells are baked to perfection and shaped in a taco holder for an easy, delicious keto-friendly meal base.
Ingredients
Ingredients
- 1/2 cup coconut flour
- 1/2 cup cheddar cheese, shredded
- 1/2 cup Jack cheese, shredded
- 1/2 cup Parmesan cheese, shredded
- 1 teaspoon garlic salt with parsley
Instructions
- Mix Ingredients: In a large bowl, combine the coconut flour, shredded cheddar, Jack, and Parmesan cheeses, and garlic salt. Toss thoroughly to coat the cheeses evenly with the flour and garlic salt, ensuring a well-blended mixture.
- Form Circles: Line a cookie sheet with parchment paper. Scoop about 1/3 cup of the cheese mixture and place it on the parchment paper. Smooth it out into a circular shape approximately 5 inches in diameter.
- Prepare More Circles: Repeat this process to fit three cheese circles per cookie sheet, spaced evenly to allow for baking.
- Bake the Shells: Preheat your oven to 350°F (175°C) and bake the cheese circles for about 15 minutes until melted and firm.
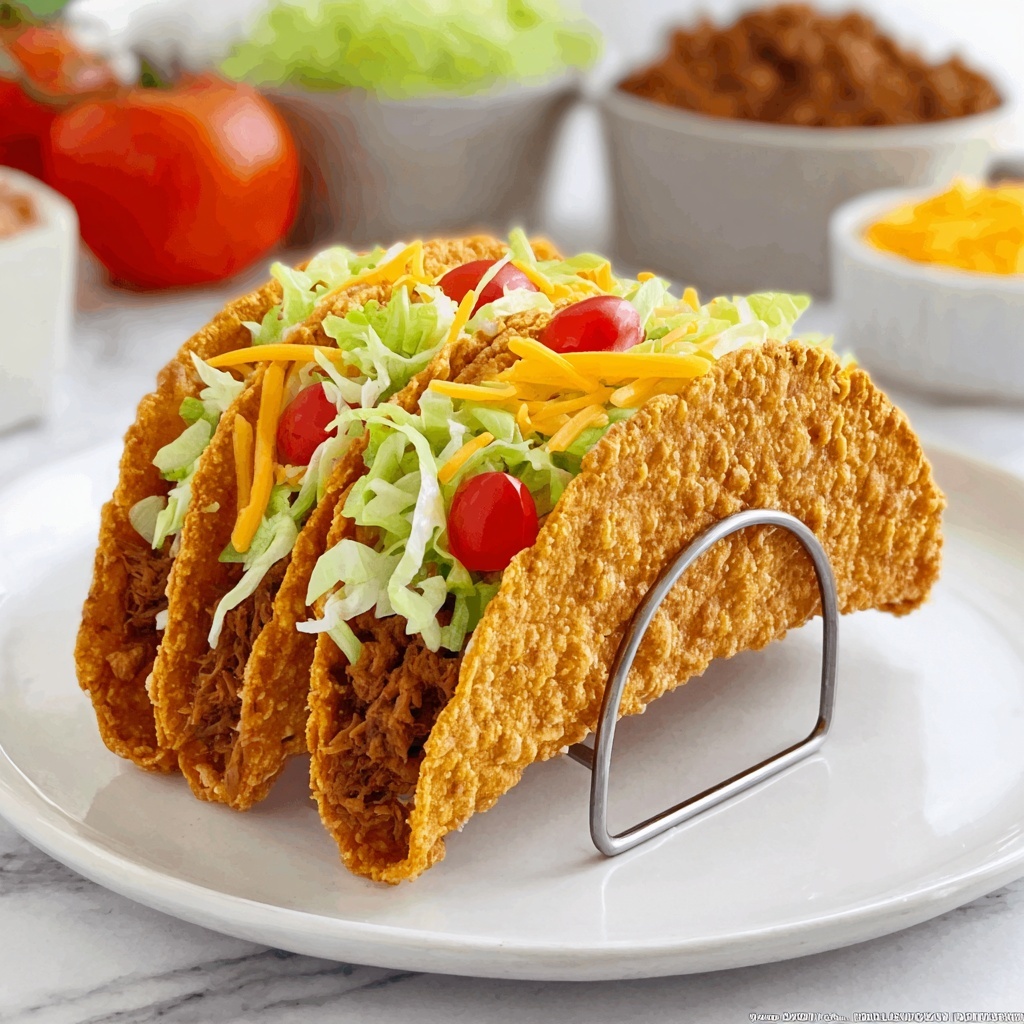
- Shape Taco Shells: Remove the cheese circles from the oven and, while still hot, carefully take them off the parchment with a large spatula. Immediately transfer each one to the middle of a taco holder and gently push down the center to form the classic taco shell shape.
- Repeat Shaping: Continue removing, shaping, and placing the shells in the taco holder until all have been formed.
- Cool and Serve: Allow the shaped taco shells to cool completely on a tray. Once cool, fill them with your favorite taco ingredients and enjoy!
Notes
- Work quickly when shaping the shells as they harden as they cool.
- If you don’t have a taco holder, you can carefully drape the hot shells over an inverted bowl or any curved surface to form.
- Use parchment paper to prevent sticking and ease removal from the cookie sheet.
- These shells are best eaten the same day for maximum crispness but store in an airtight container if needed.
