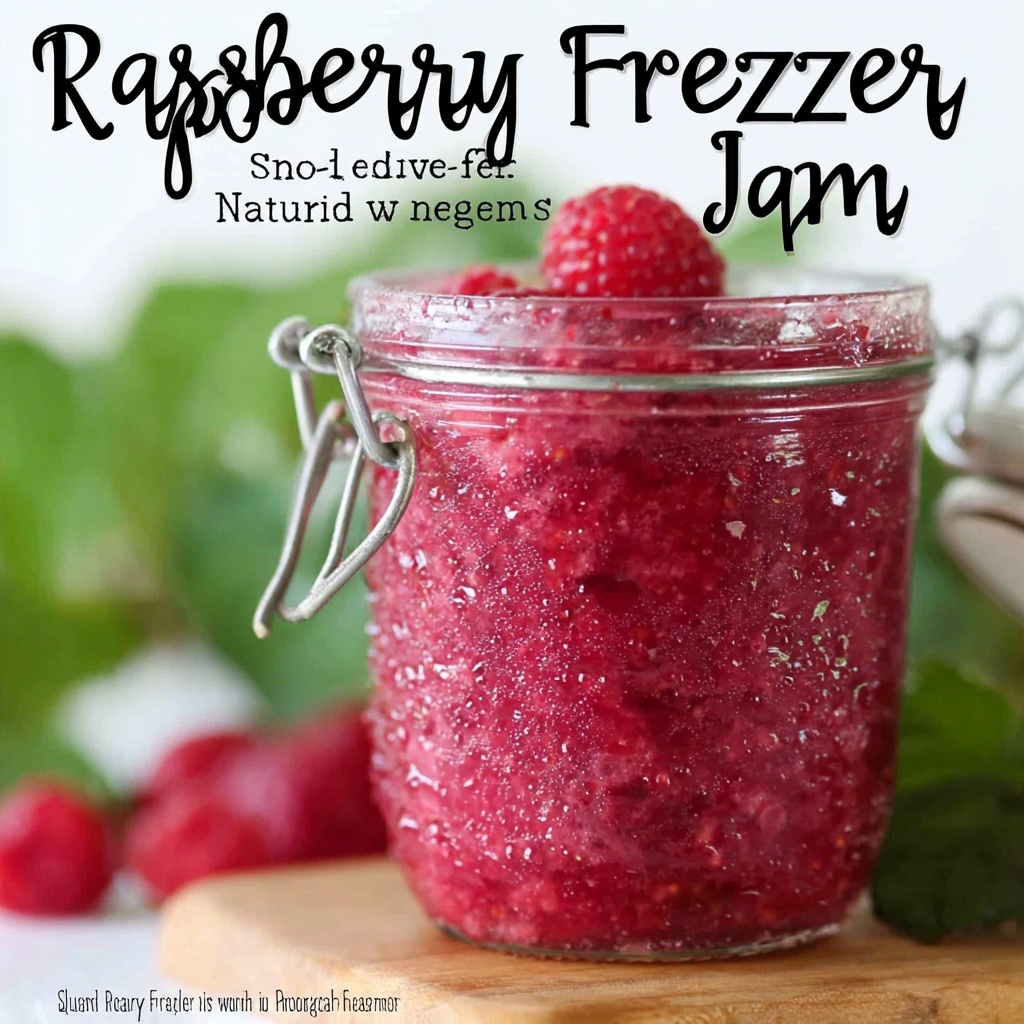
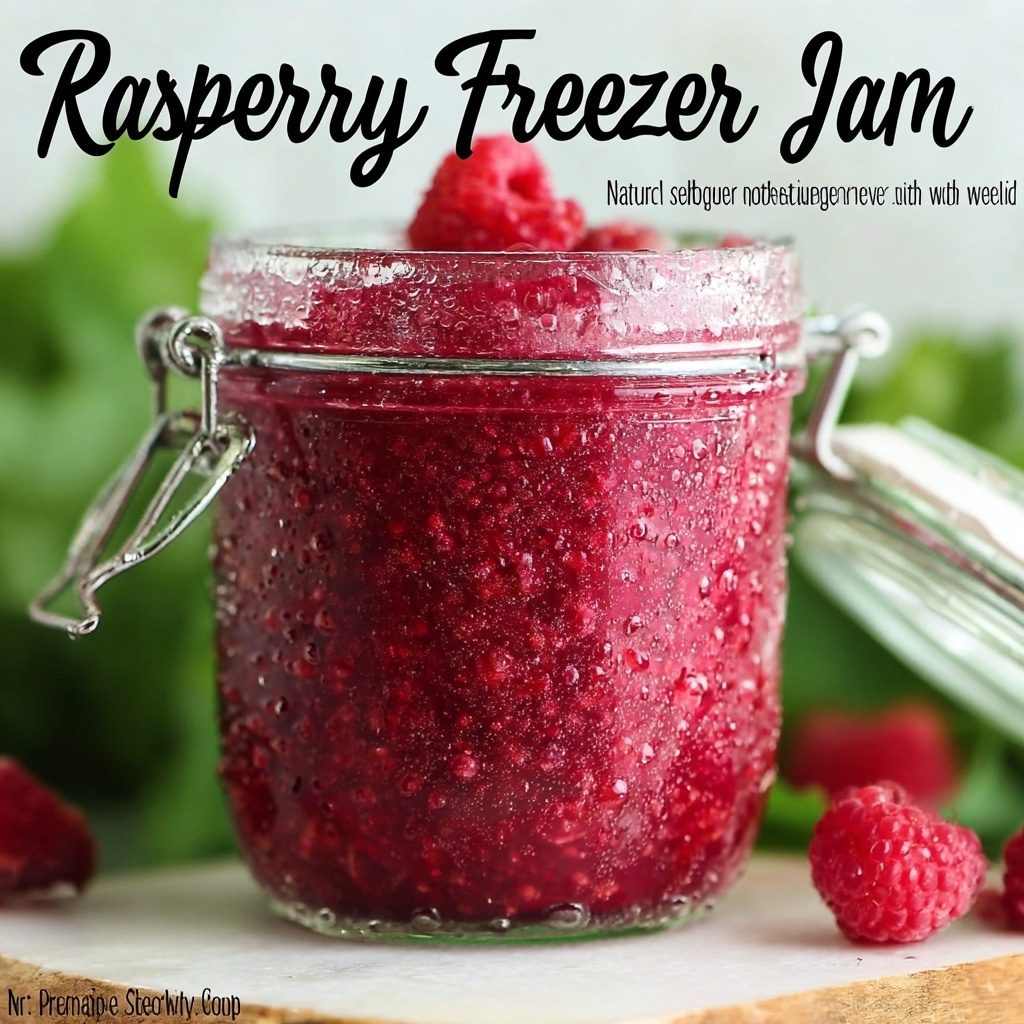
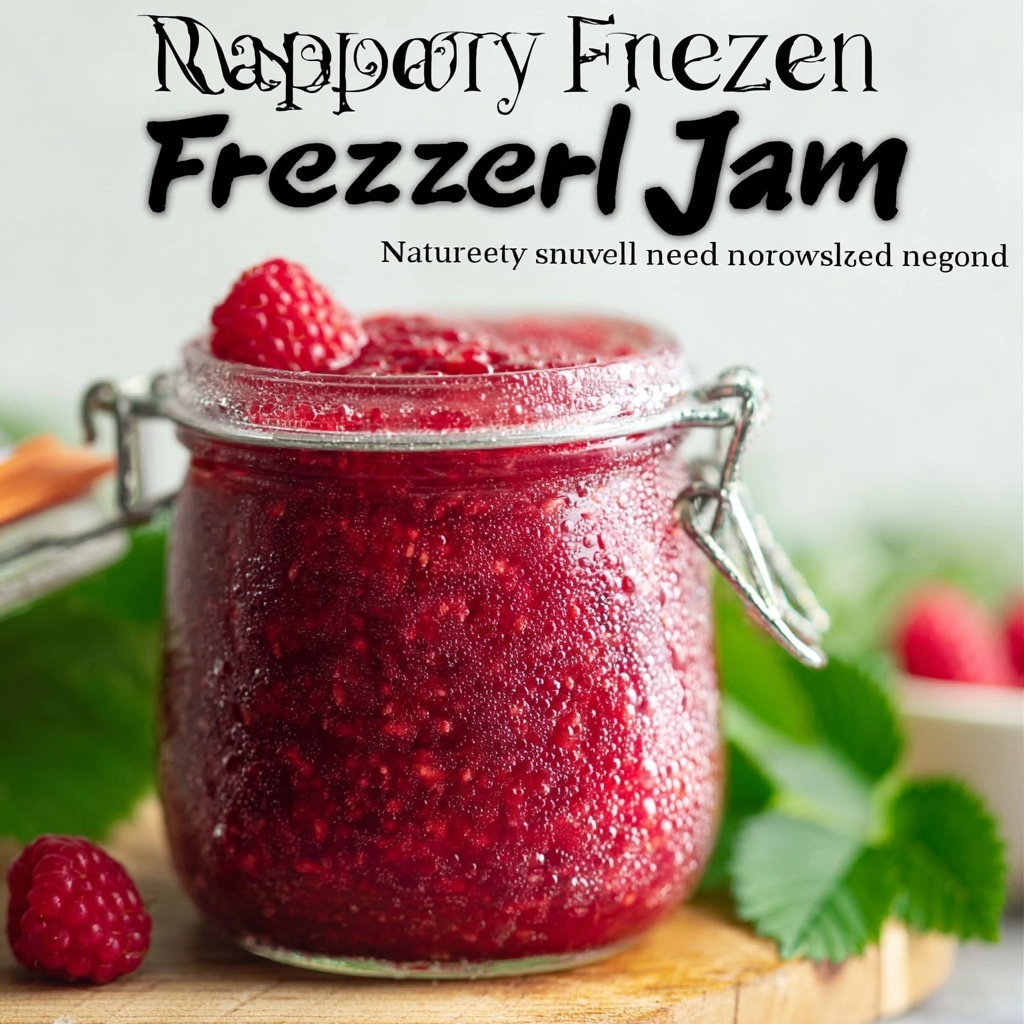
If you’ve been on the hunt for a delightfully simple, vibrant spread that bursts with fresh berry flavor and needs no long cooking or canning skills, this Freezer Raspberry Jam Recipe is calling your name. Crafted with just a handful of wholesome ingredients and a touch of magic from chia seeds, this jam captures the bright, natural sweetness of raspberries while keeping the process easy and approachable. Whether you’re a jam newbie or a seasoned preserve pro, this recipe brings together the perfect balance of texture, tartness, and wholesome goodness that you’ll want to spoon onto everything from morning toast to afternoon yogurt.
Ingredients You’ll Need
This Freezer Raspberry Jam Recipe is wonderfully straightforward, relying on a few essential, high-quality ingredients. Each one plays an important role: raspberries for that juicy, tangy punch, honey to add natural sweetness and depth, lemon juice to brighten the flavor, and chia seeds to give the jam its luscious, spreadable thickness without any added pectin.
- 3 pints raspberries: Fresh and ripe berries offer the jam its vibrant color and fresh-tart flavor.
- 3/4 cup honey: A natural sweetener that balances the tang of the fruit; feel free to adjust to your taste.
- 3 tablespoons lemon juice: Adds brightness and helps preserve the raspberry’s natural color.
- 3 tablespoons chia seeds (optional): These thicken the jam naturally, no cooking tricks needed, and boost nutrition.
- Cinnamon stick or scraped vanilla pod (optional): Infuse warmth or floral notes for a sophisticated twist.
How to Make Freezer Raspberry Jam Recipe
Step 1: Combine and Heat the Fruit
Start by placing your rinsed raspberries, honey, and lemon juice in a large pot. Turn the burner to medium-high and bring the mixture to a gentle boil. This is where all those fresh flavors begin to mingle and soften, preparing the base for your jam.
Step 2: Simmer and Add Texture
Lower the heat to simmer and stir in the chia seeds. If you want to add a hint of spice or softness, toss in a cinnamon stick or a scraped vanilla pod now. Let everything simmer gently for 10 to 15 minutes, stirring occasionally. Keep an eye on the thickness by spooning a bit onto a cold plate—remember, it will thicken more as it cools, so don’t worry if it’s not jammy enough just yet.
Step 3: Prepare Your Jars
While your jam simmers, fill your glass jars with warm-hot water. This warms them up, preventing the jam from cooling too fast and ensuring a smoother texture. Leave them filled until you’re ready to pour in the jam.
Step 4: Jar and Chill
Once your jam has reached that perfect consistency, empty the jars and carefully fill them, leaving about 1/2 to 1 inch of space at the top. Instead of sealing tightly right away, cover the jars loosely with a clean tea towel or paper towel and let them cool to room temperature. Then, pop the jars into the fridge to chill overnight before transferring them to the freezer. Properly stored, your homemade Freezer Raspberry Jam Recipe will stay delicious for up to one year.
How to Serve Freezer Raspberry Jam Recipe
Garnishes
Adding a few fresh raspberry halves or a sprig of mint on top of your jam-topped dishes can instantly elevate presentation and flavor. A light dusting of powdered sugar or a swirl of whipped cream also complements the vibrant tartness of the jam beautifully.
Side Dishes
This jam pairs wonderfully with buttery toast or warm croissants for breakfast, but don’t stop there. It also makes an exquisite companion to creamy cheeses like brie or goat cheese, adding a sweet-tart burst that livens up your cheese boards. For a lighter snack, spread it on crackers alongside nut butters.
Creative Ways to Present
Try folding this jam into yogurt parfaits layered with granola and fresh fruit for a quick treat. Wave goodbye to boring peanut butter sandwiches by swapping in your vibrant raspberry jam with a sprinkle of chopped nuts for texture. Or, dollop over ice cream or pancakes for an instantly joyful dessert or brunch addition.
Make Ahead and Storage
Storing Leftovers
Your Freezer Raspberry Jam Recipe keeps best when stored in clean, airtight jars in the freezer. Once thawed, try to use it within a few weeks for the best texture and flavor. Be sure to use a clean spoon each time to keep the jam fresh and avoid contamination.
Freezing
Freezing is the perfect preserving method for this jam since it keeps the bright raspberry flavor intact without needing added preservatives. After chilling overnight in the fridge, transfer the jam jars to the freezer. Remember to leave headspace in the jars to allow for expansion as they freeze.
Reheating
If you prefer your jam softer, gently warm it on the stovetop or microwave in short intervals, stirring until it reaches your desired consistency. But honestly, this jam is delightful straight from the jar, spread thick and chilled!
FAQs
Can I use frozen raspberries for this jam?
Absolutely! Frozen raspberries work well and can actually save you time since they’re already thawed during cooking. Just be sure to defrost and drain excess liquid if possible to avoid a watery jam.
Is honey the only sweetener I can use?
Not at all! You can swap honey for maple syrup, agave nectar, or even granulated sugar if you prefer. Just adjust the amount to your taste because each sweetener has a different level of sweetness.
What if I don’t want to use chia seeds?
Chia seeds help thicken the jam naturally, but if you skip them, your jam will be a bit looser—more like a raspberry syrup. You can cook it longer to reduce liquid or add some pectin if you want a firmer set.
How long does this jam last once thawed?
Once taken out of the freezer and thawed, it’s best to consume your jam within 2 to 3 weeks for peak freshness and flavor. Keep it refrigerated during this time.
Can I double the recipe?
Yes, this recipe scales up beautifully. Just make sure you have a pot large enough to accommodate the berries and that you follow the same cooking and cooling steps to ensure consistent results.
Final Thoughts
There is something truly special about making your own jam, especially one as fresh, vibrant, and fuss-free as this Freezer Raspberry Jam Recipe. It’s a joyful way to savor summer’s best berries long after they’re gone, and every spoonful feels like a little celebration of homemade goodness. I hope you’ll give this recipe a try and discover just how easy and rewarding jam-making can be. Your mornings might just get a whole lot sweeter!
Print
Freezer Raspberry Jam Recipe
- Prep Time: 10 minutes
- Cook Time: 15 minutes
- Total Time: 25 minutes
- Yield: 6 jars (6 to 8 ounces each)
- Category: Jam and Preserves
- Method: Stovetop
- Cuisine: American
- Diet: Low Fat
Description
This Freezer Raspberry Jam recipe offers a simple and natural way to preserve the fresh sweetness of raspberries using honey as a sweetener. With optional chia seeds to thicken and aromatic hints from cinnamon or vanilla, this jam is perfect for spreading on toast or adding to desserts. It’s easy to make on the stovetop and stored in the freezer to keep it fresh for up to a year.
Ingredients
Jam Ingredients
- 3 pints raspberries (about 6 cups), rinsed and picked over
- 3/4 cup honey (or more to taste)
- 3 tablespoons lemon juice
- 3 tablespoons chia seeds (optional for a thicker jam)
- Optional: 1 cinnamon stick or 1 scraped vanilla pod
Instructions
- Combine Ingredients: Place the raspberries, honey, and lemon juice into a large pot. Turn the burner to medium-high heat and bring the mixture to a boil, stirring occasionally to prevent sticking.
- Simmer and Thicken: Reduce the heat to low to maintain a gentle simmer. Stir in the chia seeds if using, and add the cinnamon stick or vanilla pod for flavor if desired. Let the jam simmer for 10 to 15 minutes until it thickens. To test thickness, spoon a small amount onto a plate and refrigerate for a few minutes; the jam will thicken further as it cools.
- Prepare Jars: While the jam cooks, fill your canning jars with hot water to warm them. This step helps prevent the jars from breaking when filled with hot jam and improves sealing.
- Fill and Cool Jars: Once the jam has reached the desired consistency, discard the hot water from the jars and fill them with the jam, leaving 1/2 to 1 inch of headspace at the top. Cover the jars loosely with a tea towel or paper towel and allow them to cool to room temperature.
- Refrigerate and Freeze: After cooling, transfer the jars to the refrigerator to chill overnight. Once chilled, seal the jars and store them in the freezer for up to one year to preserve freshness.
Notes
- For a thinner jam, omit the chia seeds.
- Honey acts as a natural sweetener; adjust the quantity based on your taste preference and the sweetness of the raspberries.
- The lemon juice adds brightness and helps with preservation.
- Chia seeds not only thicken the jam but also add a boost of fiber and omega-3 fatty acids.
- To avoid botulism, always use clean jars and store the jam in the freezer rather than at room temperature.
- Jam will continue to thicken as it cools; avoid overcooking which can lead to a very dense texture.

