
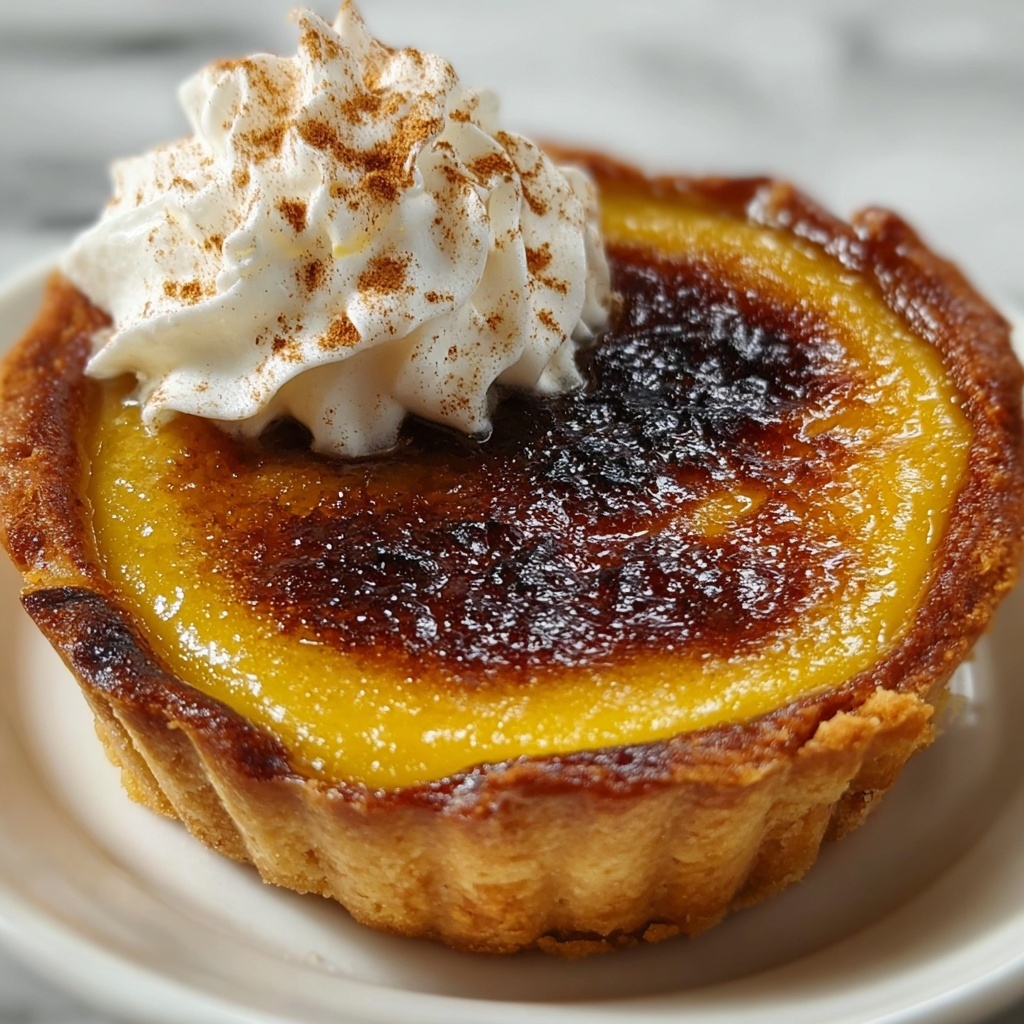
If you are searching for a dessert that’s rich, unique, and absolutely unforgettable, this Burnt Honey Pie Recipe is about to become your new favorite. It’s a sumptuous combination of caramelized honey flavor with a silky custard texture nestled inside a tender, flaky crust. This pie strikes the perfect balance between sweet and slightly smoky, bringing a warm complexity that feels both comforting and a little bit magical. Whether you’re baking for a special occasion or a cozy night in, this Burnt Honey Pie Recipe offers an incredible taste adventure with every bite.
Ingredients You’ll Need
Believe it or not, creating this delightful Burnt Honey Pie Recipe starts with a handful of pantry staples that work together harmoniously. Each ingredient plays a crucial role, from the flaky crust to the luscious filling, making this dish simple yet spectacular.
- All-purpose flour: The base for the buttery crust, giving structure and a tender crumb.
- Granulated sugar: Adds subtle sweetness and helps with browning the crust.
- Salt: Enhances all of the flavors, balancing sweetness beautifully.
- Unsalted butter (chilled and room temperature): Brings richness to both crust and filling for that melt-in-your-mouth texture.
- Ice water: Keeps the crust dough cool, ensuring flakiness during baking.
- Honey: The star ingredient, which is cooked down to develop that signature burnt depth and complexity.
- Heavy cream: Adds creaminess and smoothness to the filling.
- Cornstarch: Acts as a thickener, helping the filling set perfectly.
- Eggs: Provide structure and richness, binding the filling together.
- Vanilla extract: Infuses warm aromatic notes that complement the honey flawlessly.
- Ground cinnamon: Adds subtle spice for warmth and depth.
- Ground nutmeg: Complements the cinnamon with its unique, slightly sweet spice.
How to Make Burnt Honey Pie Recipe
Step 1: Preparing the Oven and Crust
Start by preheating your oven to 350°F (175°C) so it’s ready when you need it. Then, mix the dry ingredients — flour, sugar, and salt — for the crust in a large bowl. Add the chilled cubed butter and work it into the flour until the texture resembles coarse crumbs. This step is key to creating that flaky and tender crust everyone loves.
Step 2: Forming and Baking the Pie Crust
Slowly add the ice water, just enough for the dough to come together without getting sticky. Wrap the dough ball, and let it rest in the fridge for at least 30 minutes — this chilling helps maintain the crust’s delicate texture. After resting, roll out the dough, fit it into a 9-inch pie pan, trim any excess, and poke holes in the bottom with a fork to prevent bubbling. Then bake it for 10-12 minutes, just until it’s lightly browned. This prebaking ensures your crust won’t get soggy once the luscious filling goes in.
Step 3: Heating and Burning the Honey
With your crust ready, increase the oven temperature to 375°F (190°C). Now for the really fun part: gently heat the honey on the stove over medium-high heat until it bubbles and develops a deeper amber shade — this burnt honey flavor is the essence of the pie, adding a wonderfully complex sweetness with a slight smoky edge. Let it cool slightly before moving on.
Step 4: Creating the Silky Filling
Whisk together the heavy cream, room temperature butter, and cornstarch until silky smooth, then add the eggs one by one. Stir in the vanilla extract and spices—cinnamon, nutmeg, and a pinch of salt—that perfectly accentuate the honey’s flavor. Now combine the warm burnt honey with this mixture slowly, whisking constantly to avoid any curdling. The result? A perfectly smooth, rich custard that fills the pie with dreamy consistency.
Step 5: Baking the Pie
Pour that beautiful filling into your prebaked crust and smooth the top. Pop it into your hotter oven and bake for 35-40 minutes until the filling is mostly set with a slight wobble in the center—this is how you know it will be creamy and delicious once chilled. Remove the pie, cool it on a wire rack, then refrigerate for at least 2 hours to let it fully set. Patience here pays off beautifully!
How to Serve Burnt Honey Pie Recipe
Garnishes
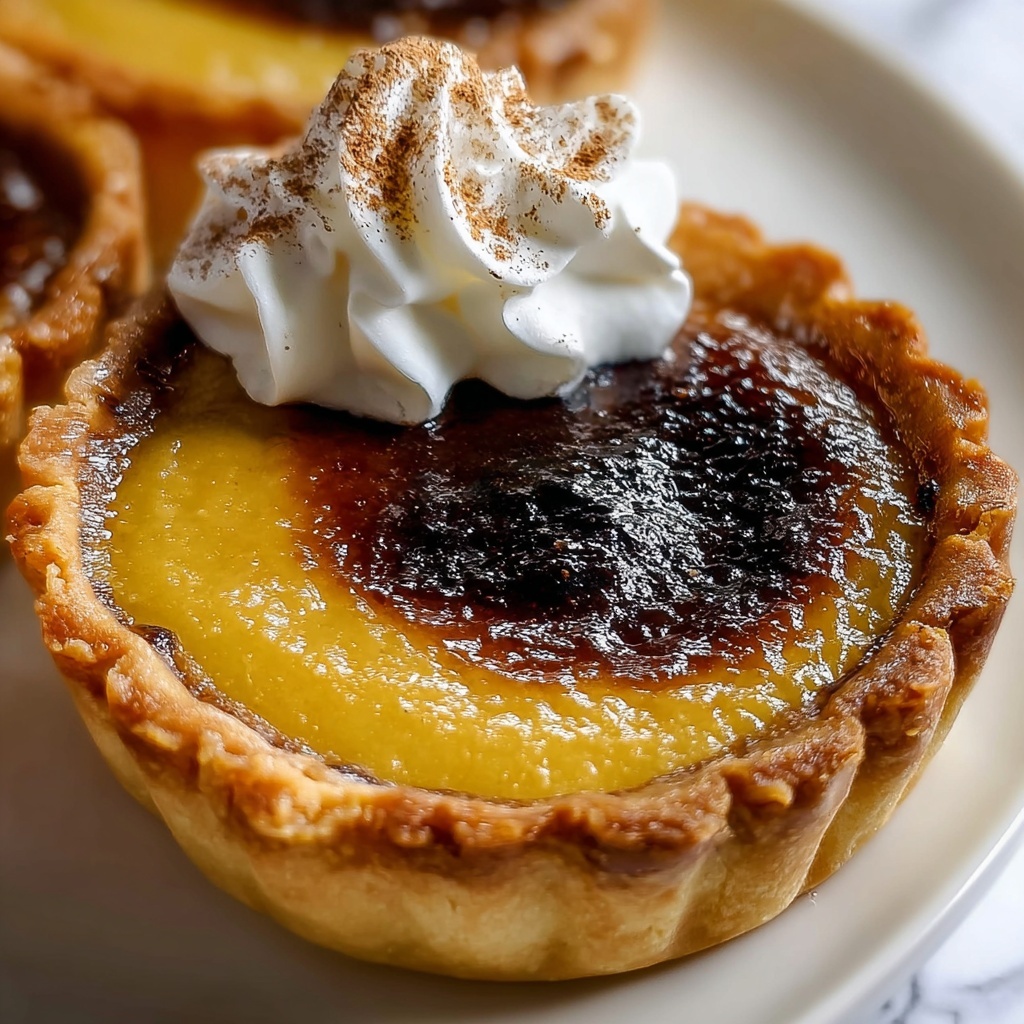
Serve your Burnt Honey Pie Recipe with a light dusting of powdered sugar or a drizzle of additional honey for a glossy finish. Whipped cream infused with a hint of cinnamon or vanilla adds a delicate airiness that contrasts wonderfully with the dense custard. Toasted nuts, such as pecans or walnuts, can also be sprinkled on top for a delightful crunch and nutty flavor boost.
Side Dishes
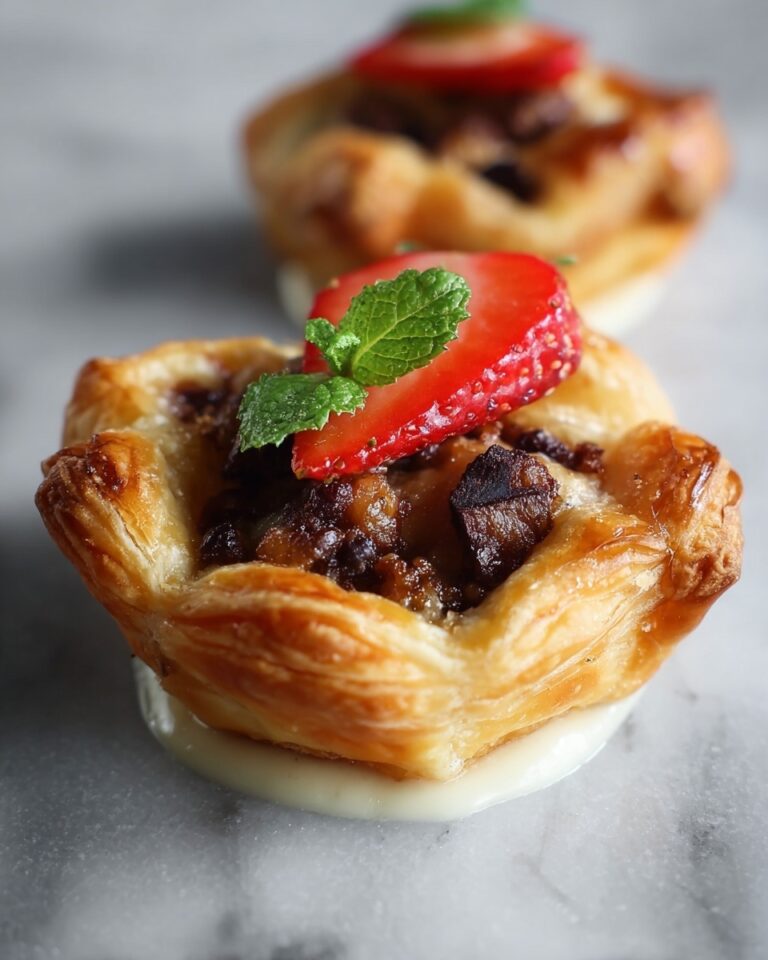
This pie pairs beautifully with a scoop of creamy vanilla ice cream or a dollop of crème fraîche to add cool richness. Fresh berries, like raspberries or sliced strawberries, offer bright, tart notes that balance the pie’s sweet and smoky flavors. For a cozy touch, a warm cup of spiced tea or a robust coffee complements the dessert perfectly.
Creative Ways to Present
For a special occasion, serve individual slices on elegant plates with a small sprig of fresh mint for a pop of color. You could also create mini versions in tart pans for a charming party treat. Experiment with layered presentations by placing slices alongside other honey and spice-inspired desserts for a themed spread that will impress your guests.
Make Ahead and Storage
Storing Leftovers
After enjoying your pie, store any leftovers covered tightly in the refrigerator. The flavors meld even more after a day, making it taste even better. Keep it chilled, ideally in an airtight container or wrapped well with plastic wrap, to ensure the crust stays crisp and the filling remains creamy.
Freezing
If you’re planning ahead, this Burnt Honey Pie Recipe can be frozen once fully baked and cooled. Wrap it securely with plastic wrap and then foil to protect it from freezer burn. When you’re ready to enjoy, thaw it overnight in the refrigerator. While freezing can slightly soften the crust, reheating gently helps bring back some of that fresh-baked texture.
Reheating
To warm up a slice, place it in a low oven (about 300°F/150°C) for 10-15 minutes to revive the custard’s creaminess and crisp the crust slightly. Avoid microwaving as it can make the texture rubbery and watery; a gentle oven reheat keeps the pie tasting just as lovely as when freshly baked.
FAQs
What makes this a “burnt” honey pie?
The term “burnt” refers to the process of gently heating honey until it deepens in color and flavor, developing a smoky, caramelized essence that adds depth and sophistication to the pie’s filling.
Can I use a store-bought pie crust?
Absolutely! While homemade crust offers the best texture and flavor, a good-quality store-bought crust works well too and simplifies the process, especially for busy bakers.
Is this pie gluten-free friendly?
Not as written, since the crust is made with all-purpose flour. However, you could experiment with gluten-free flour blends to make the crust if you need to avoid gluten.
How long can I keep the pie refrigerated?
For optimal freshness, enjoy the pie within 3-4 days of baking. Make sure it stays well covered to prevent it from absorbing any refrigerator odors.
Can I make this pie dairy-free?
You can substitute butter with a plant-based alternative and use coconut cream instead of heavy cream, but be aware that the flavors and texture may differ slightly from the original recipe.
Final Thoughts
This Burnt Honey Pie Recipe is truly one of those special desserts that bring warmth and joy to any table. Its rich caramel notes combined with the tender crust create a comforting yet sophisticated experience that you’ll be excited to share with friends and family. If you love dessert with character and a beautiful balance of flavors, there’s no better time to bake this pie and make it a cherished tradition in your own kitchen.
Print
Burnt Honey Pie Recipe
- Prep Time: 0h 30m
- Cook Time: 1h 0m
- Total Time: 1h 30m
- Yield: 8 servings
- Category: Dessert
- Method: Baking
- Cuisine: American
- Diet: Vegetarian
Description
This Burnt Honey Pie is a decadent dessert featuring a flaky homemade crust filled with a rich, caramelized honey custard infused with warm spices. The pie’s unique burnt honey flavor is achieved by gently cooking honey until it darkens, creating a deep, complex sweetness balanced by creamy textures and aromatic cinnamon and nutmeg. Perfect for special occasions or cozy gatherings, this pie offers a delightful twist on traditional honey desserts.
Ingredients
For the Crust
- 1 1/4 cups all-purpose flour
- 1/2 cup granulated sugar
- 1/2 teaspoon salt
- 1/2 cup (1 stick) unsalted butter, chilled and cubed
- 3 tablespoons ice water
For the Filling
- 1/2 cup honey
- 1/4 cup heavy cream
- 1/4 cup unsalted butter, at room temperature
- 2 tablespoons cornstarch
- 3 large eggs
- 1 teaspoon vanilla extract
- 1/2 teaspoon ground cinnamon
- 1/4 teaspoon ground nutmeg
- 1/4 teaspoon salt
Instructions
- Preheat the oven: Set your oven to 350°F (175°C) to prepare for baking the pie crust.
- Prepare the crust mixture: In a large mixing bowl, combine the flour, sugar, and salt. Add the chilled cubed butter and cut it into the flour mixture using a pastry blender or your fingers until the mixture resembles coarse crumbs, creating the base of your flaky pie crust.
- Add ice water and form dough: Slowly add the ice water, one tablespoon at a time, mixing gently just until the dough holds together. Form the dough into a ball, wrap it tightly in plastic wrap, and refrigerate it for at least 30 minutes to firm up.
- Roll and prebake the crust: Once chilled, roll out the dough on a floured surface to fit a 9-inch pie pan. Transfer the dough to the pan, trim any excess edges, and prick the bottom with a fork to prevent bubbling. Bake in the preheated oven for 10-12 minutes or until the crust begins to turn lightly golden. Remove and set aside.
- Increase oven temperature: Raise the oven heat to 375°F (190°C) to prepare for baking the filled pie.
- Create the burnt honey: In a saucepan over medium-high heat, gently heat the honey until it begins to bubble and darken, about 5-7 minutes. This process caramelizes the honey to develop a deep, burnt flavor. Remove from heat and let cool slightly to prevent cooking the eggs in the filling.
- Make the filling base: In a separate bowl, whisk together heavy cream, room temperature butter, and cornstarch until smooth. Gradually whisk in the eggs, one at a time, followed by vanilla extract, ground cinnamon, ground nutmeg, and salt to build a flavorful custard base.
- Incorporate burnt honey: Slowly add the cooled burnt honey into the cream and egg mixture, whisking continuously to ensure a smooth texture without curdling the eggs, blending the smoky sweetness into the custard.
- Fill the crust: Pour the honey custard filling into the prebaked pie crust, smoothing the top with a spatula for an even surface.
- Bake the pie: Place the pie in the oven preheated to 375°F and bake for 35-40 minutes, until the filling is set but still slightly wobbly in the center, indicating a perfect custard texture.
- Cool and chill: Remove the pie from the oven and allow it to cool on a wire rack. Once at room temperature, refrigerate for at least 2 hours to fully set and enhance flavors before serving.
Notes
- Make sure the butter for the crust is very cold to create a flaky texture.
- Do not overheat the honey, as burnt honey can become bitter; watch for a bubbly darkening stage around 5-7 minutes.
- Whisk the filling ingredients gently to avoid incorporating too much air, which may cause cracks.
- Chilling the pie after baking helps the filling to set properly for clean slicing.
- For added flavor, you can garnish the pie with a light dusting of cinnamon or toasted nuts before serving.


