
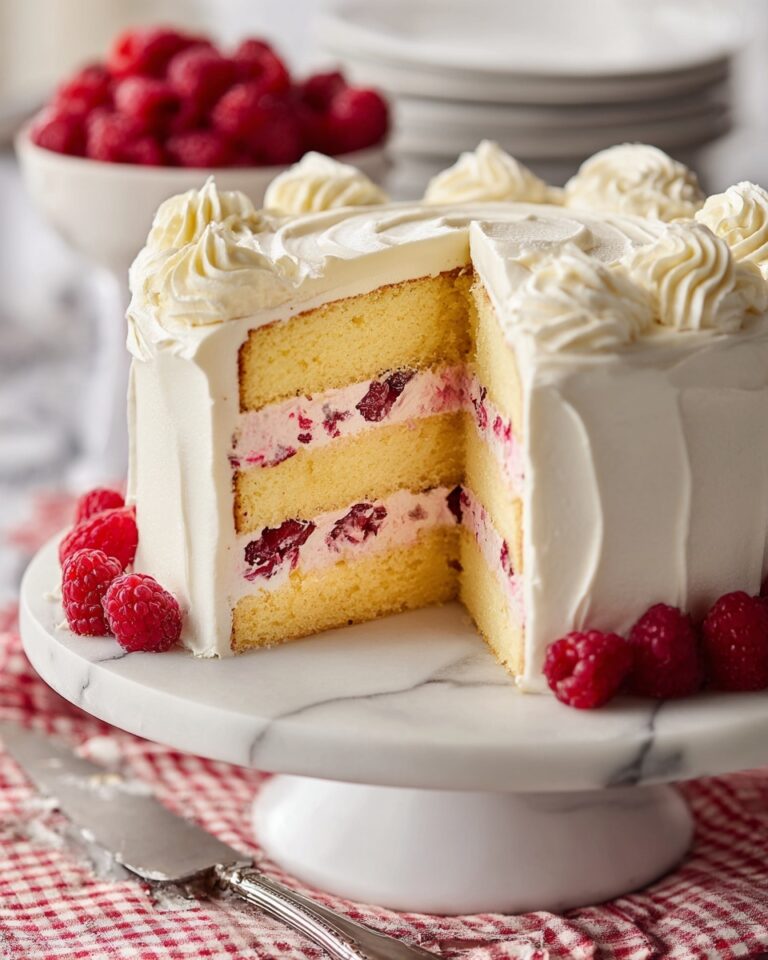
If you have a sweet tooth and love a bit of nostalgia, this Homemade Ice Cream Cake Recipe is an absolute game-changer. Combining the soft, fluffy goodness of cake with the creamy, cool delight of ice cream, it’s like having the best of both worlds in every bite. Whether you’re celebrating a special occasion or just craving a fun frozen treat, this recipe is simple, approachable, and guaranteed to bring big smiles to your table.
Ingredients You’ll Need
Gathering the right ingredients is the first step to creating this irresistible dessert. Each component plays a key role, adding flavor, texture, and that classic look you expect from a dreamy ice cream cake.
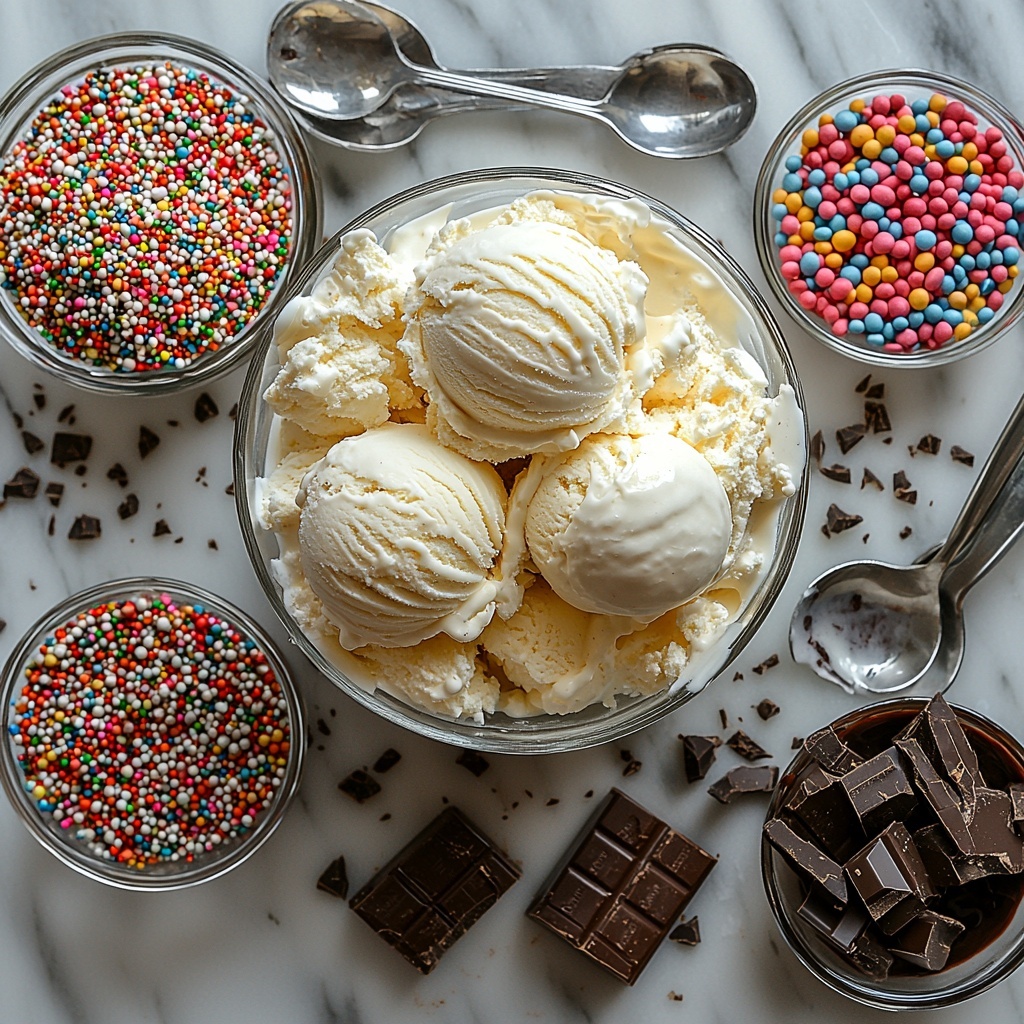
- 2 cups ice cream (your favorite flavor): Choose a flavor that you love, as it will shine through and make this cake uniquely yours.
- 1 box (15.25 oz) chocolate or vanilla cake mix: A classic base that’s easy to whip up and pairs perfectly with ice cream.
- 1 cup whipped topping (store-bought or homemade): Adds a light, airy frosting layer that softens the rich cake and ice cream.
- 1/2 cup hot fudge sauce: For that luscious, decadent drizzle that makes each bite extra special.
- 1/4 cup sprinkles: Colorful and festive, these add a pop of fun and texture to the final presentation.
How to Make Homemade Ice Cream Cake Recipe
Step 1: Bake the Cake Layers
Start by preheating your oven to 350°F (175°C). Grease two round cake pans to ensure your cake layers come out cleanly. Prepare your cake mix according to the package instructions, then divide the batter evenly between the pans. Bake for 25-30 minutes until the tops are golden brown and a toothpick comes out clean. Once baked, set the cakes aside to cool completely — this step is crucial so the ice cream layers don’t melt when you assemble.
Step 2: Soften and Spread the Ice Cream
Let your ice cream sit at room temperature for about 10-15 minutes so it softens just enough to spread smoothly without melting away. Take one cooled cake layer and spread a generous layer of softened ice cream evenly over the top. This adds a creamy middle layer that balances the cake’s texture perfectly.
Step 3: Add the Second Cake Layer and Ice Cream
Place the second cooled cake layer on top of the ice cream-covered first layer. Now, spread another layer of ice cream over this top cake, fully covering the surface. This double layering creates that iconic ice cream cake structure that’s so fun to slice into.
Step 4: Frost with Whipped Topping
Using a spatula or piping bag, frost the entire cake with your whipped topping. This step adds a smooth, pretty finish that’s light and sweet, tying all the layers together. The whipped topping isn’t just for looks — it also keeps the ice cream fresh and protected in the freezer.
Step 5: Drizzle Hot Fudge and Sprinkle Color
Generously drizzle hot fudge sauce over the top of the frosted cake. This adds a rich chocolate layer that melts delightfully with each bite. Finish by scattering rainbow sprinkles across the top to make your ice cream cake as playful and colorful as it is delicious.
Step 6: Freeze and Rest Before Serving
Place your assembled cake in the freezer for at least 2 hours to set everything in place. Before serving, let it rest at room temperature for about 10 minutes to soften slightly — making slicing neat and easier while keeping that perfect creamy texture.
How to Serve Homemade Ice Cream Cake Recipe
Garnishes
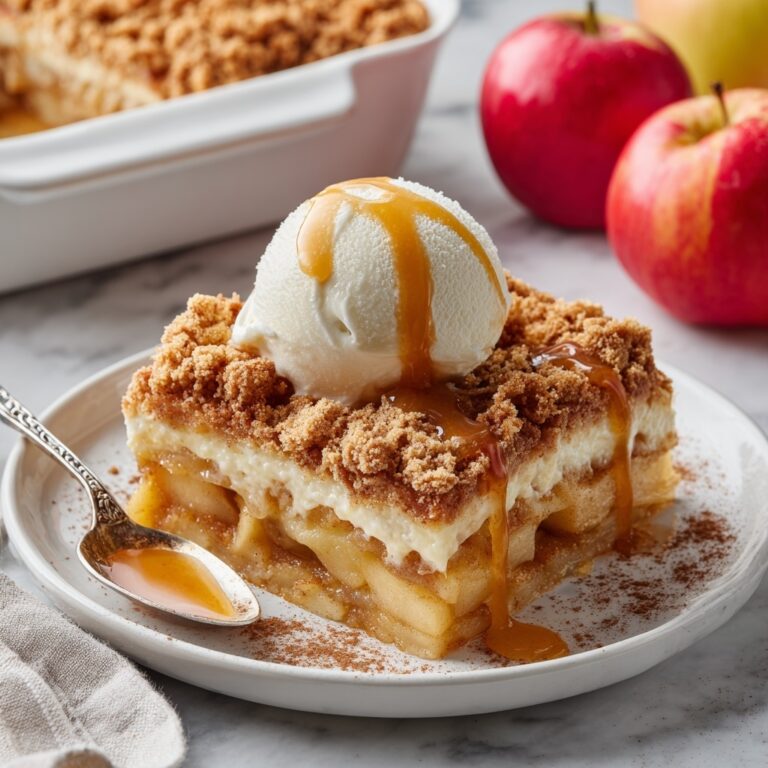
To elevate your Homemade Ice Cream Cake Recipe even more, think beyond sprinkles. Fresh berries like strawberries or raspberries add a juicy brightness, while a few mint leaves bring a refreshing aroma and pop of green. You can also sprinkle crushed nuts for a nutty crunch that contrasts beautifully with the smooth ice cream.
Side Dishes
This cake pairs wonderfully with classic dessert sides such as a light fruit salad to balance the richness or a coffee or espresso for an indulgent flavor contrast. A scoop of fresh fruit sorbet on the side can also add an extra cold, tart layer that complements the creamy sweet cake.
Creative Ways to Present
Looking to impress? Try serving your ice cream cake in individual clear glass bowls with layered cake and ice cream for a trifle-style treat. Alternatively, place small slices on colorful dessert plates, topping each with a dollop of whipped cream and a drizzle of chocolate sauce. You could even customize each serving with different toppings so everyone gets their personal favorite.
Make Ahead and Storage
Storing Leftovers
Once you’ve enjoyed a few slices, make sure to store leftover Homemade Ice Cream Cake Recipe airtight in the freezer. Cover it tightly with plastic wrap or foil to protect it from freezer burn and maintain that fresh flavor and texture for up to a week.
Freezing
This cake is made to be frozen! The ice cream holds it all together and tastes best when kept cold. You can freeze the fully assembled cake for several days before serving, which makes it a fantastic option for prepping ahead of time for parties or celebrations.
Reheating
Since it’s an ice cream-based dessert, reheating is not necessary or recommended. Instead, allow the cake to sit for 10-15 minutes at room temperature before slicing to make cutting easier without melting the ice cream completely.
FAQs
Can I use store-bought ice cream or should I make my own?
You absolutely can use store-bought ice cream, and it works wonderfully for this recipe. The key is to let it soften for spreading. Homemade ice cream is great too if you want to customize flavors, but the convenience of good-quality store-bought is perfect here.
What if I don’t have whipped topping? Can I use frosting instead?
Whipped topping is preferred because it’s light and easy to spread over frozen ice cream, but if you don’t have it, you could try a whipped cream frosting for a fresh taste. Avoid thick buttercream as it might harden too much when frozen.
Can I substitute the cake mix with a homemade cake recipe?
Definitely! Any cake recipe that yields a moist, sturdy cake will work. Using a box mix is a quick shortcut, but your own scratch cake can add a personal touch and unique flavor to the ice cream cake.
How long should I let the cake sit before slicing?
About 10 minutes at room temperature is ideal. This short wait lets the ice cream soften slightly for easier, cleaner slicing without turning melty and messy.
Can I make this cake in different shapes or sizes?
Yes! While round pans are classic for ice cream cakes, square or rectangular pans work just as well. Just make sure your layers are even and the cake fits comfortably in your freezer for setting.
Final Thoughts
Trying this Homemade Ice Cream Cake Recipe is like bringing a little party into your kitchen. It’s simple enough for any day but impressive enough for special moments. The combination of cake, ice cream, and fudge creates a timeless dessert that brings smiles and joy every time. So don’t hesitate — give yourself the gift of this delightful treat and watch your loved ones light up with every bite!
Print
Homemade Ice Cream Cake Recipe
- Prep Time: 30 minutes
- Cook Time: 30 minutes
- Total Time: 3 hours (includes freezing time)
- Yield: 12 servings
- Category: Dessert
- Method: Baking
- Cuisine: American
Description
This Homemade Ice Cream Cake combines the rich flavors of your favorite ice cream with moist chocolate or vanilla cake layers, topped with fluffy whipped topping, hot fudge sauce, and colorful sprinkles. It’s a perfect no-bake dessert that can be prepared ahead for celebrations and enjoyed frozen.
Ingredients
Cake
- 1 box (15.25 oz) chocolate or vanilla cake mix
- Ingredients as per cake mix package instructions (usually eggs, oil, and water)
Ice Cream Layer
- 2 cups ice cream (your favorite flavor)
Toppings
- 1 cup whipped topping (store-bought or homemade)
- 1/2 cup hot fudge sauce
- 1/4 cup sprinkles
Instructions
- Prepare the Cake Layers: Preheat your oven to 350°F (175°C). Grease two round cake pans. Prepare the cake mix according to the package instructions, then divide the batter evenly between the two pans. Bake for 25-30 minutes until the cakes are golden brown and a toothpick inserted in the center comes out clean. Remove from the oven and allow to cool completely.
- Soften the Ice Cream: Let the ice cream sit at room temperature for 10-15 minutes to soften slightly, making it easier to spread.
- Assemble First Ice Cream Layer: Spread one layer of softened ice cream evenly over one of the cooled cake layers.
- Add Second Cake Layer and Ice Cream: Place the second cake layer on top of the ice cream layer. Then spread the remaining softened ice cream evenly over the top of this layer.
- Frost the Cake: Use a spatula or piping bag to cover the entire cake with whipped topping, creating a smooth frosting layer.
- Add Toppings: Drizzle hot fudge sauce generously over the whipped topping and sprinkle with colorful sprinkles for decoration.
- Freeze the Cake: Place the assembled cake in the freezer for at least 2 hours to set and chill thoroughly.
- Serving Preparation: Before serving, allow the cake to sit at room temperature for about 10 minutes to soften slightly for easier slicing.
Notes
- Use high-quality ice cream for best flavor and texture.
- Make sure cakes are completely cool before adding ice cream to prevent melting.
- You can substitute whipped topping with freshly whipped cream for a richer taste.
- Allow enough freezing time to ensure the cake holds together while slicing.
- The cake can be stored in the freezer for up to 3 days.
- For additional flavor, add nuts or chocolate chips between layers.

