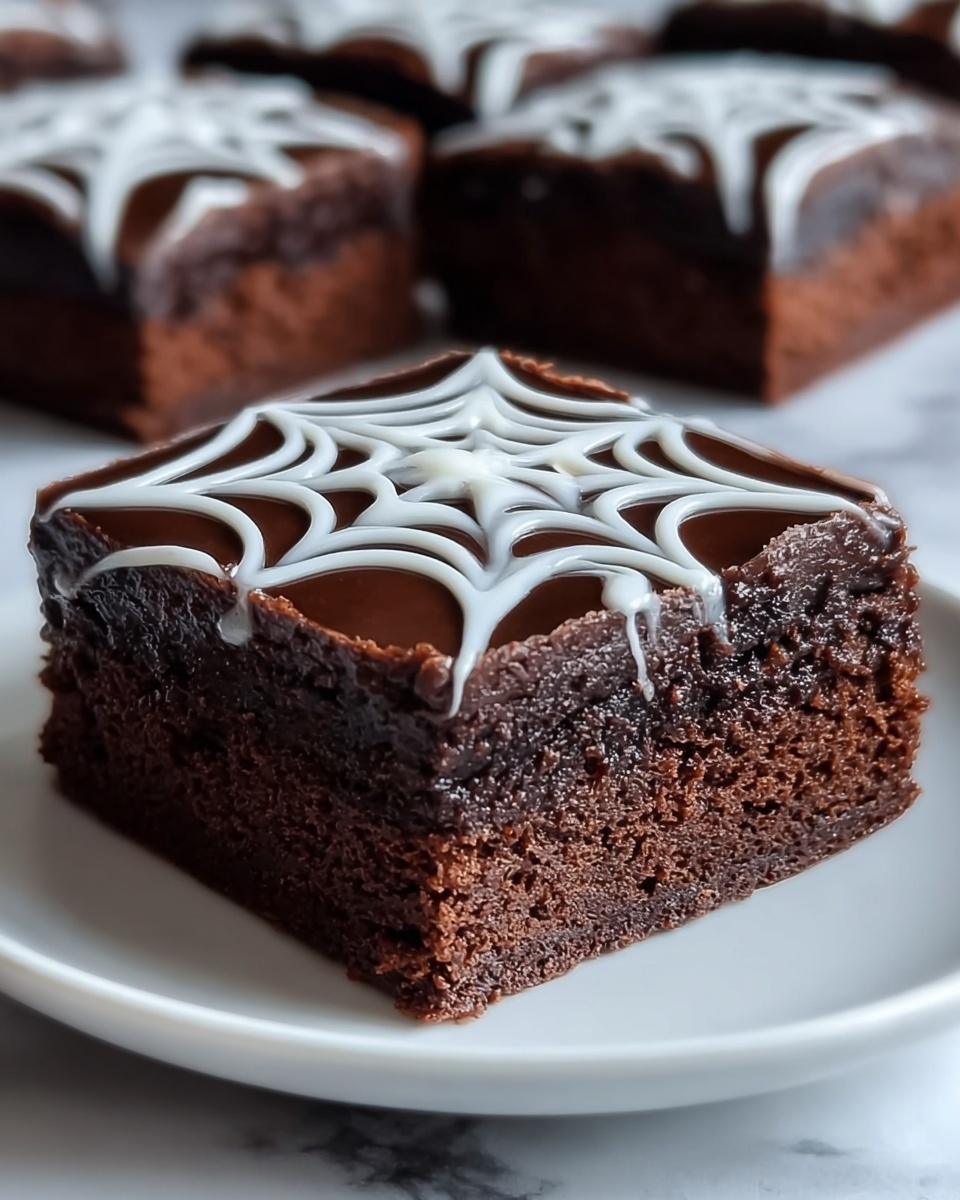
If you adore rich, fudgy brownies but love a touch of elegant artistry on your desserts, you are going to be absolutely thrilled by this White Chocolate Spiderweb Brownies Recipe. This treat combines the deep, intense flavor of dark chocolate with the creamy sweetness of white chocolate, all drizzled and patterned in a mesmerizing spiderweb design that makes each bite feel special. It’s not just a dessert; it’s an experience that’s perfect for impressing friends or satisfying your own chocolate cravings with a bit of flair.

Ingredients You’ll Need
These ingredients are straightforward yet essential for crafting the perfect balance of texture and flavor in the brownies. Each contributes something special, from the rich chocolate base to the sweet, silky white chocolate decoration.
- 1/2 cup unsalted butter: Adds a creamy richness and moist texture to the brownies.
- 4 oz high-quality dark chocolate, chopped: Provides a deep, intense chocolate flavor that’s the heart of this recipe.
- 1 cup granulated sugar: Sweetens the brownies perfectly without overpowering the chocolate.
- 2 large eggs: Bind the ingredients together and give the brownies their fudgy structure.
- 1 tsp vanilla extract: Enhances all the chocolate flavors and adds a subtle aromatic touch.
- 1/4 cup unsweetened cocoa powder: Boosts the chocolaty depth and affects the rich texture.
- 1/4 tsp salt: Balances the sweetness and intensifies the chocolate taste.
- 2 oz white chocolate, chopped: Used for creating that stunning spiderweb decoration and adds creamy sweetness on top.
How to Make White Chocolate Spiderweb Brownies Recipe
Step 1: Prep Your Pan and Oven
Start by preheating your oven to 350°F (175°C). Prepare an 8×8-inch baking pan by greasing it and lining it with parchment paper. The parchment paper overhang will make it easy to lift the brownies out later without a fuss.
Step 2: Melt Butter and Dark Chocolate
In a microwave-safe bowl or using a double boiler, gently melt the unsalted butter together with the chopped dark chocolate. Stir until the mixture is smooth and glossy, then let it cool slightly so it doesn’t scramble the eggs in the next step.
Step 3: Combine Wet and Dry Ingredients
Whisk the granulated sugar, eggs, and vanilla extract into the slightly cooled chocolate mixture until everything is fully incorporated and smooth. In a separate bowl, whisk together the cocoa powder and salt. Gradually fold the dry mixture into the wet ingredients, being careful not to overmix – this keeps your brownies wonderfully tender.
Step 4: Bake the Brownies
Pour the luscious batter into your prepared pan and smooth out the surface. Bake for about 25 to 30 minutes until a toothpick inserted in the center comes out with just a few moist crumbs clinging to it. This ensures the brownies stay fudgy rather than cakey. Let them cool completely in the pan – this is key before starting the spiderweb decoration.
Step 5: Prepare the White Chocolate for Decorating
Melt the white chocolate similarly to how you did the dark chocolate, either in a microwave or over a double boiler. Once melted, transfer it to a piping bag or a zip-top bag with a tiny corner snipped off for easy control.
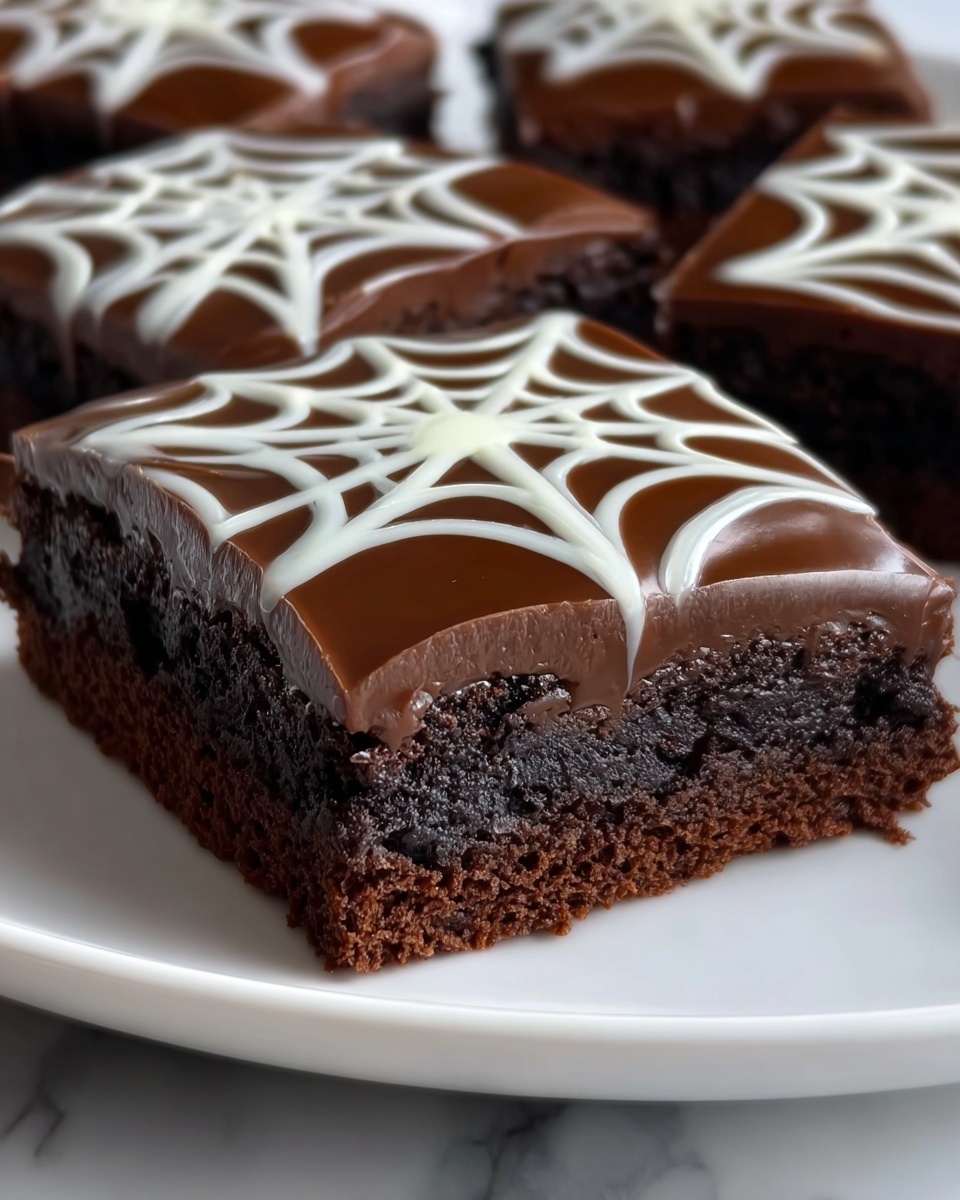
Step 6: Create the Spiderweb Design
Pipe concentric circles of white chocolate on top of the cooled brownies, starting from the center and working outwards. Then, using a toothpick or a fine-tipped tool, drag lines from the center to the edges to form that signature spiderweb effect. It’s surprisingly simple but looks so impressive!
Step 7: Set and Slice
Let your masterpiece set by placing the brownies in the refrigerator for about 15 to 20 minutes. This helps the white chocolate harden perfectly. Using the parchment paper overhang, lift the brownies out of the pan and cut them into 16 squares to serve.
How to Serve White Chocolate Spiderweb Brownies Recipe
Garnishes
A light dusting of powdered sugar adds a delicate snow-kissed look without stealing the show from the spiderweb. You can also sprinkle a few edible silver pearls or mini chocolate chips around the edges for festive flair.
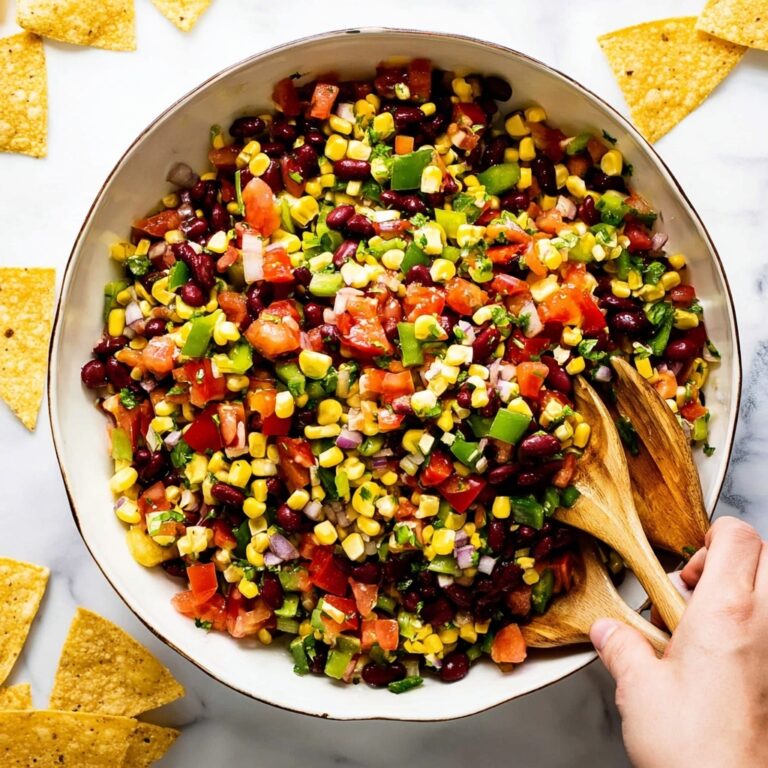
Side Dishes
These brownies shine alongside fresh raspberries or strawberries, which add a juicy brightness that complements the chocolate’s richness. For a more indulgent treat, pair them with a scoop of vanilla bean ice cream or a dollop of freshly whipped cream.
Creative Ways to Present
Try serving these brownies on a rustic wooden board with a few mint leaves scattered around for a natural, inviting look. If you’re sharing at a party, place each brownie square in festive cupcake liners to make them easy to grab and enjoy.
Make Ahead and Storage
Storing Leftovers
Store any uneaten brownies in an airtight container at room temperature for up to 3 days. Keeping them sealed preserves their softness and prevents the white chocolate design from fading or melting.
Freezing
If you want to keep them longer, wrap individual squares tightly in plastic wrap and place them in a freezer-safe bag. Frozen, these brownies will maintain their flavor and texture for up to 2 months. Thaw them at room temperature before serving.
Reheating
For that fresh-baked feel, warm a brownie square in the microwave for 10 to 15 seconds. This softens the center delightfully without compromising the white chocolate spiderweb decoration on top.
FAQs
Can I use milk chocolate instead of dark chocolate?
While the recipe calls for dark chocolate to give a rich depth and balance the sweetness, you can substitute milk chocolate if you prefer a sweeter, milder brownie. Just keep in mind it may change the intensity of the chocolate flavor.
How do I avoid cracking the white chocolate spiderweb when cutting?
Make sure your brownies are fully chilled before cutting, and use a sharp knife wiped clean between cuts to maintain clean edges and prevent the design from breaking apart.
Can I make this recipe gluten-free?
This recipe is naturally gluten-free as it doesn’t include flour or wheat-based ingredients, making it a great option for those avoiding gluten. Just be sure to check your cocoa powder and chocolates for any cross-contamination.
What if I don’t have a piping bag for the spiderweb?
No problem! You can simply use a zip-top bag with a small corner snipped off to pipe the white chocolate. It’s an easy and accessible method that works just as well.
Can I add nuts or other mix-ins to the batter?
Absolutely! Chopped walnuts or pecans make a fantastic addition for some crunch. Just fold them in after mixing the wet and dry ingredients, and keep the classic spiderweb decoration on top as is.
Final Thoughts
This White Chocolate Spiderweb Brownies Recipe is truly a showstopper for any occasion. The combination of rich dark chocolate brownie with elegant white chocolate decoration makes every bite a joyful indulgence. I hope you try it soon and enjoy both the baking process and the delicious results just as much as I do!
Print
White Chocolate Spiderweb Brownies Recipe
- Prep Time: 15 minutes
- Cook Time: 25-30 minutes
- Total Time: 40-45 minutes
- Yield: 16 squares
- Category: Dessert
- Method: Baking
- Cuisine: American
Description
Delight in these decadent White Chocolate Spiderweb Brownies, featuring rich dark chocolate brownies topped with a stunning white chocolate spiderweb design. Perfect for Halloween or any occasion that calls for a gorgeous and delicious treat, these brownies combine moist, fudgy texture with a visually impressive finish.
Ingredients
Brownie Batter
- 1/2 cup unsalted butter
- 4 oz high-quality dark chocolate, chopped
- 1 cup granulated sugar
- 2 large eggs
- 1 tsp vanilla extract
- 1/4 cup unsweetened cocoa powder
- 1/4 tsp salt
Spiderweb Topping
- 2 oz white chocolate, chopped
Instructions
- Preheat and Prepare Pan: Preheat your oven to 350°F (175°C). Grease an 8×8-inch baking pan and line it with parchment paper, leaving some overhang for easy brownie removal after baking.
- Melt Butter and Dark Chocolate: In a microwave-safe bowl or using a double boiler, gently melt the butter and dark chocolate together until smooth. Allow this mixture to cool slightly to avoid cooking the eggs in the next step.
- Combine Wet and Dry Ingredients: Whisk the sugar, eggs, and vanilla extract into the melted chocolate mixture until fully incorporated. In a separate bowl, whisk together the cocoa powder and salt. Gradually fold these dry ingredients into the wet mixture just until combined, careful not to overmix.
- Bake the Brownies: Pour the batter evenly into the prepared pan and smooth the surface with a spatula. Bake in the preheated oven for 25-30 minutes or until a toothpick inserted into the center comes out with a few moist crumbs. Let the brownies cool completely in the pan before decorating.
- Melt White Chocolate for Decoration: Melt the white chocolate in a microwave or double boiler until smooth. Transfer it to a small piping bag or a zip-top bag with a small corner cut off for easy piping.
- Create Spiderweb Design: Pipe concentric circles of white chocolate over the cooled brownies. Then, using a toothpick or similar fine-tipped tool, drag lines outward from the center of the circles to the edges, forming a spiderweb effect.
- Set the Decoration and Serve: Place the decorated brownies in the refrigerator for 15-20 minutes to allow the white chocolate to fully set. Once set, lift the brownies out of the pan using the parchment paper overhang, cut into 16 squares, and serve.
Notes
- Use high-quality chocolate for the best flavor and smooth texture.
- If you don’t have a piping bag, a zip-top plastic bag with a tiny corner cut works just fine for piping white chocolate.
- Ensure the brownies are fully cooled before piping the white chocolate to prevent melting the decoration.
- Store brownies in an airtight container in the refrigerator for up to 4 days.
- Bring brownies to room temperature before serving for optimal texture and flavor.
- To make cleanup easier, line your baking pan with parchment paper, allowing overhang to lift brownies out easily.


