If you’ve been searching for a dessert that’s as simple to whip up as it is irresistible, look no further than this Easiest No-Bake Cherry Cheesecake: A Delightful Treat Recipe. It’s the perfect blend of creamy, tangy cheesecake filling paired with a buttery graham cracker crust and topped with luscious cherries. Whether you’re new to cheesecake or a seasoned pro, this recipe delivers a fuss-free, flavorful dessert that will wow your family and friends with minimal effort and no oven required.
Ingredients You’ll Need
This recipe keeps things wonderfully straightforward, yet every ingredient plays an essential role in creating the perfect harmony of taste, texture, and color in your cherry cheesecake. From the crunchy crust to the fluffy filling and vibrant cherry topping, each element contributes to the delightful experience.
- Graham cracker crumbs (1 ½ cups): Provides a crisp, slightly sweet base that holds everything together beautifully.
- Unsalted butter, melted (½ cup): Binds the crust while adding a rich, buttery flavor.
- Sugar (¼ cup): Adds just the right amount of sweetness to the crust without overpowering.
- Cream cheese, softened (16 oz): The star of the filling, lending that smooth, tangy creaminess we all crave.
- Powdered sugar (1 cup): Sweetens the filling in a way that blends seamlessly.
- Vanilla extract (1 teaspoon): Enhances the overall flavor with a warm, comforting note.
- Heavy whipping cream (1 cup): Whipped to fluffy perfection for a light, airy texture in the filling.
- Cherry pie filling (1 can, 21 oz): Or fresh cherries if you prefer, adding a gorgeous pop of color and juicy sweetness on top.
How to Make Easiest No-Bake Cherry Cheesecake: A Delightful Treat Recipe
Step 1: Crafting the Perfect Crust
Begin by mixing the graham cracker crumbs, melted butter, and sugar in a bowl until everything is well combined. This mixture will form the foundation of your cheesecake, so make sure to press it firmly into the bottom of a 9-inch springform pan. Using the back of a measuring cup to press the crumbs evenly ensures a compact crust that won’t crumble apart. Pop the crust into the fridge to chill while you prepare the luscious filling.
Step 2: Whipping Up Creamy Filling
Now for the creamy magic. Beat the softened cream cheese until it’s silky smooth using an electric mixer. Slowly add powdered sugar and vanilla extract for sweetness and aroma, mixing until everything blends perfectly. In a separate bowl, whip the heavy cream until stiff peaks form—this is what makes the filling delightfully light. Gently fold the whipped cream into the cream cheese mixture, taking care not to deflate all that fluffy goodness.
Step 3: Assembling and Chilling
Pour that heavenly cream cheese filling over your chilled crust and spread it out evenly. This step holds all your hard work together, so smooth it carefully. Refrigerate your masterpiece for at least 4 hours to allow it to set perfectly—overnight chilling will give you the absolute best texture.
Step 4: Adding the Cherry Topping
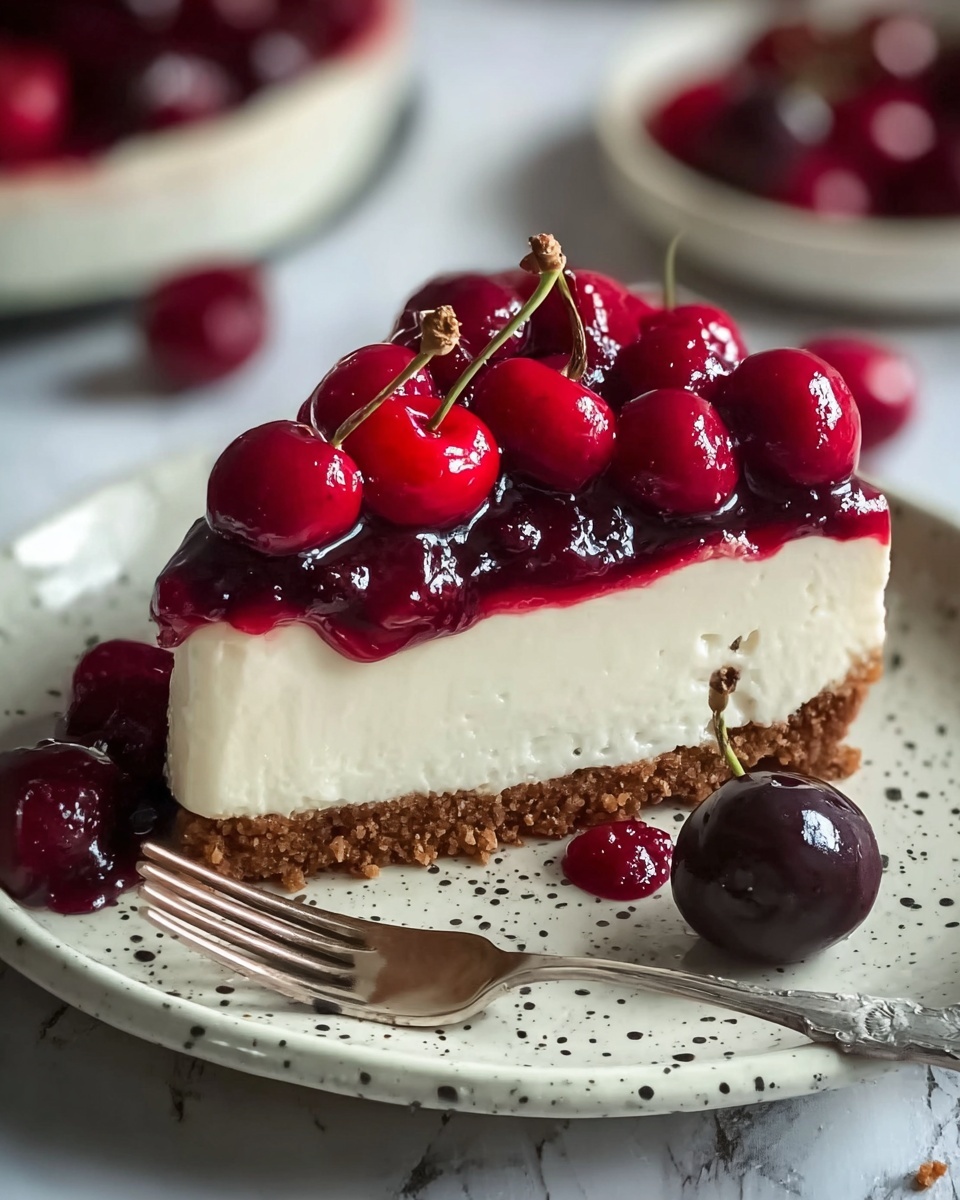
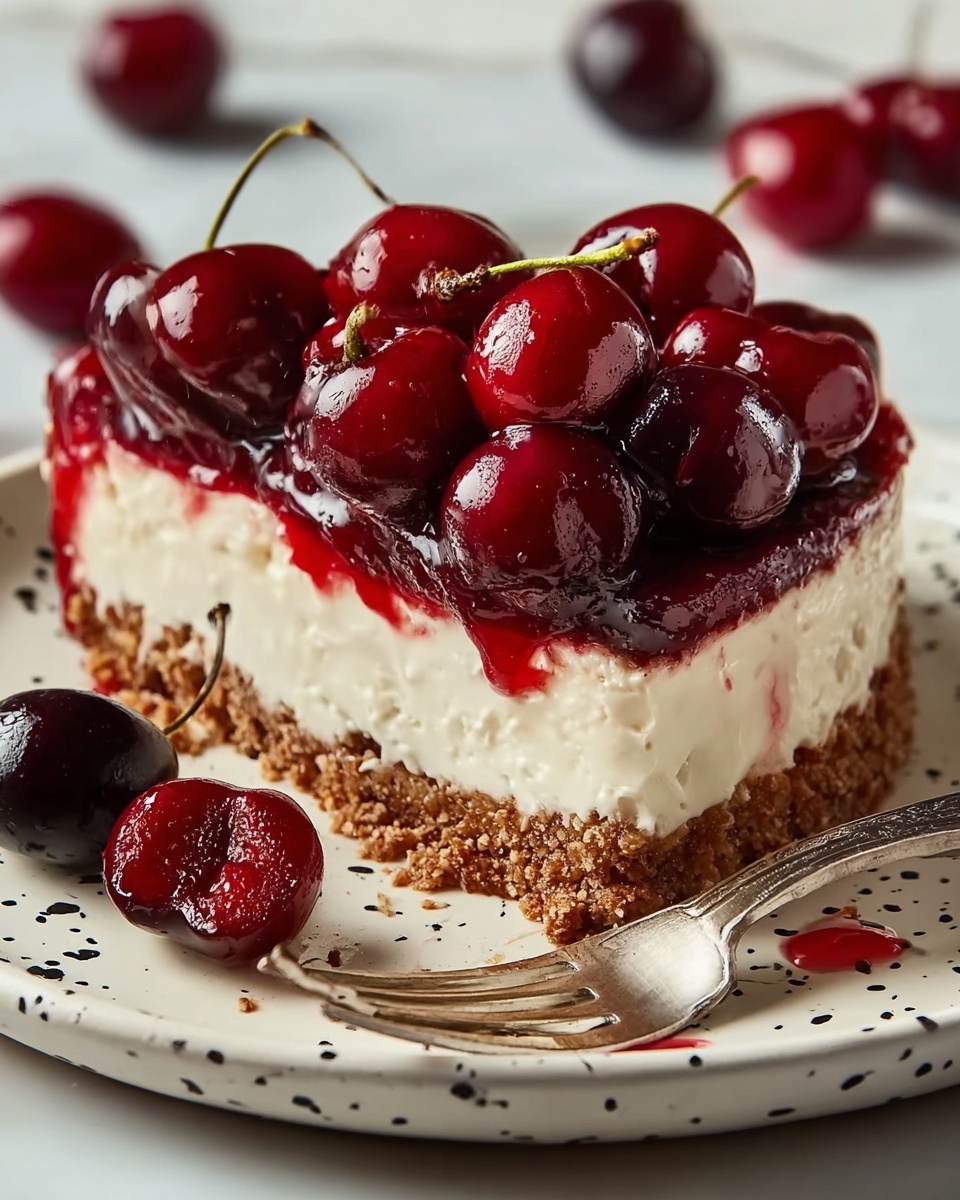
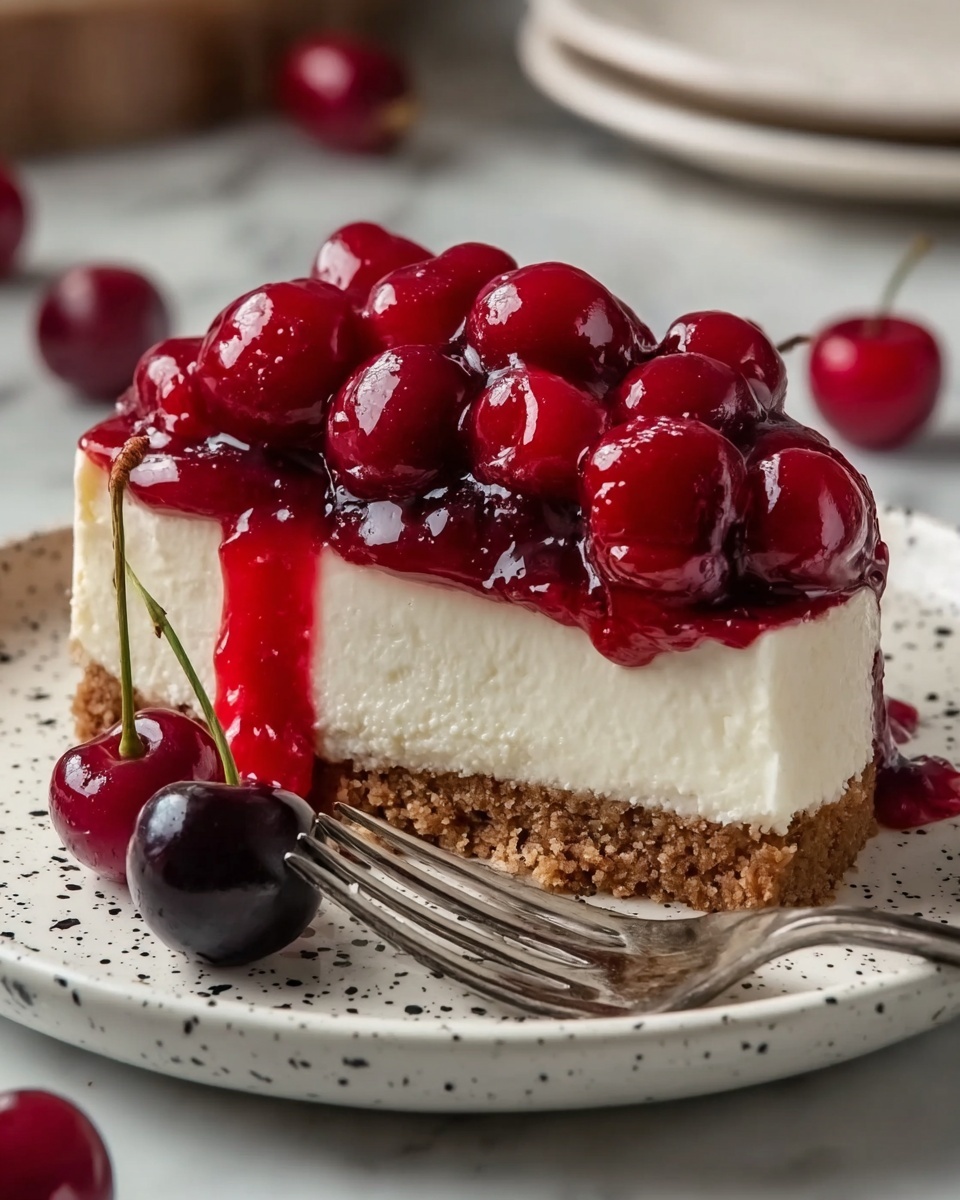
When you’re ready to serve, generously spread the cherry pie filling over the set cheesecake. The bright cherries offer a tart, juicy contrast to the rich filling, making every bite feel like a celebration.
Step 5: Serving and Enjoying
Slice your Easiest No-Bake Cherry Cheesecake: A Delightful Treat Recipe and watch smiles light up the room. Each slice is a creamy, fruity delight that’s guaranteed to please any crowd.
How to Serve Easiest No-Bake Cherry Cheesecake: A Delightful Treat Recipe
Garnishes
To take this cherry cheesecake to the next level, consider adding a few fresh cherries or a sprig of mint on top for a pop of freshness and color. A light dusting of powdered sugar gives it a snowy, elegant look perfect for special occasions.
Side Dishes
This cheesecake pairs beautifully with a cup of coffee or a glass of sparkling wine for an indulgent treat. For a lighter contrast, serve alongside fresh fruit such as sliced strawberries or a mixed berry salad.
Creative Ways to Present
For a fun twist, try making individual mini cheesecakes in mason jars or clear cups, layering crust, filling, and cherry topping for a charming presentation. Adding a drizzle of chocolate or a sprinkle of chopped nuts also adds texture and flair to this delightful recipe.
Make Ahead and Storage
Storing Leftovers
Your no-bake cheesecake keeps wonderfully in the fridge. Cover it tightly with plastic wrap or store it in an airtight container to maintain freshness and prevent it from absorbing any other fridge odors. It will stay delicious for up to 3-4 days.
Freezing
Want to prepare this delightful treat ahead of time? You can freeze it by wrapping tightly in plastic wrap and then in aluminum foil to avoid freezer burn. Thaw overnight in the refrigerator before serving. Note that cherry topping is best added after thawing for the freshest flavor and texture.
Reheating
Since this cheesecake is best enjoyed chilled, reheating isn’t recommended. Simply serve cold straight from the fridge for the perfect texture and taste every time.
FAQs
Can I use fresh cherries instead of canned cherry pie filling?
Absolutely! Fresh cherries add a lovely natural sweetness and texture. Just make sure to macerate them in a little sugar and lemon juice to bring out their juices before topping your cheesecake.
Is it necessary to use a springform pan?
Using a springform pan makes it easier to release your cheesecake without damaging the crust or edges, but if you don’t have one, you can use a regular cake pan lined with parchment paper for easier removal.
Can I substitute the heavy whipping cream?
The heavy whipping cream is key for achieving the light, fluffy texture in the filling. You could try substitutes like coconut cream for a dairy-free version, but the texture will be slightly different.
How long does it take for the cheesecake to set?
Ideally, chill your cheesecake for at least 4 hours, but overnight refrigeration will yield the best texture and flavor development.
Can I make this recipe gluten-free?
Yes! Just swap out the graham cracker crumbs for your favorite gluten-free cookie crumbs, and you’re good to go.
Final Thoughts
There’s nothing quite like the joy of serving up a dessert that’s as easy to make as it is delicious. This Easiest No-Bake Cherry Cheesecake: A Delightful Treat Recipe hits all the right notes with minimal fuss and maximum flavor. I truly hope you try it soon and share it with those you love, because every bite feels like a creamy cherry-kissed hug!
Print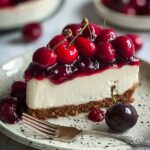
Easiest No-Bake Cherry Cheesecake: A Delightful Treat Recipe
- Prep Time: 20 minutes
- Cook Time: 0 minutes
- Total Time: 4 hours 20 minutes
- Yield: 10 servings
- Category: Dessert
- Method: No-Cook
- Cuisine: American
Description
This Easiest No-Bake Cherry Cheesecake is a creamy, luscious dessert perfect for any occasion. It features a buttery graham cracker crust topped with a smooth cream cheese filling and a vibrant cherry pie topping. No baking required, making it quick and simple to prepare while delivering delightful flavors in every bite.
Ingredients
Crust
- 1 ½ cups graham cracker crumbs
- ½ cup unsalted butter, melted
- ¼ cup sugar
Filling
- 16 oz (2 packages) cream cheese, softened
- 1 cup powdered sugar
- 1 teaspoon vanilla extract
- 1 cup heavy whipping cream
Topping
- 1 can (21 oz) cherry pie filling (or fresh cherries if preferred)
Instructions
- Prepare the crust: In a bowl, combine graham cracker crumbs, melted butter, and sugar until well mixed. Press this mixture tightly into the bottom of a 9-inch springform pan using the back of a measuring cup. Place the crust in the refrigerator to chill while you make the filling.
- Make the filling: Beat the softened cream cheese in a large bowl with an electric mixer until smooth. Gradually add powdered sugar and vanilla extract, blending thoroughly. In a separate bowl, whip the heavy cream until stiff peaks form. Gently fold the whipped cream into the cream cheese mixture to create a light and fluffy filling.
- Assemble and chill: Pour the cream cheese filling over the chilled crust and spread it evenly. Refrigerate the cheesecake for at least 4 hours to set, or preferably overnight for best texture.
- Add the cherry topping: Just before serving, spread the cherry pie filling evenly over the top of the set cheesecake to add a glossy, fruity layer.
- Serve: Slice the cheesecake into 10 portions and enjoy this no-bake, creamy cherry delight!
Notes
- For a firmer crust, use a springform pan to make removal easier.
- You can substitute cherry pie filling with fresh cherries macerated in sugar.
- Chilling overnight improves the cheesecake’s texture and flavor melding.
- Make sure cream cheese is softened to avoid lumps in the filling.
- Whip the cream to stiff peaks for a light, airy filling.


