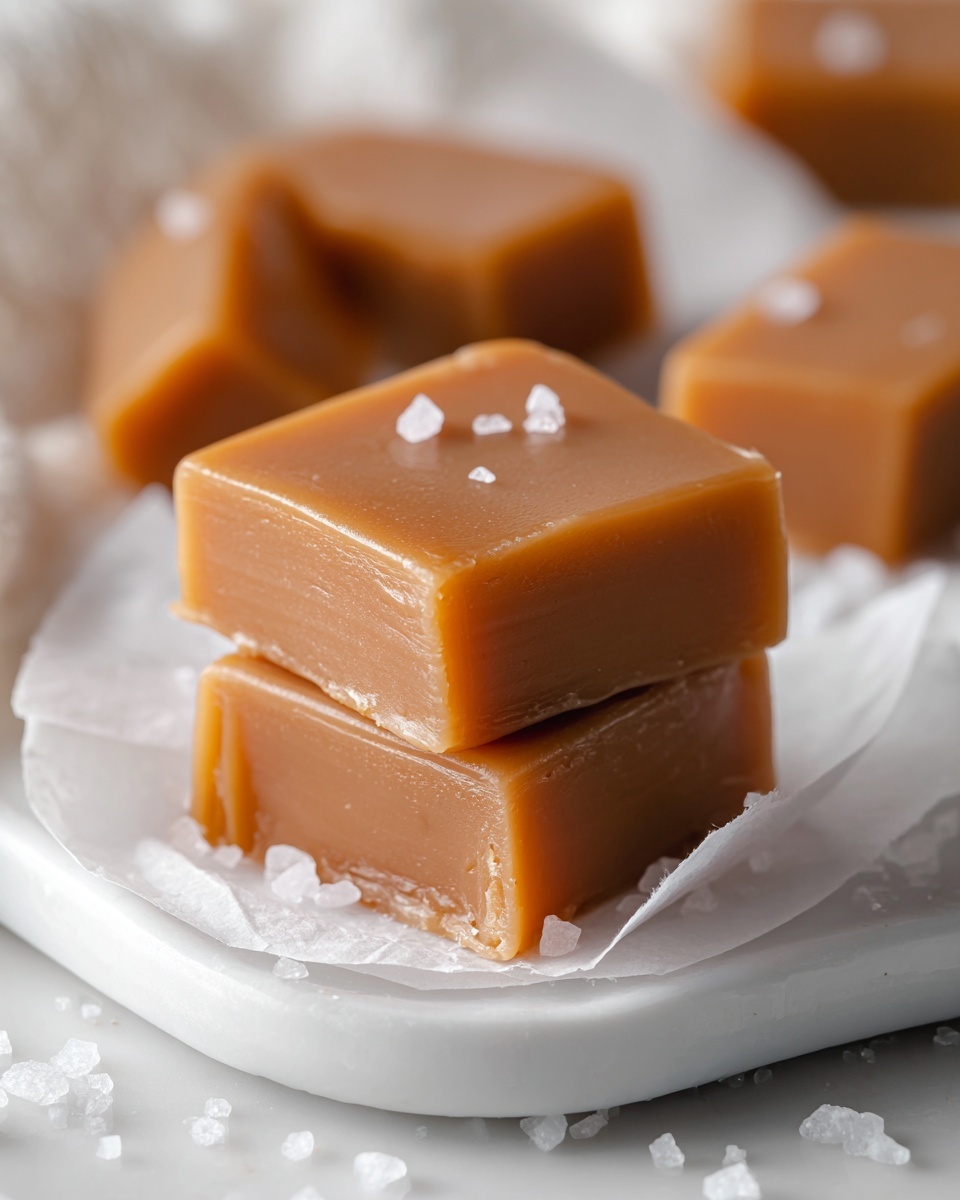
If you’ve ever dreamed of savoring the perfect melt-in-your-mouth treat that balances buttery richness with just the right hint of sweetness, this Homemade Caramels Recipe is going to be your new best friend. These luscious caramels have a smooth, velvety texture and a deep caramel flavor that only comes from making them from scratch. Whether you’re giving them as a gift or indulging in a little self-care, these caramels deliver an irresistible blend of creamy, buttery goodness that’s impossible to resist.

Ingredients You’ll Need
This Homemade Caramels Recipe shines because of its simple, straightforward ingredients, each playing a vital role in achieving that perfect texture and unforgettable flavor. Every component is easy to find but essential in creating the rich, creamy candy that everyone will adore.
- Unsalted butter: Provides the buttery base essential for creamy richness without extra saltiness.
- Granulated sugar: The primary sweetener that caramelizes to create deep, toasty notes.
- Light corn syrup: Prevents sugar crystallization ensuring your caramels stay smooth and chewy.
- Salt: Enhances flavor and balances the sweetness perfectly.
- Heavy cream: Adds lusciousness and tenderness for that melt-in-your-mouth feel.
- Vanilla extract: A splash of vanilla amplifies the depth of flavor and rounds out the caramel beautifully.
How to Make Homemade Caramels Recipe
Step 1: Prepare Your Pan
Start by lining an 8 by 8-inch baking pan with parchment paper, making sure to leave an overhang on the sides. This simple step is a game-changer because it makes lifting the set caramel out of the pan a breeze once it’s cooled and ready to cut.
Step 2: Melt the Butter
In a large, heavy-bottomed saucepan, melt the unsalted butter over medium heat. The butter provides a rich, creamy foundation and melting it gently helps ensure the other ingredients combine smoothly without scorching.
Step 3: Combine Sugar, Corn Syrup, and Salt
Once the butter is melted, add the granulated sugar, light corn syrup, and salt. Stir until everything is thoroughly mixed. This creates the perfect caramel base that will cook evenly for that signature smooth texture.
Step 4: Stir in Heavy Cream Gradually
Carefully add the heavy cream little by little while stirring continuously. This gradual incorporation prevents splattering and helps blend the cream into the sugar mixture, creating a rich, silky caramel foundation.
Step 5: Cook to Caramel Temperature
Bring the mixture to a boil over medium heat, stirring frequently to keep the sugar from burning. Continue cooking until it reaches 245°F (118°C) on a candy thermometer. This is the key temperature for making perfectly chewy caramels that aren’t too soft or too hard.
Step 6: Add Vanilla Extract
Remove the pan from heat and stir in the vanilla extract. This warms up the flavor profile with a fragrant note that makes the caramels extra special and aromatic.
Step 7: Pour and Cool
Pour the hot caramel mixture carefully into the prepared baking pan. Let it cool at room temperature for 3 to 4 hours or until fully firm. Patience here pays off with a luscious texture that’s ready to slice.
Step 8: Cut and Wrap
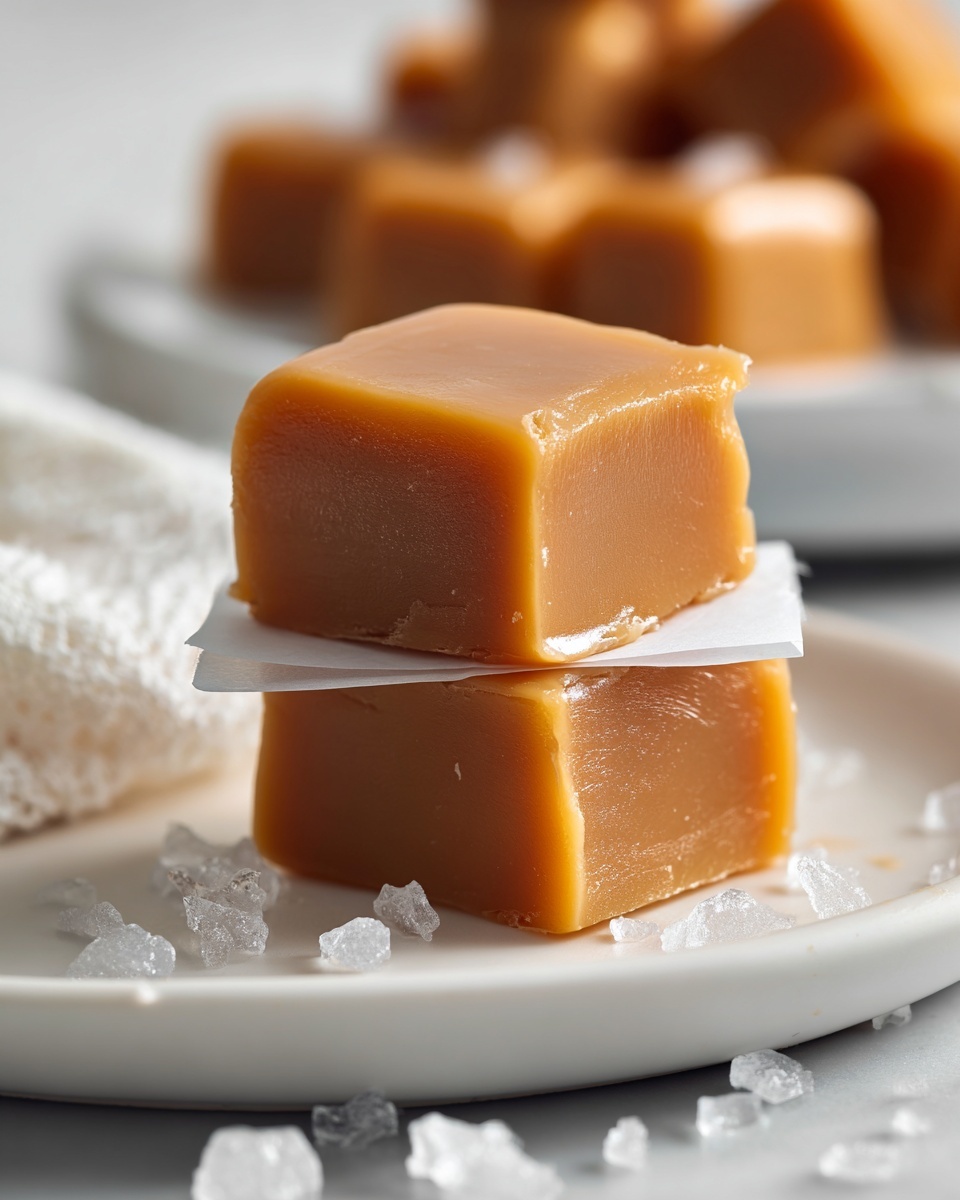
Use the parchment paper overhang to lift the set caramel out of the pan. With a sharp knife, cut into small squares or rectangles. Wrap each piece individually in wax paper, keeping your caramels fresh and portable.
How to Serve Homemade Caramels Recipe
Garnishes
You can elevate your caramels by sprinkling a pinch of flaky sea salt on top just before they finish cooling. This adds a delightful contrast that highlights the sweetness and adds complexity with every bite. For a festive touch, consider rolling the edges in crushed nuts or edible glitter when wrapping.
Side Dishes
Homemade caramels pair beautifully with a cup of rich coffee or a creamy hot chocolate, balancing the candy’s sweetness with bitter or creamy drinks. They also complement fresh fruit like apples or pears, offering a sweet contrast that’s perfect for dessert platters.
Creative Ways to Present
Package your caramels in cute gift boxes or mason jars tied with ribbon for gifting occasions. Another charming idea is to arrange them on a dessert board along with nuts, chocolates, and cheeses, turning these caramels into a star feature of your sweets table.
Make Ahead and Storage
Storing Leftovers
Store your homemade caramels in an airtight container at room temperature for up to two weeks. Wrapping each piece in wax paper before storing not only keeps them from sticking together but also preserves their soft, chewy texture.
Freezing
If you want to keep your caramels longer, freeze them in an airtight container. They’ll last up to three months this way. When ready to enjoy, just thaw them in the fridge overnight to maintain their perfect texture.
Reheating
Caramels generally don’t require reheating, but if they become too firm, you can gently warm individual pieces in your hands or microwave them for a few seconds wrapped in wax paper. This softens them just enough to reveal their tender, buttery center.
FAQs
Can I use salted butter instead of unsalted?
While salted butter can work, it’s best to stick with unsalted so you can control the exact amount of salt in your caramels, ensuring a perfect balance without becoming overly salty.
What if I don’t have a candy thermometer?
A candy thermometer is your best bet for consistent results, but if you don’t have one, you can use the “soft-ball” stage test by dropping a small amount of caramel into cold water—it should form a soft, pliable ball.
Can I add flavors other than vanilla?
Absolutely! Feel free to experiment with extracts like almond or even a pinch of sea salt or spices like cinnamon to personalize your Homemade Caramels Recipe.
Why did my caramels turn out grainy?
Graininess usually means the sugar crystallized during cooking. To avoid this, make sure to stir carefully, use corn syrup, and avoid any sugar crystals on the sides of your pan by brushing them down with a wet pastry brush.
How thick should I cut my caramel pieces?
Cutting them into small squares about 1-inch wide is ideal for easy eating, but you can adjust based on your preference—just remember that thinner pieces will be a quicker melt, while thicker ones offer more chew.
Final Thoughts
There’s something truly satisfying about making candy from scratch, and this Homemade Caramels Recipe is a wonderful place to start. It’s straightforward, rewarding, and endlessly delicious. I can’t wait for you to try it out and experience that warm, buttery magic melting in your mouth. Trust me, once you make these caramels at home, store-bought just won’t compare anymore!
Print
Homemade Caramels Recipe
- Prep Time: 10 minutes
- Cook Time: 30 minutes
- Total Time: 40 minutes
- Yield: 64 caramels
- Category: Candy
- Method: Stovetop
- Cuisine: American
Description
These homemade caramels are rich, buttery, and delightfully chewy candies made from simple ingredients like butter, sugar, corn syrup, and cream. Perfect for gifting or enjoying as a sweet treat, they have a smooth texture and deep caramel flavor with a hint of vanilla.
Ingredients
Caramel Ingredients
- 1 cup unsalted butter
- 2 1/2 cups granulated sugar
- 1 1/4 cups light corn syrup
- 1/2 teaspoon salt
- 2 cups heavy cream
- 1 teaspoon vanilla extract
Instructions
- Prepare the Pan: Line an 8×8-inch baking pan with parchment paper, making sure to leave an overhang on the sides to allow easy removal of the caramel once set.
- Melt the Butter: In a large, heavy-bottomed saucepan, melt the unsalted butter over medium heat to create the base for the caramel.
- Add Sugar, Corn Syrup, and Salt: Stir the granulated sugar, light corn syrup, and salt into the melted butter until everything is well combined and smooth.
- Incorporate Heavy Cream: Gradually pour in the heavy cream while stirring. Bring the entire mixture to a gentle boil over medium heat, stirring frequently to ensure even cooking.
- Cook to Temperature: Continue cooking the caramel, stirring constantly to prevent burning. Use a candy thermometer to monitor and cook the mixture until it reaches 245°F (118°C), the firm ball stage critical for chewy caramels.
- Add Vanilla Extract: Remove the saucepan from heat and stir in the vanilla extract thoroughly for flavor enhancement.
- Pour into Pan and Cool: Carefully pour the hot caramel mixture into the prepared baking pan. Allow it to cool at room temperature for 3 to 4 hours until it becomes fully set and firm.
- Cut and Wrap: Use the parchment paper overhang to lift the set caramel from the pan. Cut into small squares or rectangles and individually wrap each piece in wax paper to prevent sticking and preserve freshness.
Notes
- Use a reliable candy thermometer for accurate temperature readings to ensure perfect texture.
- Do not skip stirring constantly when cooking to prevent the caramel from burning or sticking.
- If you prefer softer caramels, cook to a slightly lower temperature (around 240°F/115°C).
- Store wrapped caramels in an airtight container at room temperature for up to two weeks.
- For a salted caramel variant, sprinkle flaky sea salt on top before the caramel sets.

