If you adore corn on the cob but want to elevate it beyond the usual boil, this Butter Bath Corn on the Cob Recipe is about to become your new best friend. Imagine tender, juicy kernels infused with the richness of melted butter, a touch of sweetness from sugar, and a subtle creaminess from milk—all gently simmered together for a flavor experience that’s comforting and irresistible. This method brings out the best in corn, creating a side dish that feels both homey and a little special, perfect for summer gatherings or cozy dinners alike.
Ingredients You’ll Need
Simple ingredients are the secret to the magic in this Butter Bath Corn on the Cob Recipe. Each component plays a vital role—bringing richness, sweetness, balance, and that fresh pop of color and flavor at the end.
- 5 ears corn on the cob (husks and silks removed): The star ingredient, fresh and sweet for that perfect bite.
- 1 cup milk: Adds a creamy base that helps the butter coat every kernel beautifully.
- 1 stick butter: Provides the luscious, silky fat that makes this recipe truly decadent.
- 2 tablespoons sugar: A little sweetness to enhance the natural sugars of the corn.
- Salt and pepper: Essential for seasoning and balancing all the flavors.
- Fresh chives for garnish: A fresh, mild onion flavor and a lovely pop of green for visual appeal.
How to Make Butter Bath Corn on the Cob Recipe
Step 1: Bring Your Water to a Boil
Start by filling a large 8-quart stockpot halfway with hot water and heating it until it reaches a rolling boil. This is the stage where magic begins—it sets the perfect cooking environment for your corn, ensuring even heat that won’t shock the kernels.
Step 2: Add Corn and Flavor Enhancements
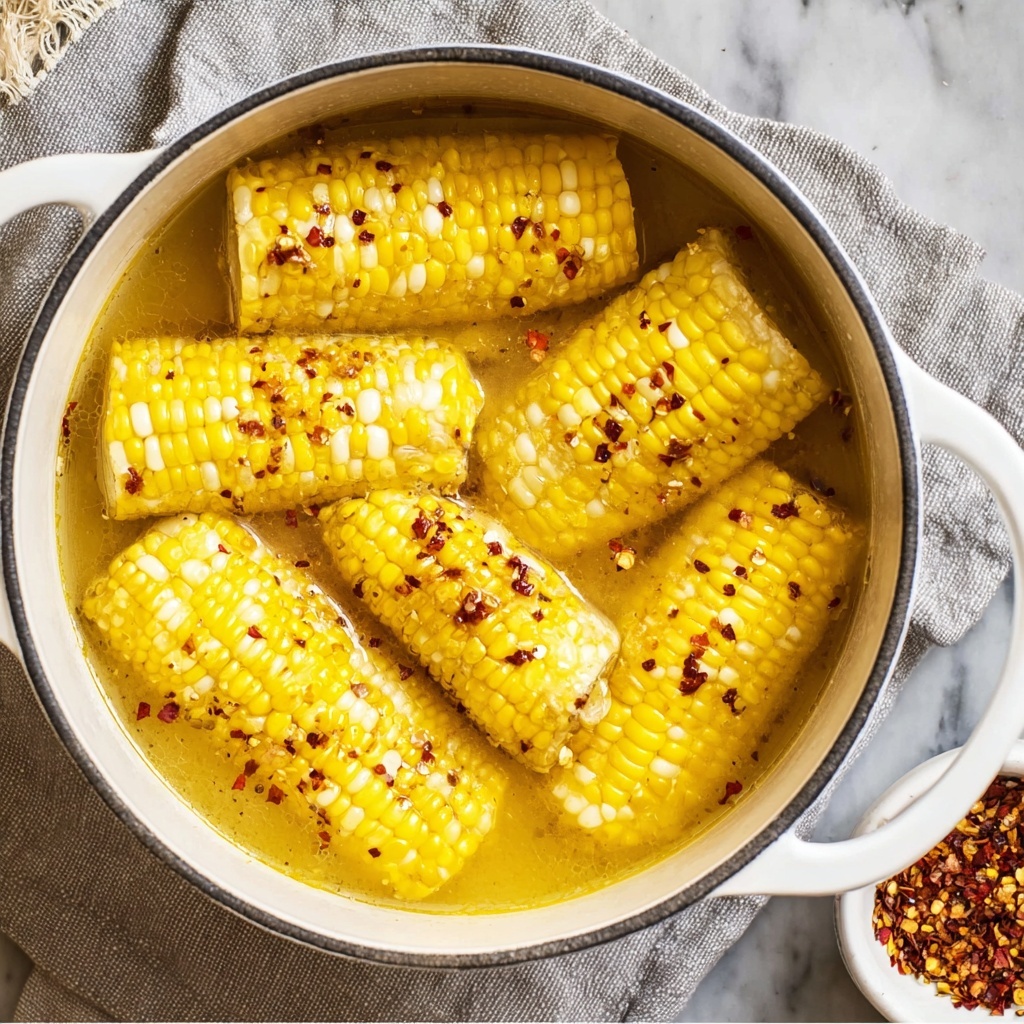
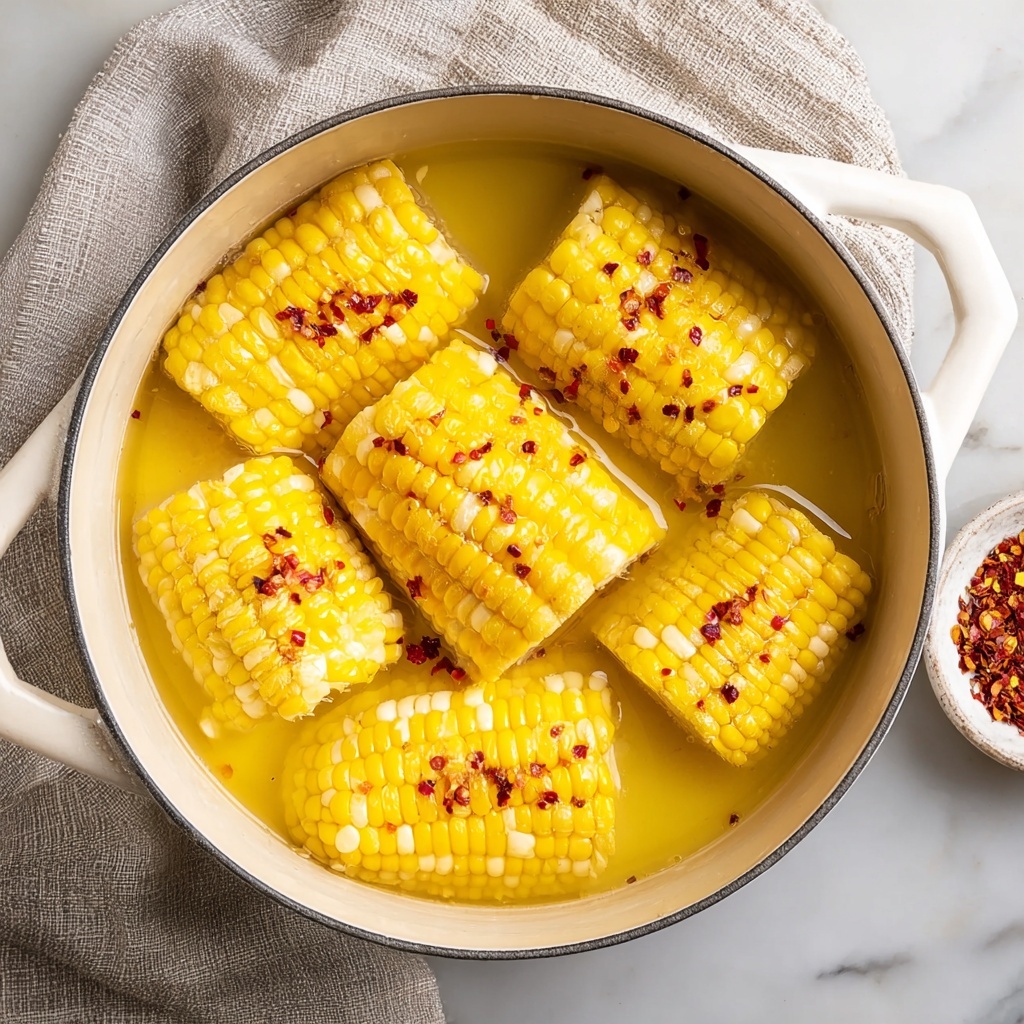
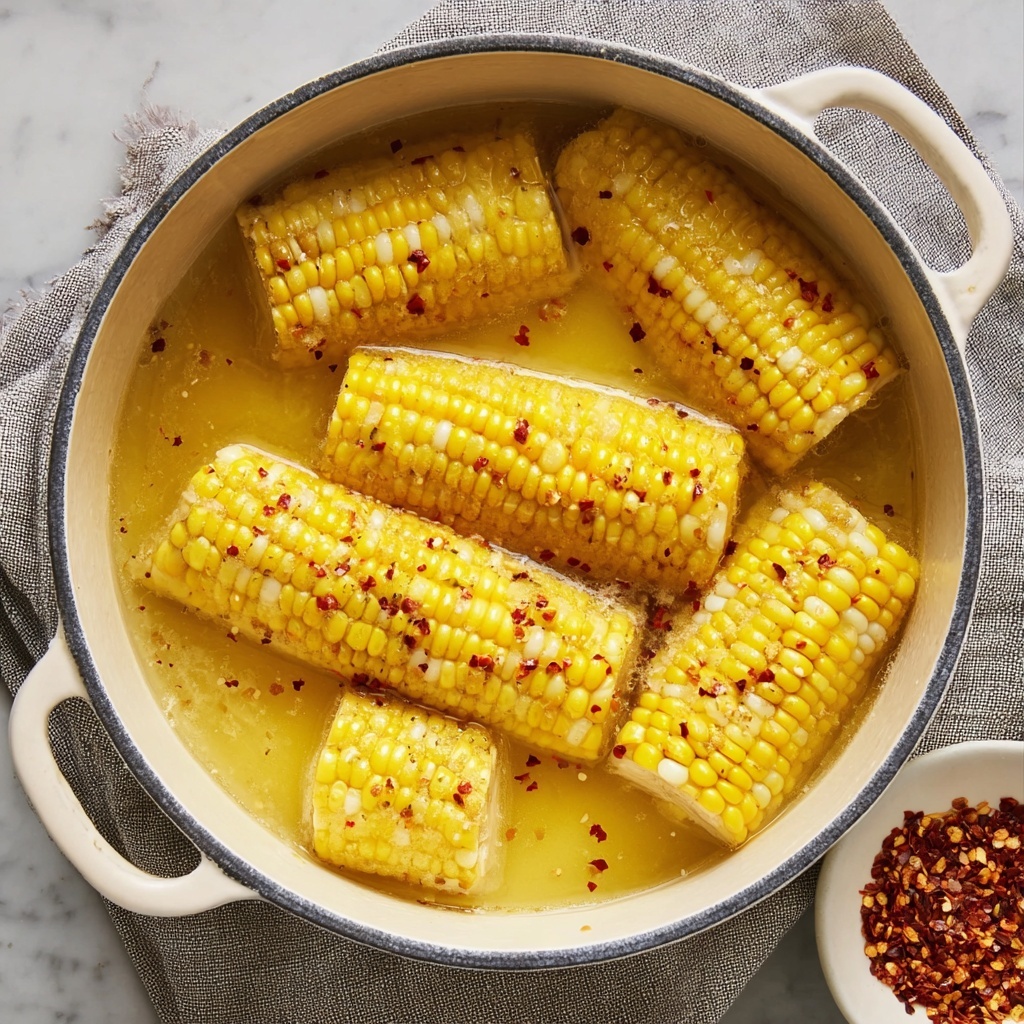
Next, gently add the ears of corn to the boiling water along with the milk, butter, and sugar. This combination creates the luscious butter bath that gently infuses every kernel with richness and sweetness, simultaneously cooking and flavoring the corn in one easy step.
Step 3: Simmer to Perfection
Reduce the heat to a simmer and let everything cook for about 10 minutes. This allows the corn to become tender yet still maintain a satisfying bite. The milk and butter meld with the corn’s natural flavors, crafting a taste that’s both nostalgic and elevated.
Step 4: Keep Warm and Season Before Serving
Once cooked, keep the corn warm right in the buttery bath until you’re ready to serve. Just before plating, season with salt and pepper to bring out all those fantastic flavors, then sprinkle fresh chives on top for a bright, fresh finish that’s as beautiful as it is delicious.
How to Serve Butter Bath Corn on the Cob Recipe
Garnishes
Fresh chives are the classic garnish here, providing that vibrant green color and a mild onion kick that pairs so well with the buttery corn. You can also try a sprinkle of smoked paprika or a dash of chili powder if you’re in the mood for a little smoky heat.
Side Dishes
This Butter Bath Corn on the Cob Recipe is a natural companion to grilled meats, fresh salads, and even light pasta dishes. Its rich, creamy character pairs beautifully with the char of grilled chicken or steak, adding a comforting balance to your meal.
Creative Ways to Present
For a fun twist, try cutting the cooked corn off the cob and tossing it with a little extra butter, fresh herbs, and a squeeze of lime for a bright corn salad. Or serve the ears wrapped in clean cloth napkins tied with twine for a charming picnic presentation.
Make Ahead and Storage
Storing Leftovers
If you have any Butter Bath Corn on the Cob Recipe leftovers, wrap the ears tightly in plastic wrap or place in an airtight container and refrigerate. They’ll keep fresh for up to two days and stay moist thanks to the buttery bath.
Freezing
While freezing corn on the cob is possible, it’s best to remove the kernels from the cob first. Freeze the kernels in a single layer on a baking sheet, then transfer to a freezer bag. This prevents clumping and helps retain the flavor, as freezing whole ears with butter can cause texture changes.
Reheating
Reheat your corn gently by placing the ears in a small pot with a bit of water and covering, or warm them in the microwave wrapped in a damp paper towel. This avoids drying them out and keeps the buttery, tender texture just right.
FAQs
Can I use frozen corn for this Butter Bath Corn on the Cob Recipe?
While fresh corn gives the best flavor and texture, you can use frozen ears if fresh aren’t available—just adjust cooking time slightly, as frozen corn will thaw and cook faster in the butter bath.
Is this recipe very buttery or heavy?
The butter adds richness but because it’s combined with milk and balanced with a little sugar and seasoning, the result is indulgent without being overwhelmingly heavy. It enhances the natural sweetness beautifully.
Can I substitute the milk with something else?
You can try using cream for an even richer flavor or a non-dairy milk like almond milk if you need a dairy-free option. Just keep in mind that the taste and texture might change slightly.
How do I know when the corn is done?
The corn should be tender but still slightly crisp when pierced with a fork after about 10 minutes of simmering. Overcooking can lead to mushy kernels, so keep an eye on it during the simmer stage.
What if I don’t have fresh chives for garnish?
Fresh parsley, finely chopped green onions, or even a bit of fresh thyme can make lovely garnishes that bring a nice fresh note to the buttery corn if chives aren’t on hand.
Final Thoughts
This Butter Bath Corn on the Cob Recipe is one of those easy, feel-good dishes that transforms humble corn into a centerpiece of flavor and comfort. Whether you’re serving it at a backyard barbecue or a simple family meal, it never fails to impress and satisfy. So next time corn is in season, dive into this recipe—you’ll love how silky, sweet, and downright delicious your corn can be!
Print
Butter Bath Corn on the Cob Recipe
- Prep Time: 5 minutes
- Cook Time: 10 minutes
- Total Time: 15 minutes
- Yield: Serves 5
- Category: Side Dish
- Method: Stovetop
- Cuisine: American
Description
This Butter Bath Corn on the Cob recipe creates tender, flavorful corn by gently simmering the ears in a rich mixture of butter, milk, and sugar. The technique infuses the corn with creamy sweetness, resulting in a perfect side dish for any meal. Finished with a sprinkle of salt, pepper, and fresh chives, this method showcases a delicious way to enjoy summer corn.
Ingredients
Ingredients
- 5 ears corn on the cob (husks and silks removed)
- 1 cup milk
- 1 stick butter (4 tablespoons)
- 2 tablespoons sugar
- Salt and pepper, to taste
- Fresh chives, chopped, for garnish
Instructions
- Boil Water: Fill an 8-quart stockpot halfway with hot water and bring it to a rolling boil over high heat to prepare for cooking the corn.
- Add Ingredients: Carefully place the corn ears into the boiling water, then add the milk, butter, and sugar to create a rich butter bath.
- Simmer Corn: Reduce the heat to a gentle simmer and cook the corn for about 10 minutes, or until the kernels are tender when pierced with a fork.
- Keep Warm & Season: Keep the corn warm in the butter bath if not serving immediately. Just before serving, season with salt and pepper to taste, and garnish with freshly chopped chives for added flavor and color.
Notes
- Removing the husks and silks before cooking ensures a cleaner butter bath and easier serving.
- You can adjust the amount of sugar depending on your preferred sweetness level.
- Fresh chives add a mild onion flavor and vibrant color but can be substituted with parsley or omitted.
- If you prefer, you can use whole milk or 2% milk, but avoid skim milk for best flavor and texture.
- This method gently cooks the corn, preserving its natural sweetness and preventing it from becoming tough.


