“`html
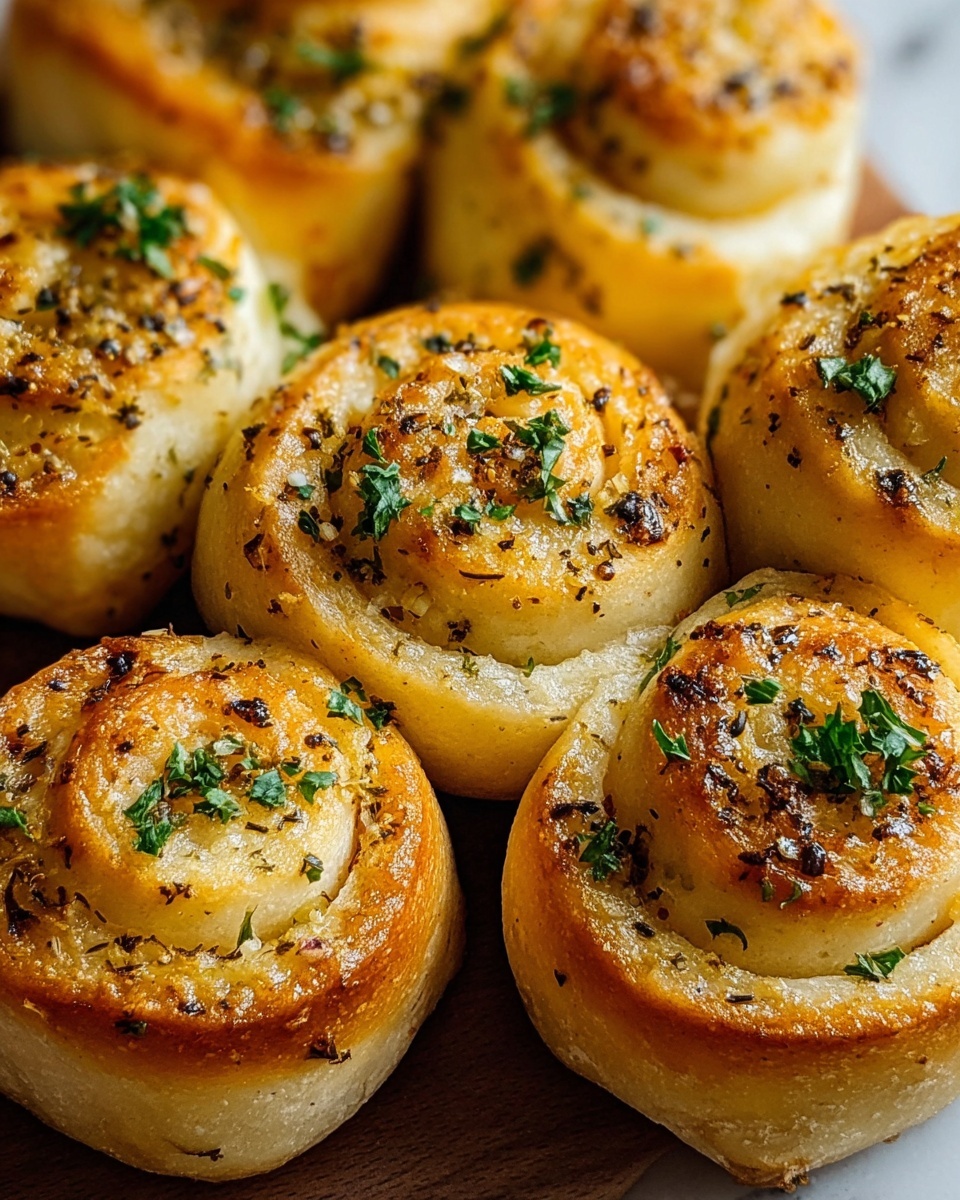
If you are looking for a snack or appetizer that combines comfort with irresistible flavor, this Garlic Bread Roll-Ups Recipe is an absolute game-changer. Imagine soft, garlicky bread wrapped around gooey melted mozzarella, with just the right touch of herbs and a crispy golden crust. It’s a delightful twist on classic garlic bread that’s easy to make, fun to eat, and perfect for sharing at any gathering or simply enjoying as a cozy treat at home. Once you try this Garlic Bread Roll-Ups Recipe, it’s bound to become one of your go-to favorites.
Ingredients You’ll Need
This Garlic Bread Roll-Ups Recipe calls for simple, pantry-friendly ingredients that each bring their own flair to the final dish. From creamy butter to fragrant garlic, and melty mozzarella to fresh parsley, every item plays a crucial role in building layers of mouthwatering flavor and perfect texture.
- French bread or small baguette pieces: The foundation that provides a soft yet sturdy base to hold all the delicious fillings.
- Unsalted butter, softened: Adds richness and helps carry the flavor of all the seasonings.
- Garlic, minced: The star ingredient, giving the roll-ups their signature bold, aromatic punch.
- Fresh parsley, chopped (or dried parsley): Brings a fresh, herbal balance and a pop of green color.
- Dried oregano: Infuses a subtle Mediterranean note that enhances the garlic.
- Shredded mozzarella cheese: Melts perfectly inside the roll-ups for gooey, dreamy cheese pulls.
- Salt: Enhances all the flavors, making every bite sing.
- Grated Parmesan cheese (optional): For an extra savory kick and a slightly nutty finish.
- Crushed red pepper flakes (optional): Adds a hint of warmth and spice for those who love a little heat.
How to Make Garlic Bread Roll-Ups Recipe
Step 1: Get Your Oven Ready and Prep Your Baking Sheet
Start by preheating your oven to 375°F (190°C). This temperature is perfect to develop a golden crust on your roll-ups while melting the cheese just right. Meanwhile, line your baking sheet with parchment paper or a silicone baking mat to prevent sticking and make clean-up a breeze.
Step 2: Mix the Flavorful Garlic Butter
In a small bowl, combine softened butter with minced garlic, chopped parsley, oregano, salt, and red pepper flakes if you’re using them. Take a moment to mix everything thoroughly so that the garlic butter is evenly flavored — this mixture is going to be the soul of your Garlic Bread Roll-Ups Recipe, so don’t skimp on stirring it well!
Step 3: Slice and Butter the Bread
Slice your French bread into 1-inch thick pieces, or use smaller baguette slices. If your bread slices are large, cut each piece lengthwise in half to make it easier to roll later. Spread a generous layer of the garlic butter mixture on the cut side of each slice. The butter glazes the bread, letting every bite melt in your mouth with vibrant flavor.
Step 4: Sprinkle Cheese for Ultimate Gooeyness
Next, sprinkle shredded mozzarella over the buttered surface of each bread slice. If you love a little extra cheese, add a sprinkle of grated Parmesan on top too. This cheese layer will turn golden and bubbly in the oven, adding a creamy texture that perfectly complements the crunchy exterior.
Step 5: Roll Them Up Tightly
Now for the fun part! Carefully roll each slice up tightly, kind of like how you’d roll a mini cinnamon roll or burrito. Make sure the seam side is down when you place the roll-ups on your prepared baking sheet — this helps them keep their shape while baking.
Step 6: Bake Until Golden and Melty
Bake your roll-ups in the preheated oven for 12 to 15 minutes. You’ll know they’re ready when the bread has turned a gorgeous golden color, the cheese inside is melted and bubbly, and the garlic butter’s aroma gently fills your kitchen. This transformation is nothing short of magical!
Step 7: Cool Slightly and Garnish
Once out of the oven, allow the roll-ups to cool for a few minutes so they firm up just a bit — making them easier to handle and even more enjoyable to eat. Sprinkle some fresh chopped parsley over the top for a bright, colorful finish that hints at the fresh herbs inside.
Step 8: Serve with Your Favorite Dipping Sauce
For an added flavor boost, serve these Garlic Bread Roll-Ups Recipe wonders with a side of marinara or creamy dipping sauce. Dipping each bite amplifies the experience and is a crowd-pleaser at any party or casual night in.
How to Serve Garlic Bread Roll-Ups Recipe
Garnishes
A sprinkle of freshly chopped parsley or a little extra grated Parmesan makes these roll-ups look as amazing as they taste. A dash of crushed red pepper flakes can also add a fun, colorful hint of heat right before serving.
Side Dishes
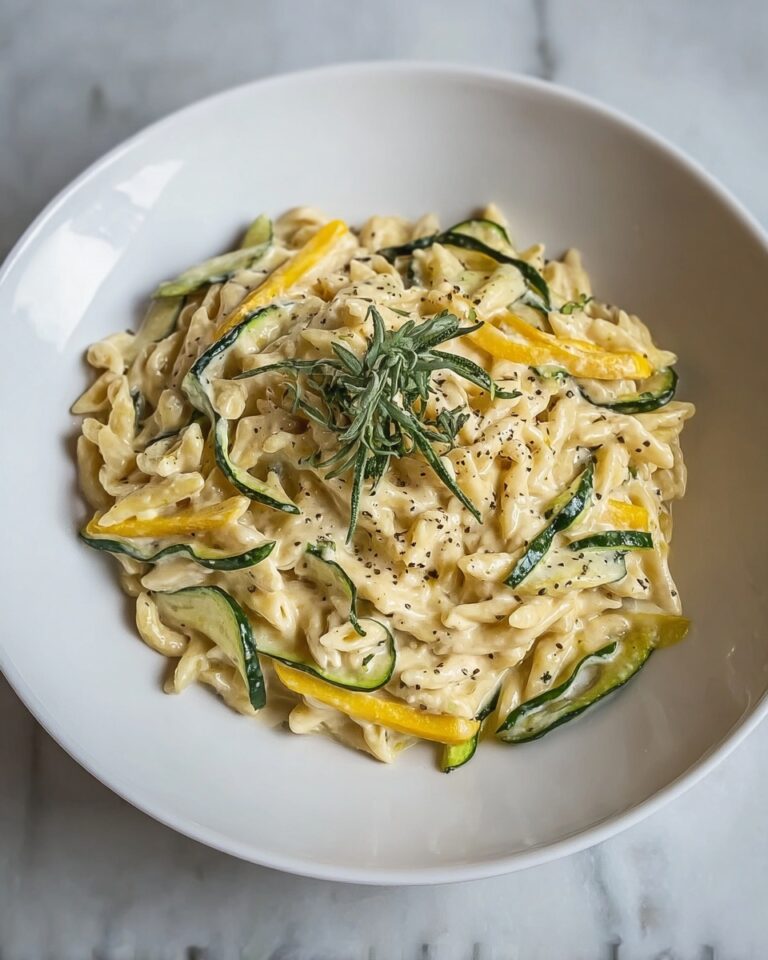
These roll-ups pair beautifully with fresh salad greens, a bowl of warm soup, or a vibrant pasta dish. Their garlicky, cheesy goodness complements so many meals and can also stand on their own perfectly as an appetizer or snack.
Creative Ways to Present
Try arranging the roll-ups standing upright in a tall glass bowl or plate them on a rustic wooden board with an assortment of dipping sauces around them. You can even thread toothpicks through them to make grabbing and sharing super easy at parties.
Make Ahead and Storage
Storing Leftovers
If you have any leftovers from your Garlic Bread Roll-Ups Recipe (though that’s rare!), place them in an airtight container at room temperature and consume within 1-2 days for the best flavor and texture.
Freezing
You can freeze these roll-ups before baking by wrapping each tightly in plastic wrap and placing them in a freezer-safe container. When you’re ready to enjoy, thaw them overnight in the fridge and bake as usual for a quick snack anytime.
Reheating
To reheat, pop the roll-ups onto a baking sheet and warm them in a 350°F (175°C) oven for about 10 minutes or until heated through and the outside regains some crispiness. Avoid microwaving to keep the bread from getting soggy.
FAQs
Can I use different types of cheese in the Garlic Bread Roll-Ups Recipe?
Absolutely! While mozzarella is classic for meltiness, feel free to experiment with provolone, fontina, or even a sharp cheddar for a unique twist. Just make sure the cheese melts well.
Is it possible to make these roll-ups vegan?
Yes, you can substitute the butter with vegan margarine or olive oil, use vegan garlic spread, and swap mozzarella with plant-based cheese alternatives. The flavor will be slightly different but still delicious.
Can I prepare the garlic butter mixture in advance?
Definitely! Making the garlic butter mixture a day ahead allows the flavors to meld and can save time when assembling your roll-ups.
What if I don’t have fresh parsley?
You can use dried parsley as a substitute, but fresh parsley offers a brighter flavor and more vibrant color. If you only have dried, use about half the amount.
Are these roll-ups suitable for freezing after baking?
It’s best to freeze the roll-ups before baking to preserve texture and freshness. Freezing after baking can lead to sogginess when reheated.
Final Thoughts
This Garlic Bread Roll-Ups Recipe is a total winner for any occasion, whether it’s a cozy night in or a lively get-together. Simple ingredients come together to create something truly special, and the combination of crispy bread, herby garlic butter, and melted cheese just can’t be beat. Give these roll-ups a try — I promise, they’ll become one of your favorite go-to recipes in no time!
“`
Print
Garlic Bread Roll-Ups Recipe
- Prep Time: 10 minutes
- Cook Time: 15 minutes
- Total Time: 25 minutes
- Yield: 12 roll-ups
- Category: Appetizer
- Method: Baking
- Cuisine: Italian
Description
Garlic Bread Roll Ups are a delicious and easy-to-make appetizer featuring soft French bread spread with a flavorful garlic butter mixture, filled with melted mozzarella cheese, and baked until golden and bubbly. These bite-sized roll-ups are perfect for serving alongside your favorite dipping sauces for a savory snack or party treat.
Ingredients
Bread
- 1 loaf of French bread (or 8–10 pieces of small baguette-style bread)
Garlic Butter Mixture
- 4 tablespoons unsalted butter, softened
- 3 cloves garlic, minced
- 2 tablespoons fresh parsley, chopped (or 1 tablespoon dried parsley)
- ½ teaspoon dried oregano
- Salt to taste
- ½ teaspoon crushed red pepper flakes (optional, for a little heat)
Cheese
- 1 cup shredded mozzarella cheese
- 2 tablespoons grated Parmesan cheese (optional)
Instructions
- Preheat Oven: Preheat your oven to 375°F (190°C). Line a baking sheet with parchment paper or a silicone baking mat to prepare for baking the roll-ups.
- Prepare Garlic Butter: In a small bowl, combine the softened butter, minced garlic, chopped parsley, dried oregano, salt, and crushed red pepper flakes if using. Mix well to create a uniform garlic butter spread.
- Slice Bread: Slice the French bread into 1-inch thick slices. If using a larger loaf, slice each piece in half lengthwise. For smaller baguette pieces, use them as is.
- Spread Butter: Spread the prepared garlic butter mixture evenly on each bread slice or half slice, ensuring full coverage on the cut side.
- Add Cheese: Sprinkle shredded mozzarella cheese generously over the buttered side of each bread piece. Optionally, add a sprinkle of grated Parmesan cheese on top for extra flavor.
- Roll Up Bread: Carefully roll each bread slice tightly into a compact roll, similar to a mini cinnamon roll or burrito. Place each roll-up seam-side down on the lined baking sheet to prevent unrolling during baking.
- Bake: Bake in the preheated oven for 12-15 minutes until the bread turns golden, the cheese melts fully, and the garlic butter smells fragrant. The outside will be slightly crispy.
- Cool and Garnish: Remove the baking sheet from the oven and allow the roll-ups to cool for a few minutes. Optionally, sprinkle with additional chopped parsley for a fresh pop of color.
- Serve: Serve the garlic bread roll-ups warm with marinara sauce or a creamy dipping sauce on the side to enhance the flavor experience.
Notes
- You can customize the herbs used in the garlic butter to your preference.
- For extra heat, increase the crushed red pepper flakes or add a dash of cayenne pepper.
- Use fresh bread for the best texture and flavor.
- These roll-ups can be prepared ahead of time and baked just before serving.
- Serve immediately after baking to enjoy the melted cheese and crispy bread.


