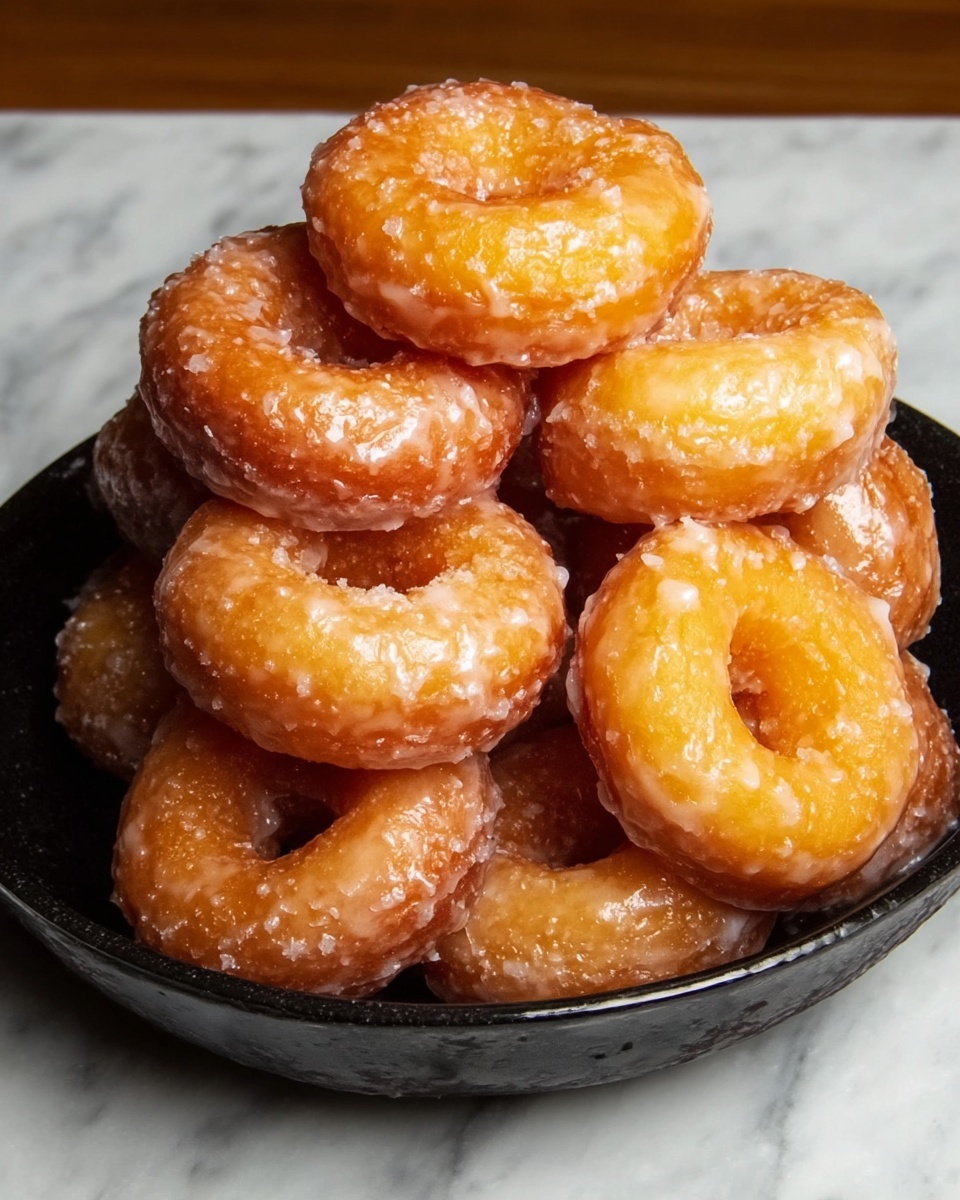
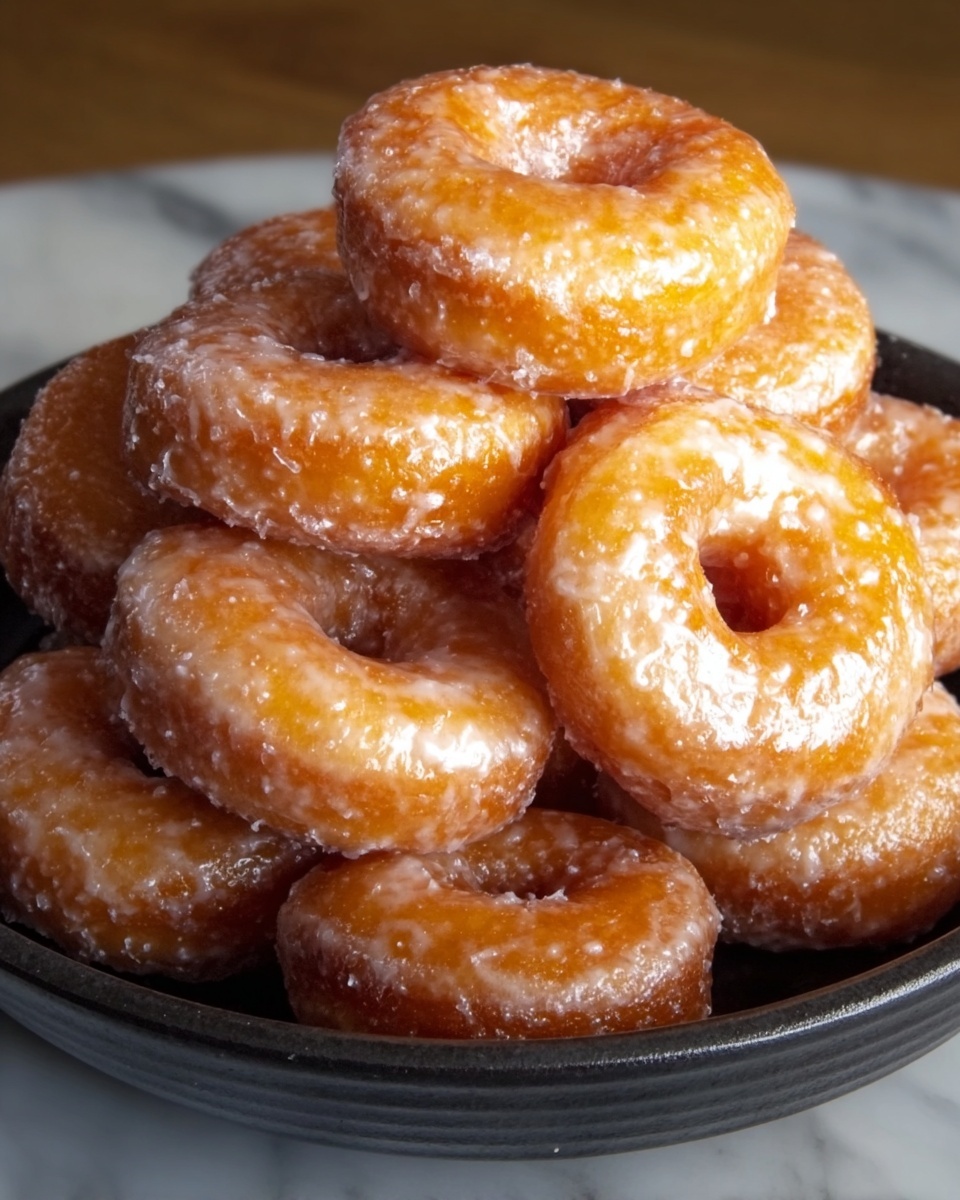
If you are searching for a nostalgic treat that brings comfort with every bite, this Old Fashioned Sour Cream Donuts Recipe is exactly what you need to try. These donuts have that perfect balance of tender crumb and subtle tanginess from the sour cream, wrapped in a luxuriously sweet glaze that melts in your mouth. With a slightly crisp exterior and a soft, cakey inside, these donuts will instantly become a beloved classic in your kitchen. The magic lies in simple, humble ingredients that come together beautifully to recreate that irresistible old-fashioned flavor you’ve been craving.
Ingredients You’ll Need
This Old Fashioned Sour Cream Donuts Recipe relies on a handful of straightforward ingredients, each handpicked for its role in delivering that iconic texture and taste. From the cake flour that ensures a gentle crumb to the nutmeg that adds a hint of warm spice, every component is essential.
- Cake flour: Provides a light texture crucial for soft and cakey donuts.
- Baking powder: Helps the donuts rise to the perfect fluffiness.
- Salt: Balances sweetness and enhances flavor complexity.
- Ground nutmeg: Adds a subtle warmth that gives these donuts their nostalgic charm.
- Extra fine sugar: Sweetens the dough gently without graininess.
- Unsalted butter: Contributes richness and moisture.
- Large egg yolks: Provide structure and richness.
- Sour cream: Delivers a slight tang and tender crumb that makes these donuts unique.
- Shortening or vegetable oil: Essential for frying, producing crispy yet tender donuts.
- Powdered sugar: Forms the base of the shiny, sweet glaze.
- Corn syrup: Helps prevent the glaze from crystallizing and keeps it smooth.
- Vanilla extract: Adds depth and a sweet aroma to the glaze.
- Hot water: Used to thin the glaze to the perfect dripping consistency.
How to Make Old Fashioned Sour Cream Donuts Recipe
Step 1: Prepare the Dry Ingredients and Cream Butter
Begin by sifting together the cake flour, baking powder, salt, and nutmeg. This step ensures your dry ingredients are well combined and gives a lighter texture. Meanwhile, beat together the softened butter and sugar until sandy and crumbly using a stand mixer or handheld mixer. Next, add the egg yolks and continue beating until the mixture becomes light and thick, which will provide a fluffy base for your donut dough.
Step 2: Combine Dry Ingredients with Wet Ingredients
Alternate adding the dry ingredient mixture and sour cream into the butter mixture in three additions, starting and ending with the dry ingredients. This gradual mixing helps keep the batter smooth without overworking the dough. The resulting dough will feel sticky—that’s just right and means your donuts will be delightfully tender once cooked.
Step 3: Chill the Dough
Wrap the dough tightly in plastic wrap and let it rest in the refrigerator for one hour. Chilling firms it up, making the dough easier to roll out and cut without losing its sticky charm. This pause also helps develop flavor and texture.
Step 4: Roll and Cut the Donuts
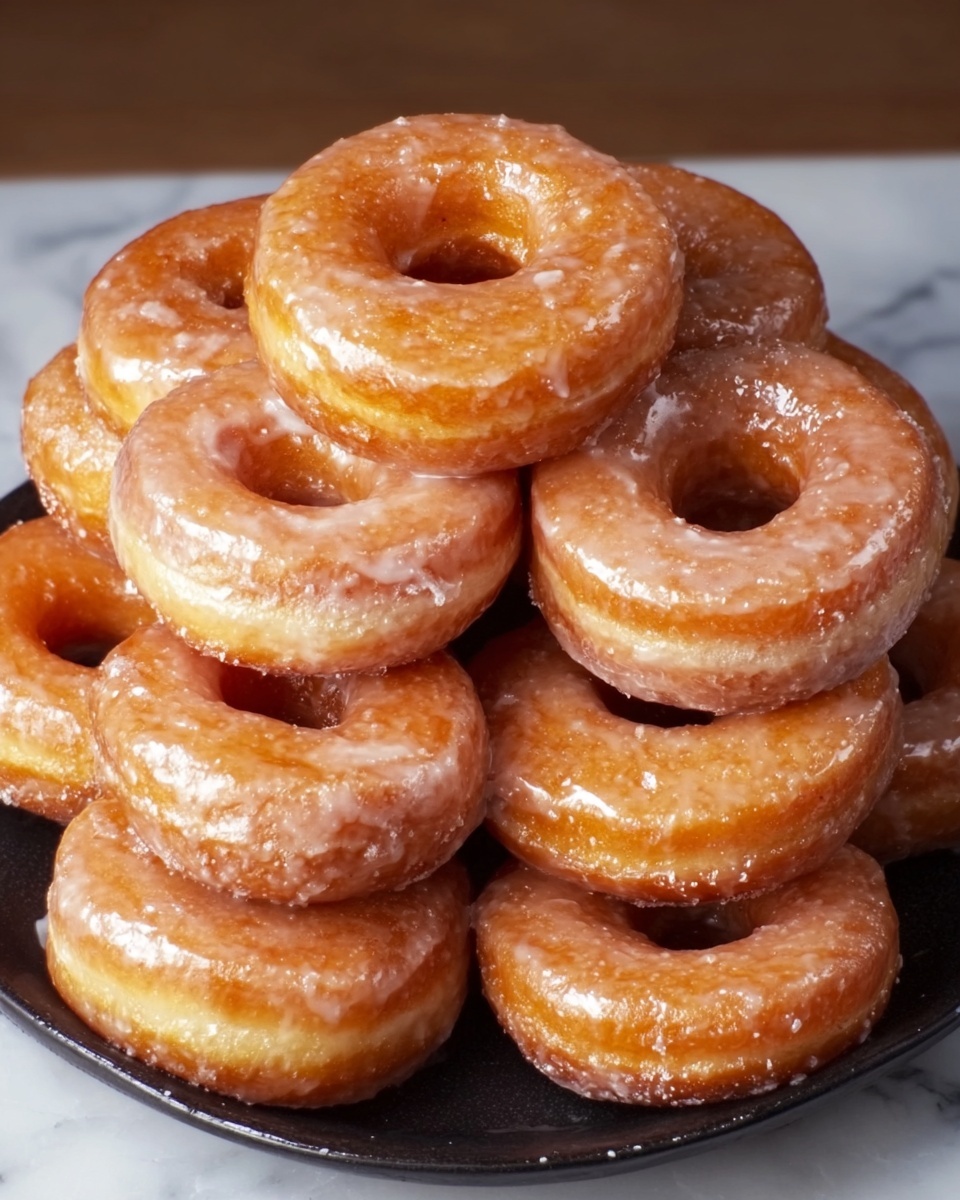
On a lightly floured surface, roll out the chilled dough to about half an inch thick. Use a donut cutter or two biscuit cutters—one larger and one smaller—to cut out your donuts and the holes. Dip the cutters in flour between cuts to prevent sticking. For that signature look, lightly press three small slits resembling triangles on each side of the donuts but don’t cut entirely through. These little craters will catch the glaze beautifully.
Step 5: Fry the Donuts
Heat about two inches of vegetable oil or 4 to 5 cups of shortening in a heavy-bottomed pot until it reaches 325°F. Fry the donuts in small batches to avoid crowding, browning each side for approximately 2 minutes until they achieve a stunning golden hue. Drain on paper towels or a paper bag to soak up any excess oil, ensuring each bite is perfectly crispy but never greasy.
Step 6: Prepare the Glaze
Whisk together the sifted powdered sugar, corn syrup, salt, and vanilla extract in a bowl. Slowly add hot water in small amounts until the glaze has a smooth and pourable texture. This balance is crucial for achieving that glossy finish that clings gorgeously to each donut.
Step 7: Glaze the Donuts
While the donuts are still warm, dip each one into the glaze, fully coating them. Place the donuts on a wire rack above a sheet pan to catch any dripping glaze. Allow them to sit for about 20 minutes so the glaze sets to a delicate, melt-in-your-mouth shell.
Step 8: Enjoy Fresh or Store
These donuts are simply irresistible when eaten the same day fresh from the frying and glazing process. However, if you want to store them, keep reading for tips on how to maintain their delightful texture and flavor.
How to Serve Old Fashioned Sour Cream Donuts Recipe
Garnishes
While the classic glaze is already a showstopper, you can sprinkle some finely chopped nuts like pecans or walnuts over the glaze before it sets to add a delightful crunch. A dusting of cinnamon sugar or a drizzle of melted chocolate can also transform your presentation and flavor profile instantly.
Side Dishes
Pair these donuts with a rich cup of coffee or a frothy chai latte for a comforting morning treat. They also complement a fresh fruit salad or a dollop of whipped cream if you want to serve them for brunch or a midday snack.
Creative Ways to Present
Make these donuts the centerpiece of a brunch platter by stacking them on a tiered tray, edged with fresh berries and mint leaves. For a festive touch, serve them in colorful cupcake liners or alongside small jars of homemade jam for dipping. These little touches make every bite even more memorable!
Make Ahead and Storage
Storing Leftovers
If you have any leftover donuts (though unlikely!), store them in an airtight container at room temperature. This will keep them fresh for up to a few days, preserving that soft interior and glaze without drying out.
Freezing
You can freeze these donuts by placing them in a single layer on a baking sheet, freezing until solid, and then transferring them into a resealable freezer bag. When frozen properly, they’ll keep well for up to a month. Thaw them at room temperature for best results.
Reheating
To revive these old-fashioned delights, gently warm them in a low oven (around 300°F) for 5 to 7 minutes. This method crisps up the exterior slightly while keeping the inside soft. Avoid microwaving if possible, as it can make the glaze melt oddly and the donut chewy.
FAQs
Can I use all-purpose flour instead of cake flour?
While cake flour is preferred for its lower protein content, you can substitute all-purpose flour combined with a bit of cornstarch to mimic the lighter texture. This swap may yield slightly denser donuts but still delicious.
Why is sour cream used in this donut recipe?
Sour cream adds moisture and a subtle tang that makes these donuts uniquely tender and flavorful. It also reacts with the baking powder to provide a softer crumb and gentle rise.
Can I bake these donuts instead of frying?
This recipe is designed for frying to achieve that characteristic crispy exterior. Baking may work but expect a different texture, more cakey and less crispy, which could still be enjoyable but not quite the original experience.
How do I know when the oil is at the right temperature?
Using a deep-fry thermometer is the most reliable way to maintain the ideal temperature of 325°F. If you don’t have one, test by dropping a small piece of dough into the oil: it should sizzle immediately and rise to the surface quickly without burning.
Can I customize the glaze flavors?
Absolutely! You can add lemon zest, almond extract, or even a splash of coffee to the glaze to personalize your donuts. Just be mindful of the balance so your glaze remains smooth and pourable.
Final Thoughts
Nothing compares to the joy of biting into a homemade donut that tastes just like grandma used to make. This Old Fashioned Sour Cream Donuts Recipe is a wonderful reminder that simple ingredients paired with a little love and patience can create magic. Whether for breakfast, an afternoon treat, or a crowd-pleasing dessert, these donuts are bound to brighten your day and warm your heart. So grab your apron, gather those ingredients, and start making your new favorite recipe today!
Print
Old Fashioned Sour Cream Donuts Recipe
- Prep Time: 15 minutes
- Cook Time: 20 minutes
- Total Time: 1 hour 35 minutes
- Yield: 12 servings
- Category: Dessert
- Method: Frying
- Cuisine: American
Description
These Old Fashioned Sour Cream Donuts are a nostalgic treat featuring a tender, cake-like texture enhanced by tangy sour cream. Fried to golden perfection and dipped in a smooth, sweet glaze, they bring classic comfort to your breakfast or snack time. The donuts are lightly spiced with nutmeg and finished with craters that beautifully catch the luscious glaze, making each bite irresistibly delightful.
Ingredients
Dry Ingredients
- 2 1/4 cups cake flour, spooned and leveled
- 1 1/2 teaspoons baking powder
- 3/4 teaspoon salt
- 1/4 teaspoon ground nutmeg
- 1/2 cup Dixie Crystal extra fine sugar
Wet Ingredients
- 2 tablespoons unsalted butter, at room temperature
- 2 large egg yolks, at room temperature
- 2/3 cup sour cream
For Frying
- Shortening or vegetable oil, for frying (about 4-5 cups or enough for 2 inches deep in pot)
Glaze Ingredients
- 3 1/2 cups powdered sugar, sifted
- 1 1/2 teaspoons corn syrup
- 1/16 teaspoon salt (a small dash)
- 1/2 teaspoon vanilla extract
- 1/4 to 1/3 cup hot water (approximately)
Instructions
- Prepare dry and wet ingredients: In a bowl, sift together cake flour, baking powder, salt, and ground nutmeg. Using a stand mixer or handheld mixer, beat the softened butter and sugar until sandy in texture. Add the egg yolks and beat until the mixture is light and thick.
- Mix dough: Gradually add the dry ingredients into the mixer in three additions, alternating with the sour cream, starting and ending with the dry ingredients. Mix until just combined; the dough will be sticky.
- Chill dough: Cover the dough with plastic wrap and refrigerate for 1 hour to firm up slightly for easier handling and rolling.
- Shape donuts: On a floured surface, roll out the dough to about 1/2-inch thickness. Use a donut cutter or two biscuit cutters of different sizes to cut out donuts and holes, dipping cutters in flour to prevent sticking. You should get about 10-12 donuts and holes. Using a knife, lightly make three slits on each side of each donut to create craters that will hold the glaze, without cutting all the way through.
- Heat oil and fry donuts: Heat 2 inches of vegetable oil or 4-5 cups shortening in a heavy-bottomed pot to 325°F using a deep-fry thermometer. Fry donuts a few at a time, not overcrowding the pot, for about 2 minutes on each side or until golden brown. Drain donuts on paper bags or paper towels to remove excess oil.
- Prepare glaze: In a bowl, whisk together sifted powdered sugar, corn syrup, salt, and vanilla extract. Gradually add hot water a little at a time until the glaze becomes smooth and pourable.
- Glaze donuts: Dip each warm donut into the prepared glaze, fully coating it. Place glazed donuts on a wire rack positioned over a sheet pan to catch drips. Allow glaze to set for about 20 minutes.
- Serve and store: Serve donuts the day they are made for best freshness. Store leftover donuts in an airtight container at room temperature for a few days.
Notes
- Make sure to chill the dough before rolling to prevent it from sticking.
- Maintain the frying oil temperature at 325°F for even cooking and to avoid greasy donuts.
- Do not overcrowd the frying pot to allow donuts to cook evenly and retain their shape.
- The glaze consistency can be adjusted by adding more or less hot water.
- Light slits on donuts create craters that hold more glaze and enhance texture and appearance.
- Store donuts at room temperature in an airtight container to maintain freshness for up to 2-3 days.

