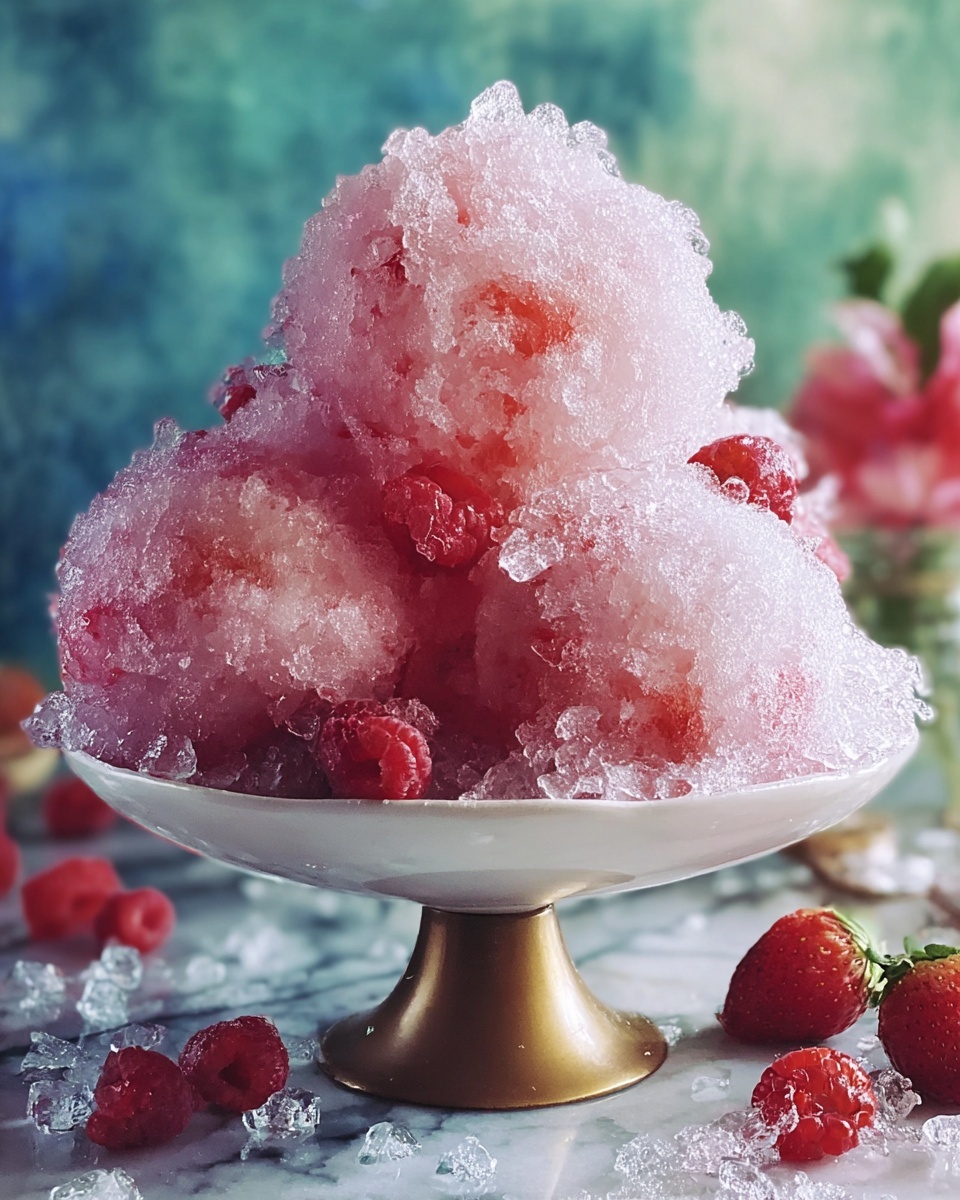
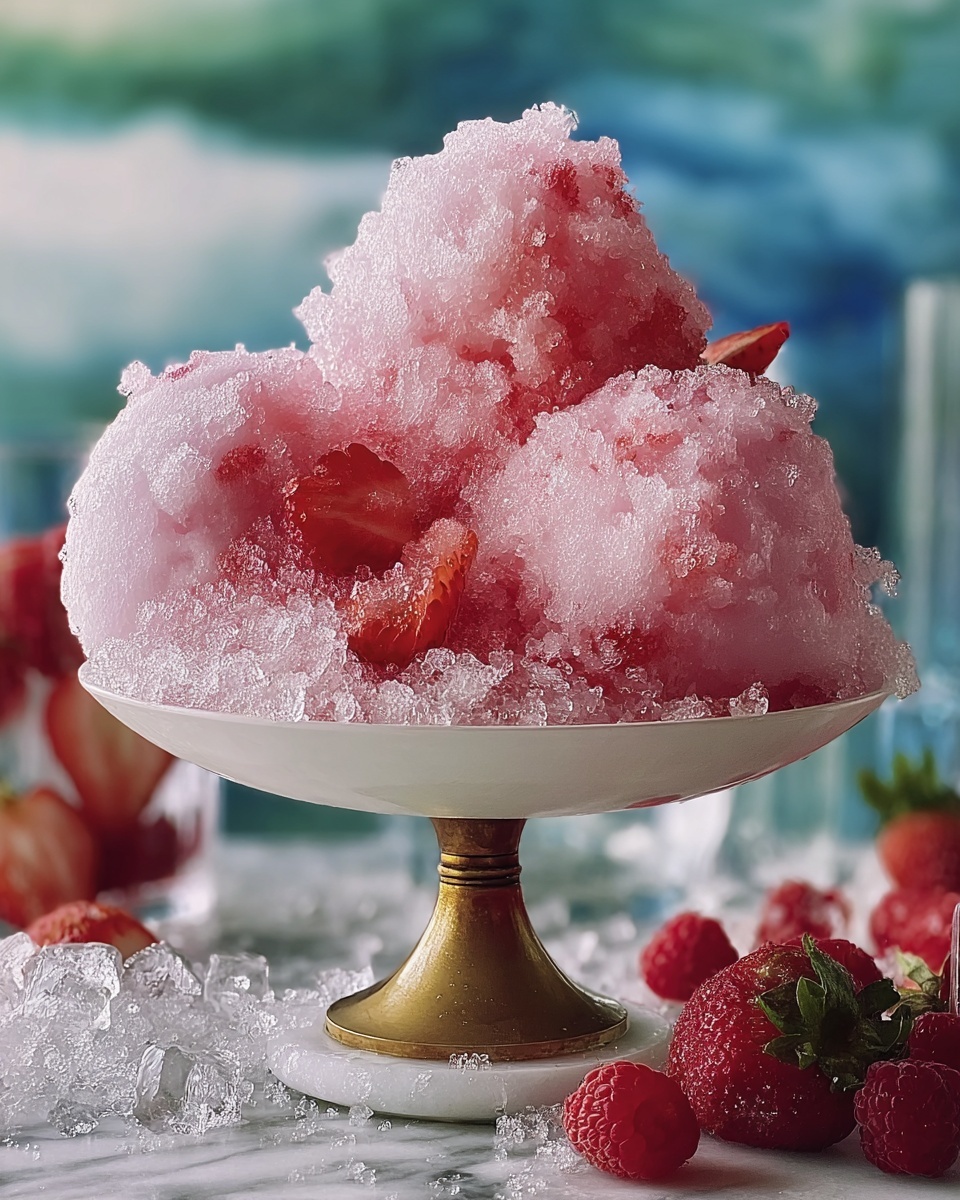
If you’re longing for a refreshing and fun treat to brighten up those warm, sunny days, then you absolutely have to try this Snow Cones: The Amazing Ultimate Recipe for Summer Delight Recipe. There is nothing quite like the crisp crunch of finely crushed ice blended perfectly with a sweet, flavorful syrup that instantly transports you to carefree summer moments. This recipe is not just easy to make but bursting with vibrant colors and tastes that will have everyone coming back for seconds. Whether you’re hosting a backyard party or just need a cool snack to beat the heat, these snow cones are the ultimate crowd-pleaser with their icy texture and mouthwatering flavors.

Ingredients You’ll Need
Getting your ingredients ready is both simple and essential to achieving the perfect balance of taste, texture, and dazzling colors in your snow cones. Each component plays a vital role, from the icy crunch to the syrupy sweetness, crafting a treat that’s as beautiful as it is delicious.
- Crushed ice: Make sure it’s finely crushed to get that soft, snow-like texture that melts perfectly on your tongue.
- 1 cup granulated sugar: This is the foundation of your syrup, offering just the right amount of sweetness.
- 1 cup water: Combines with sugar to create a smooth syrup that soaks into the ice beautifully.
- 1 cup flavored syrup (e.g., cherry, blueberry, lime): Pick your favorite flavor to customize your snow cone and add vibrant color and freshness.
- Optional fresh fruit slices: Adds a fresh, tangy contrast and an extra pop of color.
- Optional condensed milk: Drizzling this on top adds creamy richness and an indulgent twist.
How to Make Snow Cones: The Amazing Ultimate Recipe for Summer Delight Recipe
Step 1: Prepare the Ice
First things first, you want to crush your ice into a fine, fluffy texture that resembles fresh snowfall. You can do this easily with a snow cone machine or your blender. The key is getting it finely crushed so it absorbs the syrup like a sponge instead of melting too quickly.
Step 2: Make the Syrup
In a small saucepan, combine the granulated sugar and water over medium heat. Stir continuously until the sugar dissolves completely, creating a smooth and clear syrup base. This step is essential because it ensures your syrup has the perfect consistency to coat every icy bite.
Step 3: Add Flavoring
Take your syrup off the heat and stir in your choice of flavored syrup or fresh fruit juice. This is where your snow cones truly come alive with vibrant color and punchy flavor. Let the mixture cool to room temperature; this will help it soak into the ice without melting it prematurely.
Step 4: Fill the Cups
Grab your paper cones or cups and start spooning in the crushed ice. Pack it down gently but firmly—this helps create a solid base and prevents the ice from collapsing when you’re pouring the syrup over.
Step 5: Drizzle Syrup
Generously pour your cooled flavored syrup over the bed of crushed ice until every fluffy shard is coated in sweetness. Take your time here and let the syrup soak in, enhancing every crunchy mouthful.
Step 6: Optional Toppings
If you want to take your snow cones to the next level, add fresh fruit slices on top for a burst of freshness or drizzle some condensed milk for creamy, dreamy indulgence. These toppings complement the icy flavors beautifully and add that wow factor your guests will adore.
Step 7: Serve Immediately
Snow cones are best enjoyed fresh, so serve them right away for the perfect texture and ultimate taste experience. Gather your friends and family for an icy treat that screams summer.
How to Serve Snow Cones: The Amazing Ultimate Recipe for Summer Delight Recipe
Garnishes
Sprinkle your snow cones with thin slices of fresh fruit like strawberries, kiwi, or citrus wedges to brighten every bite and add a refreshing twist. A little edible flower or mint leaf can also make your serving look extra special and inviting.
Side Dishes
Pair your snow cones with light, summery snacks such as fresh fruit salads, crunchy vegetable sticks with a tangy dip, or even some chilled lemonade to keep the refreshment train going strong. These wholesome accompaniments keep the vibe easy and carefree.
Creative Ways to Present
Forget plain cups—try serving snow cones in colorful paper cones, mason jars, or even hollowed-out fruit shells like watermelons or pineapples for a tropical, festive vibe. Adding fun straws or little cocktail umbrellas will make the experience even more delightful for kids and adults alike.
Make Ahead and Storage
Storing Leftovers
If you happen to have any leftover snow cones, keep the syrup refrigerated in an airtight container for up to a week. The crushed ice unfortunately won’t hold up well, so it’s best to prepare fresh ice each time you want to enjoy this sweet delight.
Freezing
You can freeze extra syrup but be sure to thaw it completely before pouring over the ice. Avoid freezing crushed ice with syrup already on it because this changes the texture and can create unpleasant ice clumps.
Reheating
Since snow cones are a cold treat, reheating doesn’t really apply here. Instead, focus on storing your syrup properly and making fresh ice only when you’re ready to serve to enjoy that perfect crunch and coolness.
FAQs
Can I use fresh fruit juices instead of flavored syrups?
Absolutely! Fresh fruit juices add a natural sweetness and vibrant flavor. Just keep in mind that some juices are thinner, so you might want to lightly cook them with sugar to create a thicker syrup that clings better to the ice.
What is the best way to crush ice if I don’t have a snow cone machine?
Your blender is your best friend here. Pulse the ice in short bursts until it reaches a fine, powdery consistency. Avoid over-blending to keep the ideal snow texture.
Can I make this recipe vegan-friendly?
Yes, just skip the condensed milk topping or use a plant-based condensed milk alternative, and you’re all set for a delicious vegan snow cone experience.
How long will homemade flavored syrup last?
Stored in a clean, airtight container in the refrigerator, your syrup will stay fresh for about one week, giving you plenty of time to keep enjoying your snow cones.
Any tips to avoid the syrup from making the ice melt too quickly?
Make sure your syrup is cooled to room temperature before pouring it over the ice, and crush the ice finely and evenly. Packing the ice gently also helps it maintain its structure longer.
Final Thoughts
There is something truly magical about making and sharing Snow Cones: The Amazing Ultimate Recipe for Summer Delight Recipe with friends and family. It’s simple, colorful, and downright delicious—a perfect way to cool down and create lasting summer memories. So grab your ingredients, gather your loved ones, and dive into this icy, sweet wonder that’s sure to become an all-time favorite. Happy snow cone making!
Print
Snow Cones: The Amazing Ultimate Recipe for Summer Delight Recipe
- Prep Time: 15 minutes
- Cook Time: 10 minutes
- Total Time: 25 minutes
- Yield: 4 snow cones
- Category: Dessert
- Method: Stovetop
- Cuisine: American
Description
This Snow Cones recipe is the perfect refreshing treat for hot summer days, combining finely crushed ice with a homemade flavored syrup. Easy to prepare and customizable with your favorite flavors and toppings, these snow cones offer a delightful cool-down and a burst of sweetness.
Ingredients
For the Crushed Ice
- Crushed ice (enough for 4 snow cones)
For the Syrup
- 1 cup granulated sugar
- 1 cup water
- 1 cup flavored syrup (e.g., cherry, blueberry, lime)
Optional Toppings
- Fresh fruit slices for garnish
- Condensed milk for drizzling
Instructions
- Prepare the Ice: Use a snow cone machine or blender to crush the ice into a fine, snow-like consistency, ensuring a soft and fluffy texture perfect for absorbing the syrup.
- Make the Syrup: In a small saucepan, combine granulated sugar and water. Heat over medium heat, stirring continuously until the sugar fully dissolves to create a smooth syrup base.
- Add Flavoring: Stir in your chosen flavored syrup or fruit juice into the sugar syrup. Remove from heat and allow it to cool to room temperature to preserve the vibrant flavor.
- Fill the Cups: Spoon the finely crushed ice into paper cones or cups, gently packing it down so it holds shape without becoming solid ice.
- Drizzle Syrup: Generously pour the prepared flavored syrup over the crushed ice, allowing it to fully seep through for balanced sweetness.
- Optional Toppings: Enhance the snow cones by adding fresh fruit slices as garnish or drizzling with condensed milk to add a creamy richness.
- Serve Immediately: Enjoy the snow cones right away to experience the best texture and refreshing taste before the ice melts.
Notes
- Use finely crushed ice rather than large chunks for better syrup absorption and enjoyable texture.
- You can make your own flavored syrups using fruit juices or extracts for a personalized touch.
- For a dairy-free option, omit condensed milk or use coconut condensed milk alternative.
- Serve immediately as crushed ice melts quickly and syrup may dilute.
- Adjust syrup sweetness to taste by varying the amount of sugar or flavored syrup used.


