
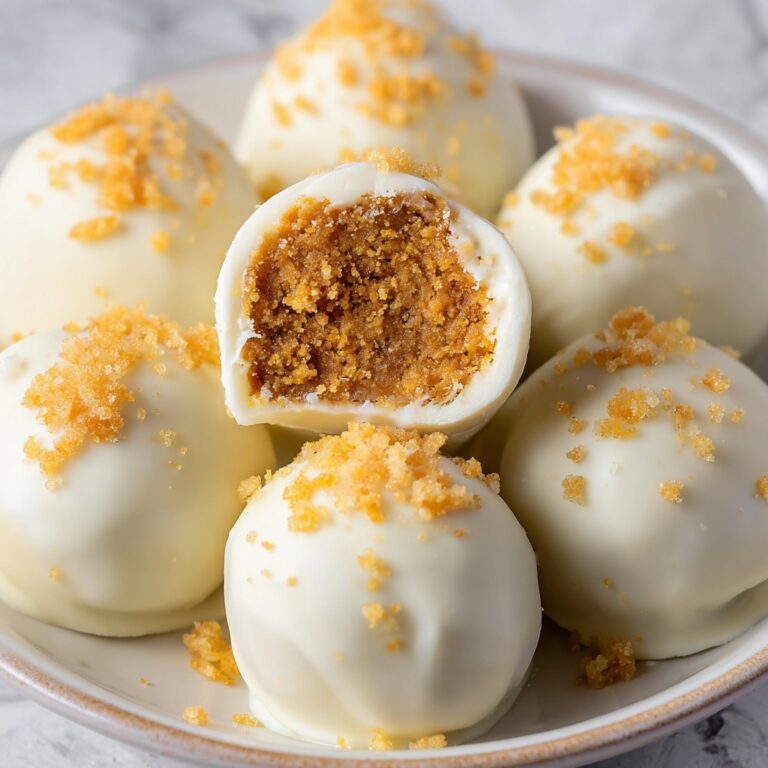
If you have a sweet tooth and love a delightful blend of chewy caramel, crunchy cookie, and silky chocolate, then you are in for a treat with this Twix Cookie Cups Recipe. These little delights capture all the magic of a Twix bar in a perfectly portioned, bite-sized cup. They are irresistible little bundles of texture and flavor that bring together buttery cookie dough, smooth caramel, and rich chocolate in a way that will have everyone asking for seconds. Whether you’re making them for a special occasion or simply to indulge, these Twix Cookie Cups are guaranteed to be a crowd-pleaser that feels as good as it tastes.
Ingredients You’ll Need
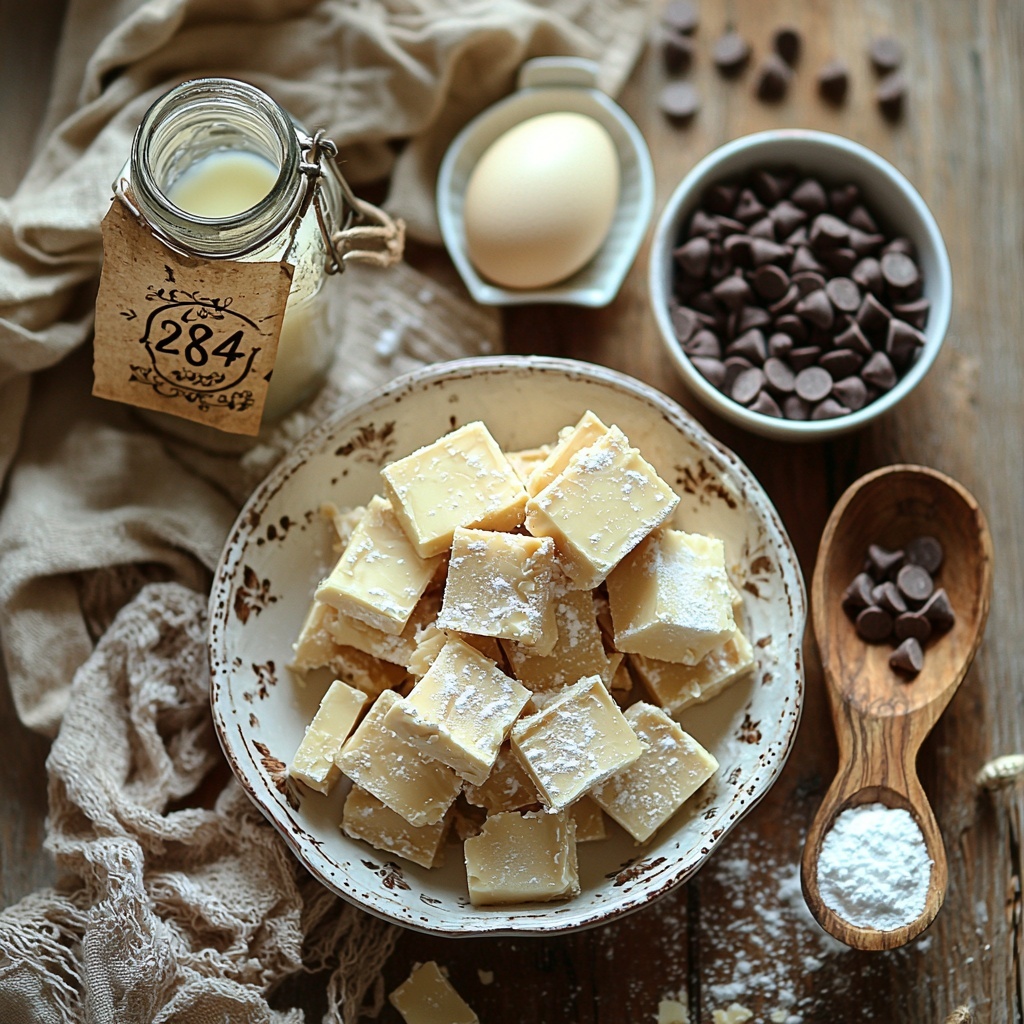
This recipe relies on a handful of simple yet essential ingredients, each playing its part in creating the perfect balance of flavor, texture, and color. From the creamy butter that lends richness to the cookie base to the sweet caramel that adds gooey goodness, every component works together harmoniously to make these cookie cups unforgettable.
- Salted butter: Using salted butter adds a touch of savory depth that balances the sweetness beautifully.
- Granulated sugar: Provides the sweetness and helps create that light, fluffy texture in the dough.
- Vanilla extract: Adds a warm, aromatic note that elevates the flavor profile.
- Egg white: Helps bind the dough while keeping the cookie light and tender.
- All-purpose flour: The foundation of the cookie dough, providing structure and a perfect crumb.
- Baking powder: Gives the cookies a gentle lift so they’re puffy but not overly dense.
- Caramels (unwrapped): The gooey heart of the recipe, delivering that classic chewy Twix flavor.
- Milk: Combined with caramels to create a silky, spreadable caramel topping.
- Milk chocolate chips: Melted to create a luscious chocolate layer that seals the deal.
How to Make Twix Cookie Cups Recipe
Step 1: Preheat and Prepare
Start things off by heating your oven to 350°F (175°C). This ensures the perfect baking temperature is ready for when your cookie dough is prepped and shaped. A consistent, medium heat is essential so the cookies puff nicely without browning too quickly.
Step 2: Cream Butter and Sugar
In a mixing bowl, cream together the salted butter and granulated sugar until the mixture becomes light and fluffy. This step is not just about mixing; it incorporates air into the dough, which helps create that tender, melt-in-your-mouth texture we’re aiming for.
Step 3: Add Egg White and Vanilla
Next, mix in the egg white and vanilla extract until you have a smooth, cohesive batter. The egg white helps with structure but keeps the cookie on the lighter side, while the vanilla adds those warm fragrant notes that make the cookie irresistible.
Step 4: Incorporate Dry Ingredients
Gradually add the all-purpose flour and baking powder to the wet mixture. Be gentle and mix just until everything comes together—overmixing can make the dough tough. The baking powder ensures your cookie cups rise just right, marrying tenderness with structure.
Step 5: Roll and Cut Dough
Lightly flour a flat surface and roll out your dough to about 1/4 inch thickness. Using a cookie cutter or a glass, cut the dough into circles that will form the base and walls of your cookie cups. This part is where the cookie starts taking shape into those adorable cups that will hold all the luscious fillings.
Step 6: Bake the Cookie Bases
Place your dough circles on an ungreased baking sheet and bake for 6 to 8 minutes. You’re aiming for a puffy look without a glossy or overly golden surface. This ensures the cookie cups stay soft yet sturdy enough to hold the caramel and chocolate fillings without breaking.
Step 7: Cool Completely
Once baked, transfer your cookie cups to a wire rack and let them cool completely. Cooling is crucial here because it allows the cookie to set firmly, which makes it easier to add the gooey caramel layer without the cups crumbling.
Step 8: Prepare the Caramel
While your cookies cool, microwave the unwrapped caramels with the tablespoon of milk for about one minute. Stir the mixture until smooth and creamy. This makes a luscious, pourable caramel perfect for filling your cookie cups with that classic Twix chewiness.
Step 9: Fill and Chill
Spoon the warm caramel into each cookie cup, filling them generously but leaving a little room at the top. Pop them into the fridge for 10 to 15 minutes to help the caramel firm up slightly, making it easier to top with chocolate without mixing.
Step 10: Add Chocolate Topping
Melt the milk chocolate chips in short intervals, stirring until completely smooth. Then, spread or drizzle the melted chocolate over each caramel-filled cookie cup. This final layer seals in all the gooey goodness with a glossy, delicious chocolate finish.
Step 11: Let Chocolate Set
Allow your chocolate layer to set completely before serving. This might take a little patience, but once the chocolate is firm, your Twix Cookie Cups are ready to delight everyone who tries them.
How to Serve Twix Cookie Cups Recipe
Garnishes
Enhance your Twix Cookie Cups with a sprinkle of sea salt or a few chopped nuts on top of the chocolate for extra texture and flavor contrast. Crushed pretzels or a light dusting of cocoa powder also make for a stunning garnish that elevates presentation without overpowering the sweet caramel and chocolate layers.
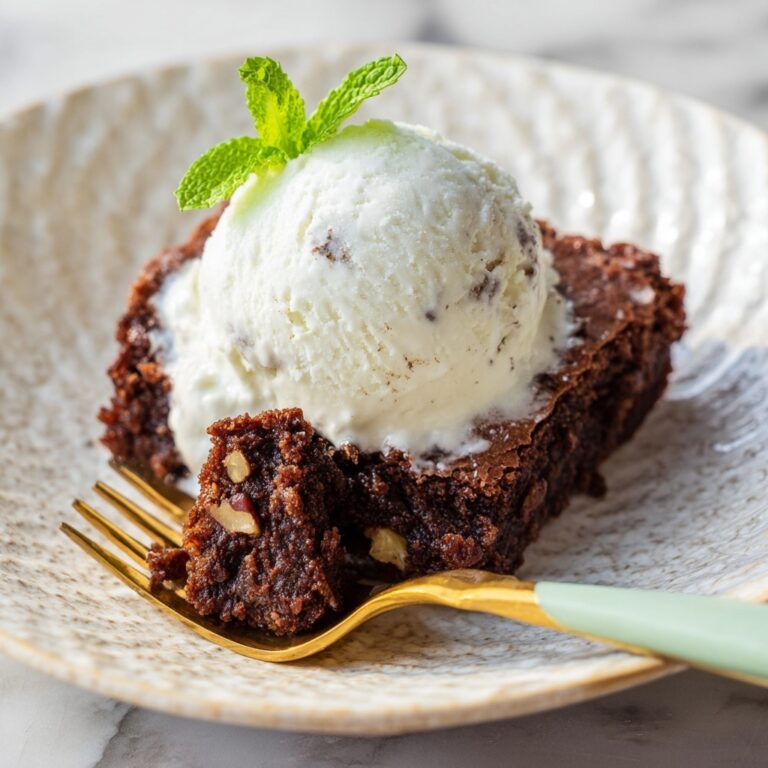
Side Dishes
Serve these cookie cups alongside a scoop of vanilla ice cream or a dollop of fresh whipped cream for an indulgent dessert combo. A hot cup of coffee or a robust black tea pairs beautifully, balancing the sweetness and adding warmth to the experience.
Creative Ways to Present
Instead of placing the cookie cups on a plain plate, arrange them on a rustic wooden board or tiered dessert stand for a charming look. You can also present them in mini cupcake liners for easy serving at parties or pack them carefully in a decorative box as a thoughtful homemade gift.
Make Ahead and Storage
Storing Leftovers
You can keep any leftover Twix Cookie Cups in an airtight container at room temperature for up to three days. Storing them this way preserves the cookies’ texture and flavor while keeping the chocolate and caramel intact without becoming sticky.
Freezing
If you want to save these treats for later, freeze the cookie cups in a single layer on a baking sheet first, then transfer them to an airtight container or freezer bag. They’ll keep well for up to a month and are perfect to thaw gently at room temperature before enjoying.
Reheating
To warm up leftover Twix Cookie Cups, place them briefly in a low-temperature oven or microwave for a few seconds. This slightly melts the chocolate and caramel again, bringing back that fresh-from-the-oven sensation without making the cookie soggy.
FAQs
Can I use salted or unsalted butter for this recipe?
Either works, but salted butter adds a nice balance to the sweetness, enhancing the overall flavor. If using unsalted butter, consider adding a small pinch of salt to the dough.
What type of caramel should I use?
Soft caramel squares are ideal because they melt smoothly with milk, providing that gooey texture reminiscent of a Twix bar’s caramel layer.
Can I make these gluten-free?
Yes! Substitute the all-purpose flour with a gluten-free baking blend, ensuring it includes xanthan gum for structure. The texture might be slightly different but still delicious.
How long do Twix Cookie Cups stay fresh?
Stored properly in an airtight container at room temperature, they stay fresh for about three days. Beyond that, they might start to lose their ideal texture.
Is there a way to make the chocolate layer extra glossy?
Yes, adding a small amount of coconut oil or butter when melting the chocolate helps achieve a shinier, smoother finish on top of your cookie cups.
Final Thoughts
Now that you have the perfect guide to creating these delightful treats, I hope you feel inspired to dive into making this Twix Cookie Cups Recipe yourself. It’s a wonderfully satisfying dessert that brings the nostalgic flavors of your favorite candy bar to life in a fresh, homemade way. Whether you’re sharing with friends or indulging yourself, these cookie cups are sure to become a beloved favorite in your baking repertoire.
Print
Twix Cookie Cups Recipe
- Prep Time: 20 minutes
- Cook Time: 8 minutes
- Total Time: 28 minutes
- Yield: Approximately 24 cookie cups
- Category: Dessert
- Method: Baking
- Cuisine: American
Description
Delicious Twix Cookie Cups combine a buttery cookie base with a gooey caramel center and a smooth milk chocolate topping, creating a perfect bite-sized treat reminiscent of the classic Twix candy bar.
Ingredients
Cookie Base
- 1/2 cup salted butter
- 1/2 cup granulated sugar
- 1 tsp vanilla extract
- 1 egg white
- 1 1/2 cups all-purpose flour
- 1 tsp baking powder
Caramel Filling
- 20 caramels (unwrapped)
- 1 tbsp milk
Chocolate Topping
- 2 cups milk chocolate chips
Instructions
- Preheat Oven: Preheat your oven to 350°F (175°C) to prepare for baking the cookie cups.
- Cream Butter and Sugar: In a mixing bowl, cream together the salted butter and granulated sugar until the mixture is light and fluffy, ensuring a tender cookie texture.
- Add Egg White and Vanilla: Incorporate the egg white and vanilla extract into the creamed mixture, mixing thoroughly until smooth to help bind the dough.
- Combine Dry Ingredients: Gradually add the all-purpose flour and baking powder, mixing just until combined to prevent overworking the dough and keeping it soft.
- Roll and Cut Dough: On a floured surface, roll out the cookie dough to about 1/4 inch thickness. Cut into circles sized to fit your baking sheet or muffin tin for shaping the cups.
- Bake Cookies: Place the dough circles on an ungreased baking sheet and bake for 6-8 minutes, until they are puffy but no longer glossy on the surface.
- Cool: Transfer the baked cookies to a wire rack and allow them to cool completely, which helps retain their cup shape.
- Prepare Caramel Filling: In a microwave-safe bowl, heat the unwrapped caramels with 1 tablespoon of milk for one minute, stirring until the caramel is smooth and creamy.
- Fill Cookie Cups: Spoon the warmed caramel into each cookie cup evenly, then chill in the refrigerator for 10-15 minutes to set the caramel filling.
- Melt Chocolate Topping: Melt the milk chocolate chips in intervals in the microwave or using a double boiler, stirring until smooth and velvety.
- Apply Chocolate and Set: Spread the melted chocolate over the caramel layer on each cookie cup and allow them to set at room temperature or in the refrigerator before serving.
Notes
- Ensure the cookies are completely cool before adding the caramel to maintain the cup shape and prevent melting.
- Use a round cookie cutter or a glass rim to get uniform cookie circles for consistent cup shapes.
- If caramel is too thick, add a little more milk to achieve spreading consistency when filling the cups.
- Store cookie cups in an airtight container in the refrigerator to keep the caramel and chocolate layers firm.
- For a richer chocolate flavor, substitute milk chocolate chips with semi-sweet chocolate chips if desired.
